15-10 9010F Fast
The Sweep mode function is divided into five sub windows:
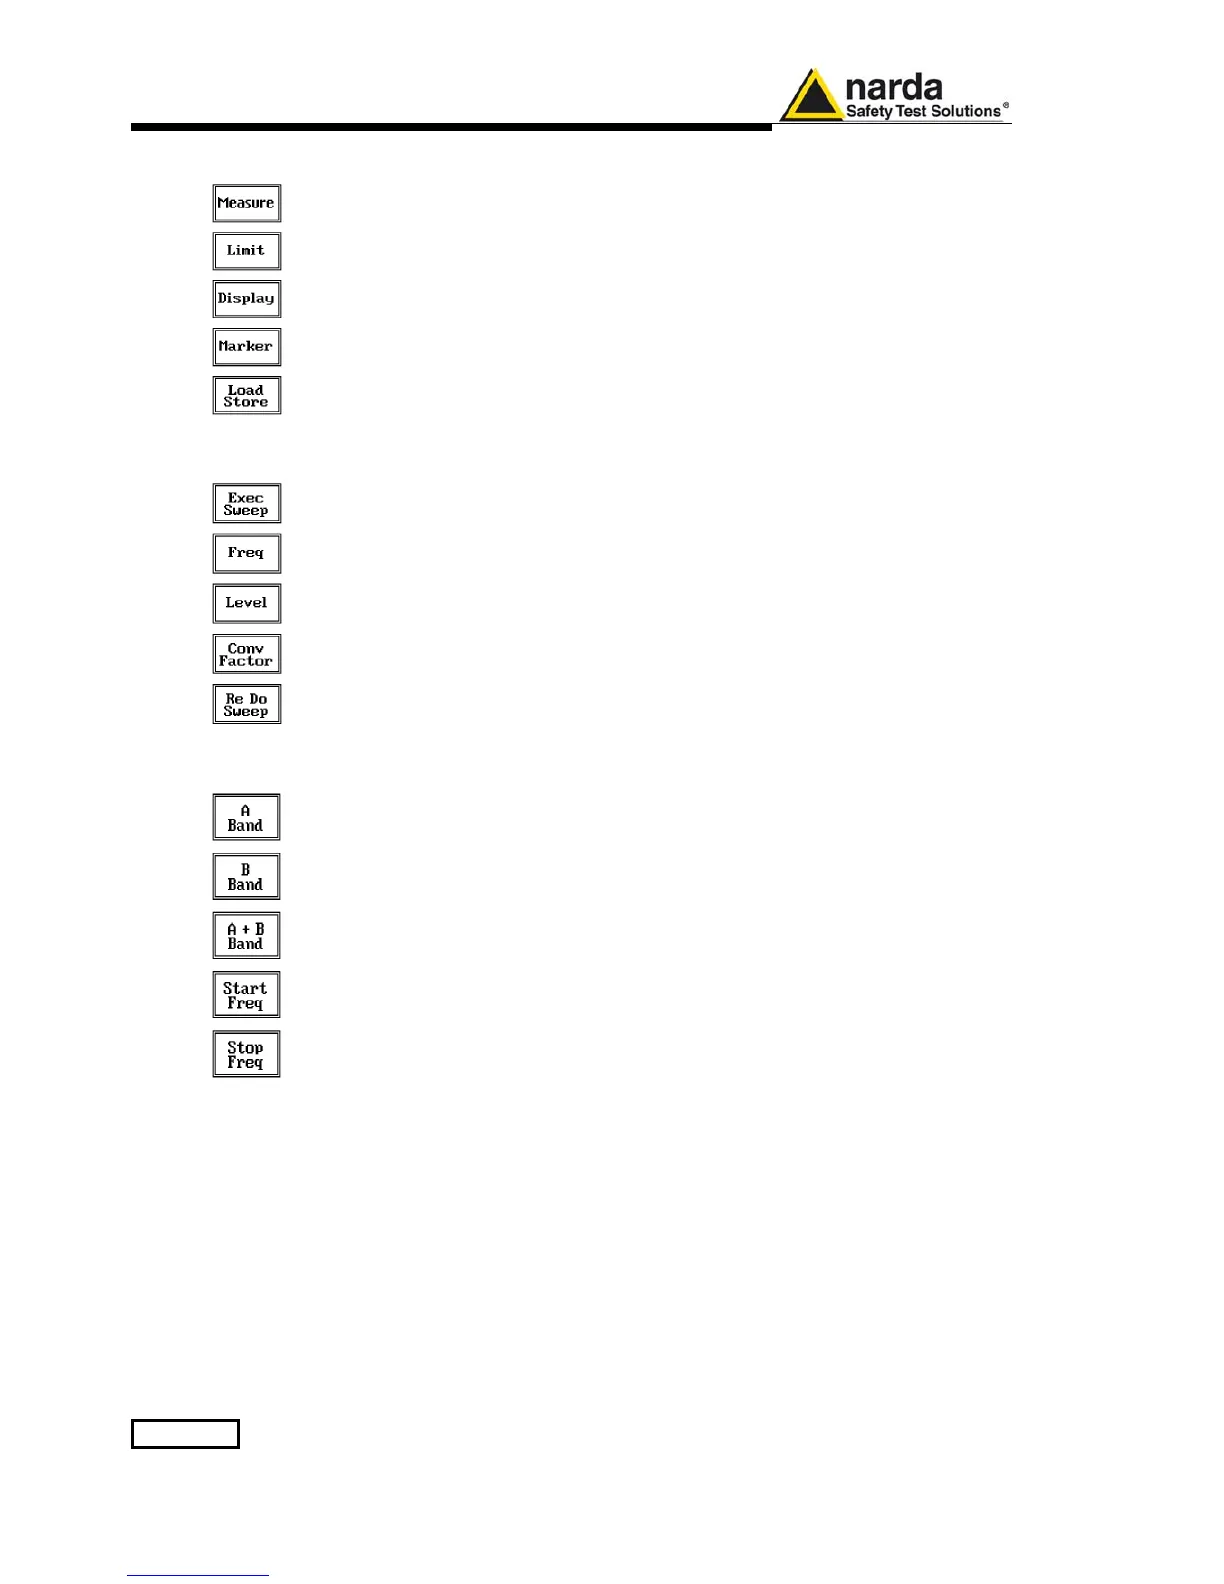
• Measure
• Limit
• Display
• Marker
• Load Store
Always use Esc button to return to the previous view/condition.
15.2.2 Measure
The Measure button is used to set the scan parameters and to run the
sweep.
After having set the frequency band and the other parameters press the
Exec Sweep button to run the sweep.
To make subsequent sweeps with the same setting parameters, simply
press ReDo Sweep. This key is particularly useful to make comparisons e.g.
before and after EUT modification after having loaded a previously stored
track (see 4.6), as with the Re Do Sweep the original settings are kept for
the new measurement.
Once the sweep starts, it can be stopped at any time during the execution by
the Stop function key.
15.2.2.1 Frequency
The Frequency menu features five function buttons:
Pressing A Band the receiver will be set to scan the 9 - 150 kHz frequency
band. The definition of band A is a given in CISPR.
Pressing B Band the receiver will be set to scan the 0,15 - 30 MHz
frequency band. The definition of band B is a given in CISPR.
Pressing A + B Band the receiver will be set to scan the entire band from 9
kHz to 30 MHz.
In this way the Frequency Step and Resolution Bandwidth are set automatically
according to CISPR standard requirement.
The Start and Stop frequency buttons can be used to set any frequency interval
for the measurement; to enter the frequency values press the corresponding
function keys.
Pressing either one of these 2 keys the figures 0, 1, 2, 3, and 4 are selectable at
first; with the right arrow key it is possible to select the figures from 5 to 9, and
pressing again the right arrow key the units kHz, MHz and GHz becomes
accessible, as well as the decimal dot and the Back Space. The left arrow key
can be used as well to move back and forth from one screen to the other.
Pressing 0 as the first figure the decimal dot appears automatically.
To set a given frequency it is therefore enough to edit the value with the soft
keys and the left a right arrows, confirming the selections entering the units value
(kHz, MHz or GHz).
The figures entered appear in a small window just below the graph and the
default unit is MHz.

 Loading...