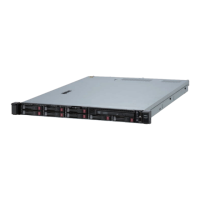
1. Installing / Removing Internal Options
6. Hold the tray firmly and insert it into the
slot.
• Push the tray all the way until the handle’s hook touches the frame.
• Hold the tray firmly with both hands.
7. Slowly close the handle.
The tray is locked making a clicking
sound.
After inserting a hard disk drive into
the slot, please wait about 10 seconds.
After it is inserted into the slot, if it is
removed from the slot within 10
seconds, the fault notification might be
sent.
When you push the drive into the slot, confirm the hook of handle is engaged with the
frame
8. Run BIOS SETUP utility, and specify the boot order from the Boot menu. For details about the Boot
menu, refer to Chapter 2 (1.2.5 Boot) in "Maintenance Guide".
The saved boot order is cleared when a hard disk drive is added.
9. Refer to Steps 6 to 10 in Chapter 2 (1.4 Overview of Installation and Removal) to check if work is
successfully completed.
10. If you installed component offline (while the server is off-powered), perform diagnostic test according to
Chapter 1 (1.8 System Diagnostic) in Maintenance Guide.
11. Cancel the maintenance mode you have set in Step 1. (See Chapter 3 (7.7.1 BMC – (7) Extended
Functionality) for how to cancel the maintenance mode. If the UID LED is on, turn off the UID LED using
UID switch.
Express5800/A1040b, A2040b, A2020b, A2010b User's Guide
170
 Loading...