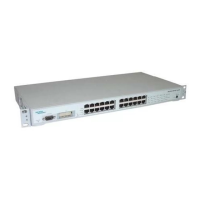
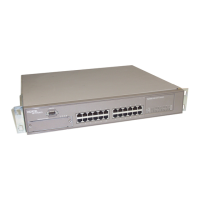
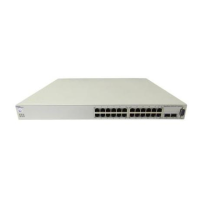
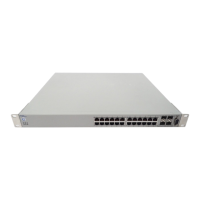
Using the BayStack 350 Series 10/100 Autosense Switch
2-8
893-00992-E
Wall Mounting
You can mount the Model 350F and Model 350T on any wall that can safely
support the weight of the device and attached cables (see “
Site Preparation” on
page 2-3
for safety considerations). For a wall mount, use of the rubber footpads is
optional.
Before You Begin
Before mounting the switch on a wall, note the following considerations:
• Mount the switch on the wall, with the front panel facing up, as shown in
Figure 2-4
.
• Position the switch at a height that allows the LEDs to be visible at all times.
• Do not let the attached port cables hang freely from the port connectors.
Install plastic cable clamps to support and arrange the cables.
• Choose the appropriate mounting hardware for your wall composition.
(Wall-mounting screws are not supplied.)
• Optionally, attach the switch to a piece of plywood (at least 0.5 in. thick) that
is firmly secured to the wall, preferably to the wall studs.
Note:
You cannot mount the Model 350F-HD on a wall.