Using the BayStack 350 Series 10/100 Autosense Switch
2-16
893-00992-E
Verifying the Installation
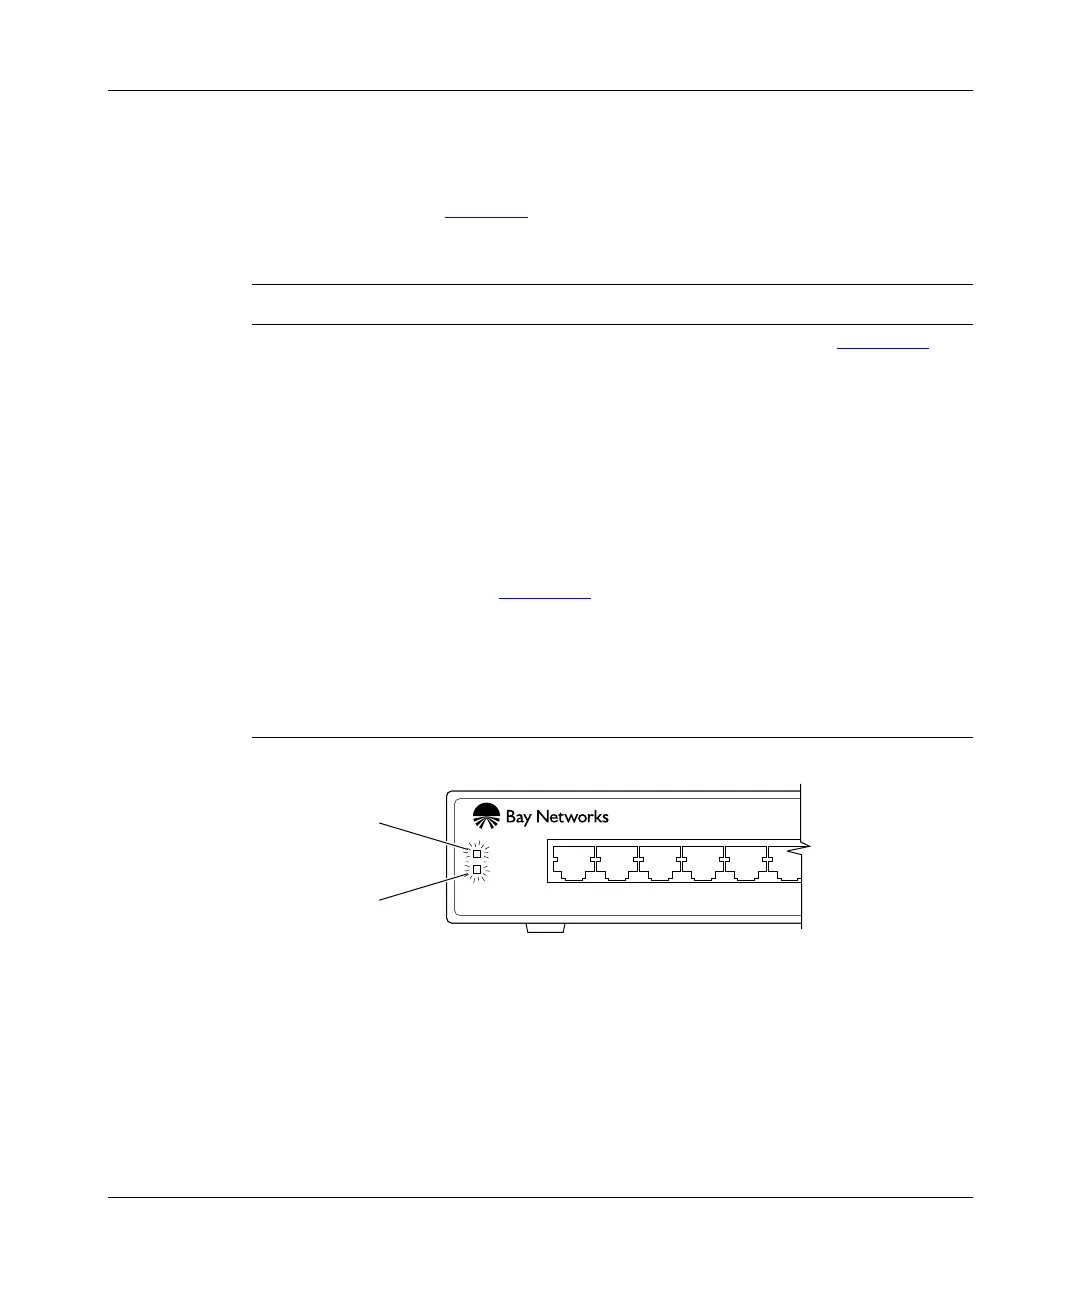
To verify proper operation of the BayStack 350 switch, observe the front-panel
LEDs as described in Table 2-1
.
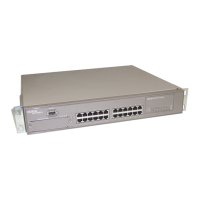
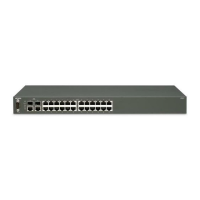
Figure 2-10. Observing LEDs to verify proper operation
After verifying proper operation of the BayStack 350 switch, proceed to
Chapter 3, “Using the Console Interface,” to configure and manage the switch.
Table 2-1. Power-up sequence
Stage Description LED indication
1 Immediately after
AC power is
applied to the
switch, DC power
is available to the
switch’s internal
circuitry.
The Power LED turns on within 5 seconds (Figure 2-10
).
If the Power LED does not turn on, verify that power is
available at the AC power outlet and that the power cable is
fastened securely at both ends.
If the Power LED remains off, contact the sales agent or the
customer service representative from whom you purchased
the switch.
2 The switch initiates
a self-test.
As subroutines are initiated by the self-test, the port status
LEDs flash various patterns. When the switch passes the
self-test (within 10 seconds), the Diagnostics LED turns on
(Figure 2-10).
If a nonfatal error occurs during the self-test, the
Diagnostics LED blinks.
If the switch fails the self-test, the Diagnostics LED remains
off. Contact the sales agent or the customer service
representative from whom you purchased the switch.
123456
Diagnostics
Power
Power LED
Diagnostics LED
613EB





 To Next Page