Using the BayStack 350 Series 10/100 Autosense Switch
2-6
893-00992-E
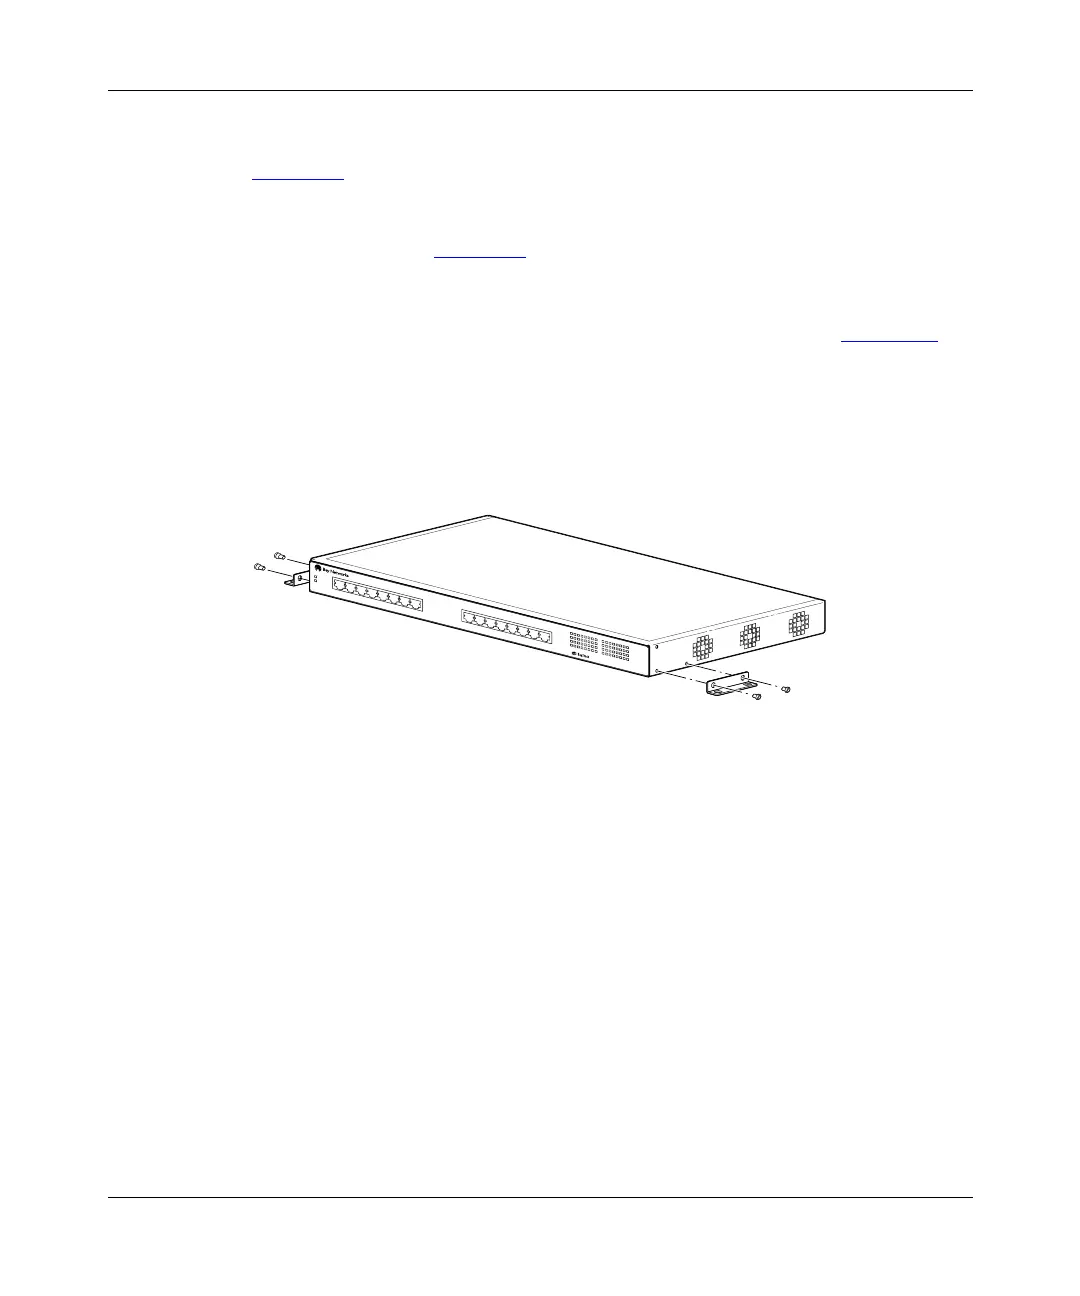
Attaching the Mounting Brackets
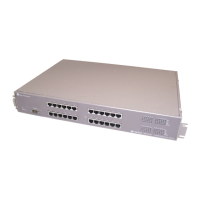
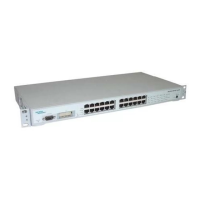
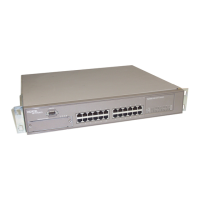
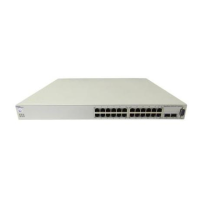
Figure 2-2
shows the mounting-bracket positions for mounting the Model 350F or
Model 350T switch on a flat surface such as a table, shelf, or wall. When rack
mounting the switch, you use the same brackets, but position them to attach to the
holes in the chassis (Figure 2-5
).
To attach the mounting brackets for a surface mount, follow these steps:
1.
Locate the rack-mounting holes on each side of the switch (Figure 2-2).
2.
Using a Phillips or crosshead screwdriver, attach a mounting bracket to
each side of the switch using the supplied screws.
3.
Secure the switch to the table, shelf, or wall as described in the
appropriate section.
Figure 2-2. Attaching mounting brackets for a surface mount
350T
10/100 Autosense Switch
585FB