893-00992-E
2-1
Chapter 2
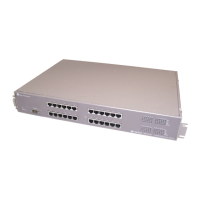
Installing the BayStack 350 Switch
This chapter explains how to install the BayStack 350 switch. The switch can be
placed on a table or shelf, mounted on a wall, or installed in a standard 19-inch
equipment rack.
To install the BayStack 350 switch, you unpack the equipment, physically install
the switch, connect the network cables, connect the power, and then verify the
installation.
Required Tools and Materials
You will need the following tools to install the BayStack 350 switch:
• For installation in an equipment rack, use a Phillips or crosshead screwdriver.
• For wall mounting, you need four screws (not supplied). The screw size and
type depends on the composition of the wall on which you intend to mount the
switch. Have an experienced maintenance person choose the appropriate
hardware for your wall composition.
Caution:
The screws and wall composition must be able to withstand the
weight of the device, plus the additional weight of the attached network cables
and power cords.