9
Parts of the Meter
4
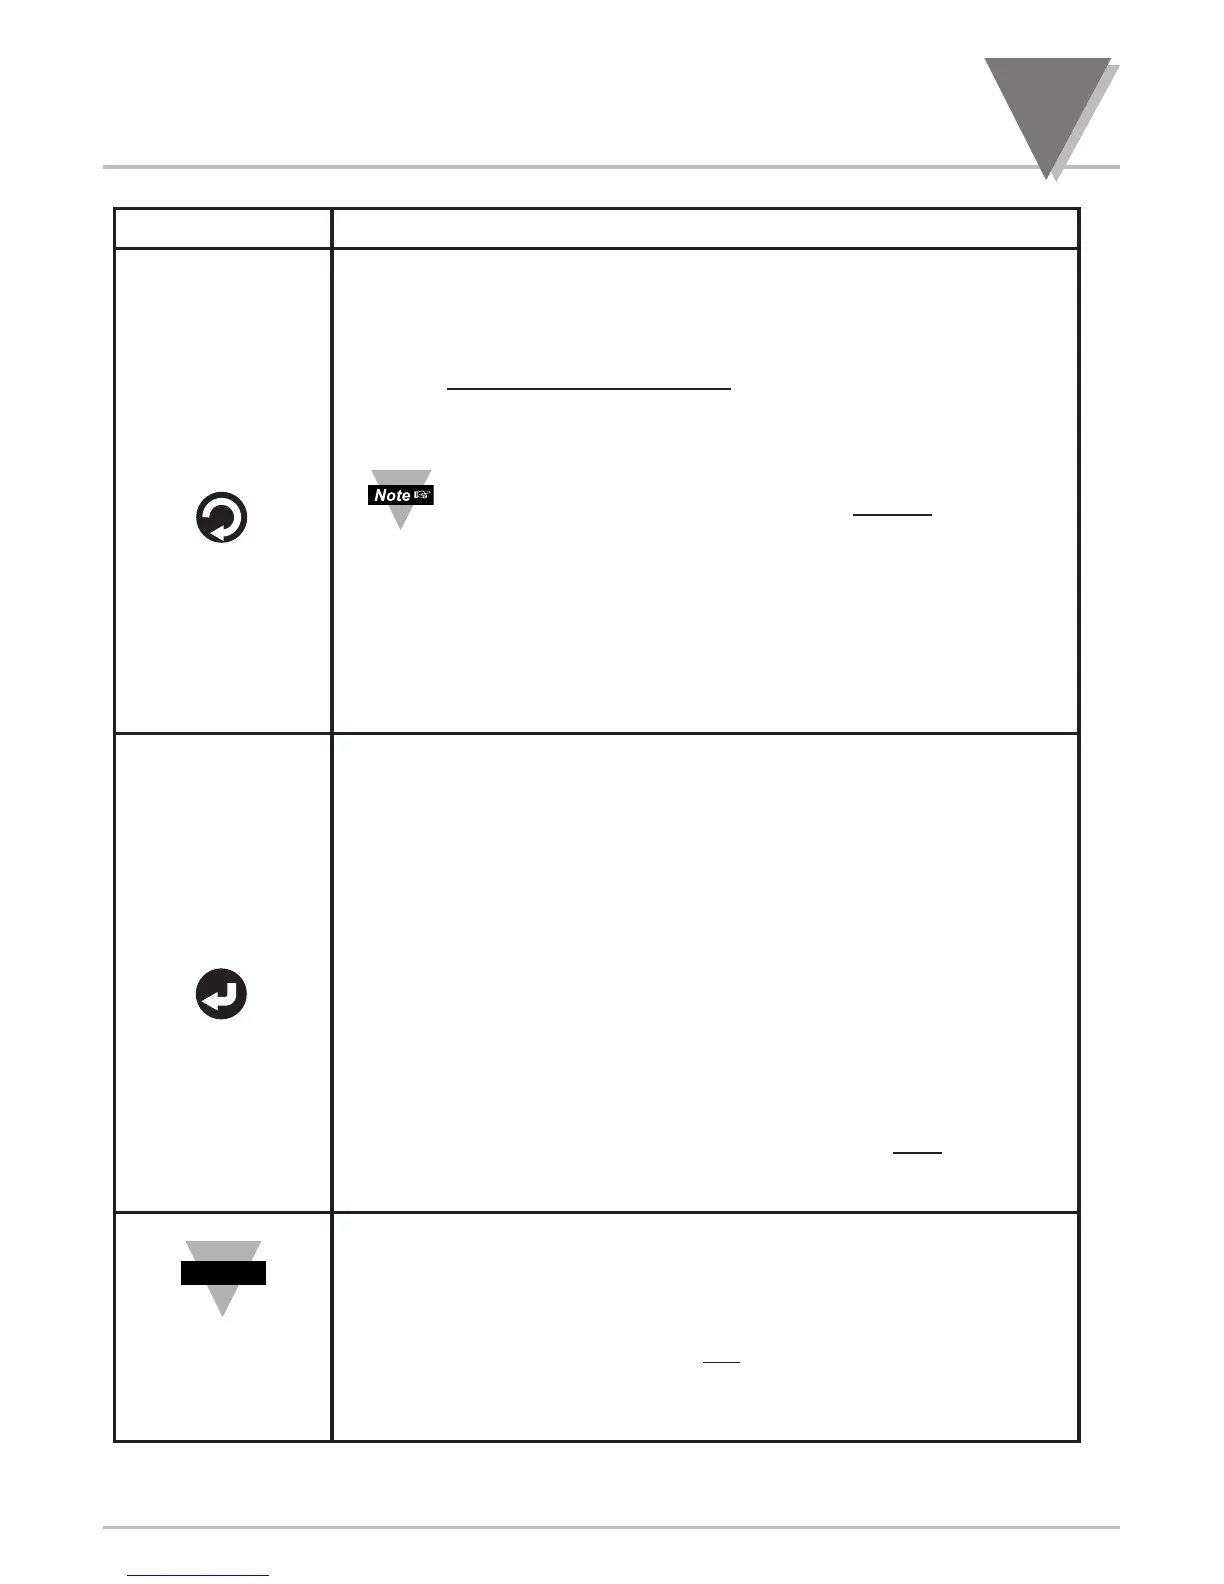
BUTTON Function in Configuration Mode
•
To enter the Menu, the user must first press ‘MENU’ button.
• To select “older -style” of Menu Configuration, "MENU 2", press
‘MENU’
button while Display is showing Firmware
Version Number
and only after applying the power
. Use ‘䊱/MAX’ to select
"MENU 2"
or "MENU 1" the default modern Menu Navigation option. Press
‘MENU’ button again to store your Menu selection.
If
"
MENU 2
"
is selected, users will be prompted to choose one
of these three available Display Colors:
"
GREEN
"
,
"
AMbER
"
or
"
REd
"
.
•
Use this button to advance/navigate to the next menu item. The
user can navigate through all the top-level menus by pressing
"MENU" repeatedly.
•
While a parameter is being modified, press this button to escape
without saving the parameter.
•
Press this button to access the submenus from a Top Level Menu
item.
•
Press this button, to store a submenu selection, or after Entering a
selected value/state - the display will flash a "StOREd" message to
confirm your selection.
•
In Menu Configuration Mode, pressing this button repeatedly also
allow user to sequence and confirm all settings through entire setup
menu items.
•
In the Run Mode, pressing the ‘RESET/ENTER’ button once erases
the memories of Peak "HI RdG", Valley "LO RdG" reading values,
and Alarm Latches. The display shows "RESEt 1" momentarily then
returns to Run Mode.
•
In the Run Mode, pressing ‘RESET/ENTER’ button twice, will cause
a hardware reset, as display shows "RESEt 2".
•
Reset: Except for Set Points and the Alarms, modifying any settings
of the menu configuration will reset ("RESEt 2") the unit prior
to resuming Run Mode.
•
Every Menu underlined item, number, or state is the Factory
default/preset value. Example: 001
, 002, 004
•
Make certain that the unit has no locked menu Before attempting
to locate and configure the specific menu function.
MENU

 Loading...


