16
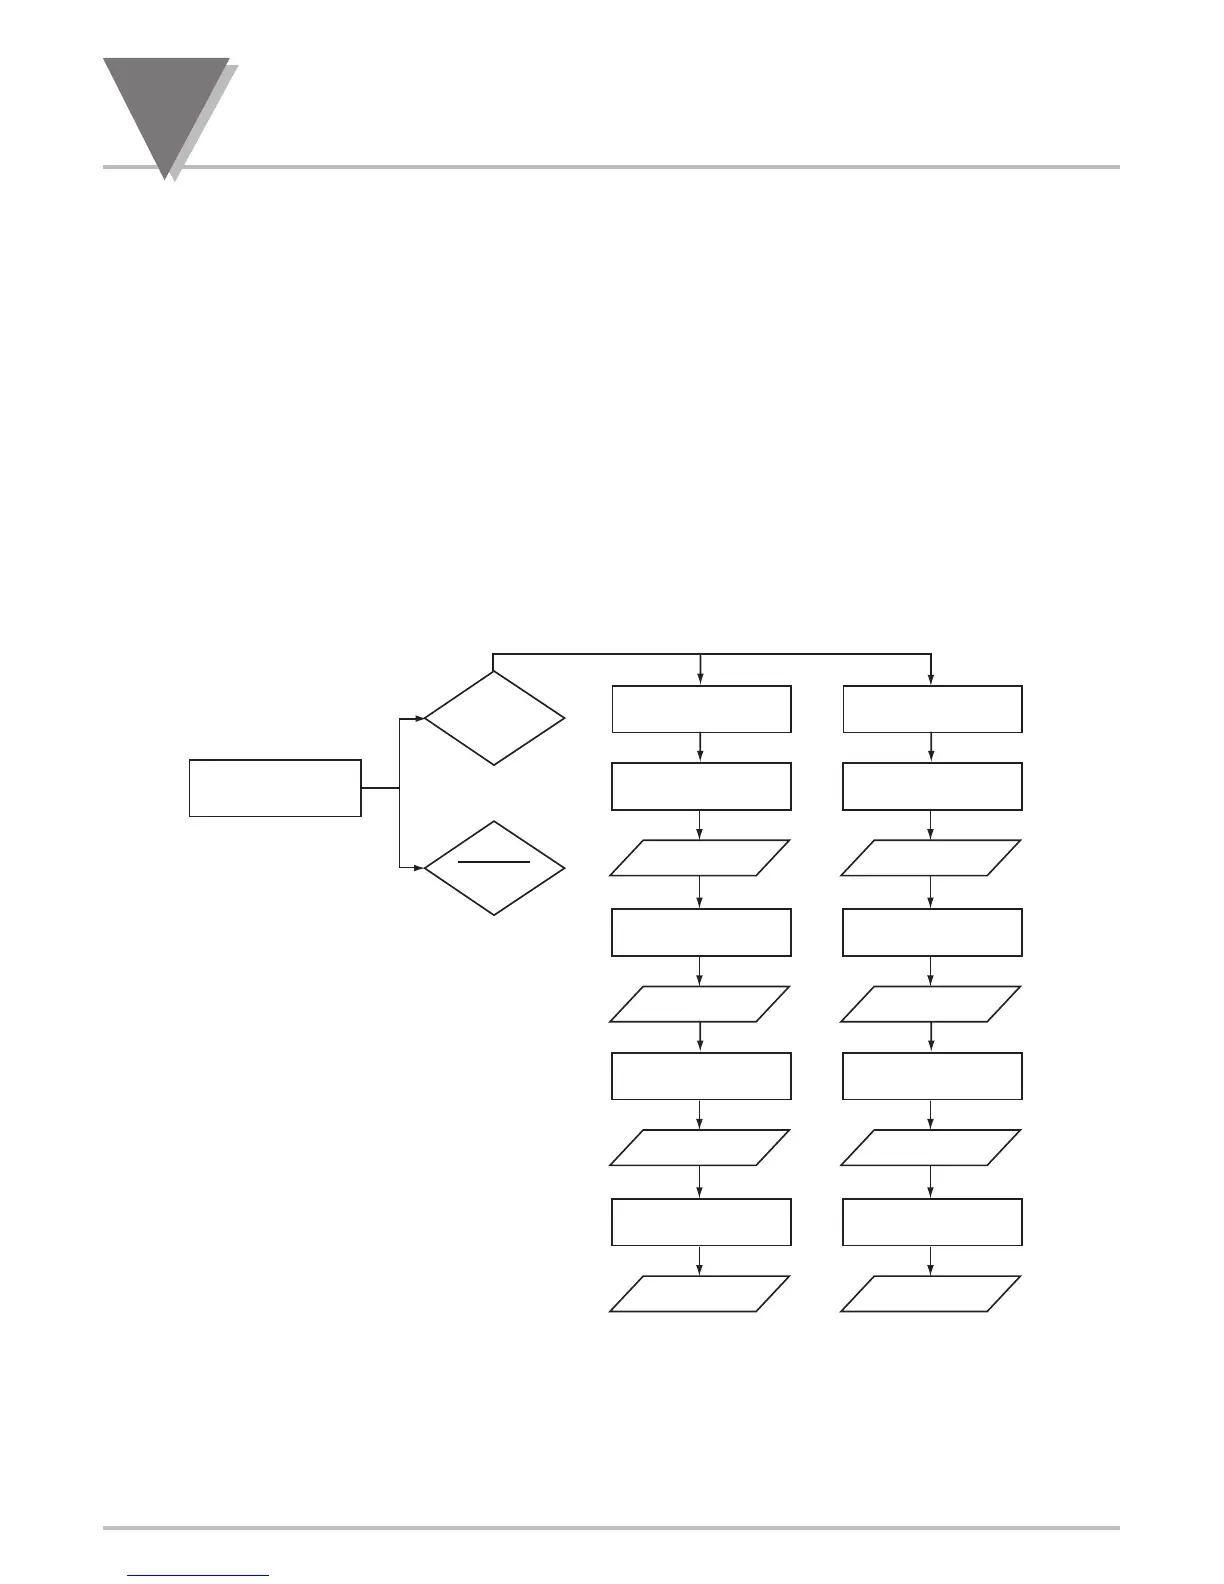
Input Configuration Menu
62
In case of "bRIdGE" input type:
Press ‘RESET/ENTER’ 19) Display shows "bRdG.LM" Bridge Limit function menu.
Press ‘RESET/ENTER’ 20) Display flashes "NORMAL" or the previous setting.
Press ‘䊱/MAX’ 21) Scroll the available options of setting: "NORMAL" or "SP1.L.2.H"
(Setpoint 1 value would be lower overload limit and Setpoint 2 would be
upper overload limit) for your choice of setting.
Press ‘RESET/ENTER’ 22) Display advances to "RAt IO" Ratiometric input reading or
measurement setup menu. If a change was made, the controller will also
show "StOREd" stored message momentarily.
Press ‘RESET/ENTER’ 23) Display flashes "dISAbL" or previous setup option.
Press ‘䊱/MAX’ 24) To select either "ENAbLE" or "dISAbL" for your choice of setup.
Press ‘RESET/ENTER’ 25) Display advances to "IN.SC.OF" Input Scale & Offset Configuration
Submenu or measurement setup menu. If a change was made, the
controller will also show the "StOREd" stored message momentarily.
16.4 IN.SC.OF Enter INPUT SCALE & OFFSET CONFIGURATION SUBMENU:
Press ‘RESET/ENTER’ 26) Display flashes "dISAbL" (default) or previous selection.
Press ‘䊱/MAX’ 27) To select either "ENAbLE" or "dISAbL" for your choice of setup.
Press ‘RESET/ENTER’ 28) Select "ENAbLE", display flashes "ON.LINE" (default) or previous
selection.
Press ‘䊱/MAX’ 29) To select either "ON.LINE" or "MANUAL" for your choice of Input
Scale & Offset Configuration.

 Loading...


