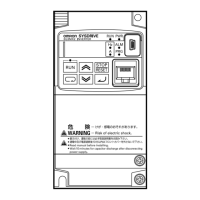
5)
Auto-tuning result is displayed.
The auto-tuning result will be displayed as follows.
Normal
end
Error
end
If auto-tuning is aborted due to an error, retry it.
To clear the display, press the STOP/RESET key.
Precautions for Correct Use
•
Even if you set H001 to 01 (Auto-tuning without motor rotation), for example, the 4-pole
motor may rotate by approximately up to1/8 of a rotation (half the inverse of poles).
•
High-tone sound or minor vibration may occur during auto-tuning.
•
If a holding brake is provided, release the brake before executing auto-tuning.
•
Auto-tuning cannot be performed with a motor whose rated current exceeds the rated output
current of the inverter, or with a motor whose rated current is 50% of the rated current of the
inverter or lower.
•
Adequate auto-tuning may not be performed if a motor cable is long (longer than 20 m).
•
Set the Carrier Frequency (b083) to 8.0 kHz or higher. Setting a low carrier frequency results
in a poor auto-tuning accuracy, and the inverter cannot perform adequate control.
3 Operations after auto-tuning
•
After normal end of auto-tuning, set the PM Motor Parameter Selection (H102) to 01
(Auto-tuning parameter).
This enables the PM motor parameters (H111 to H113) set by the auto-tuning function.
•
At the end of auto-tuning, the inverter automatically resets the Auto-tuning Selection (H001)
to 00 (Disabled).
To retry auto-tuning, set H001 again to enable auto-tuning.
Precautions for Correct Use
Set again the DC Injection Braking Selection (A051) value which you set to 00 (Disabled) in “1.
Presetting of parameters” according to the user environment.