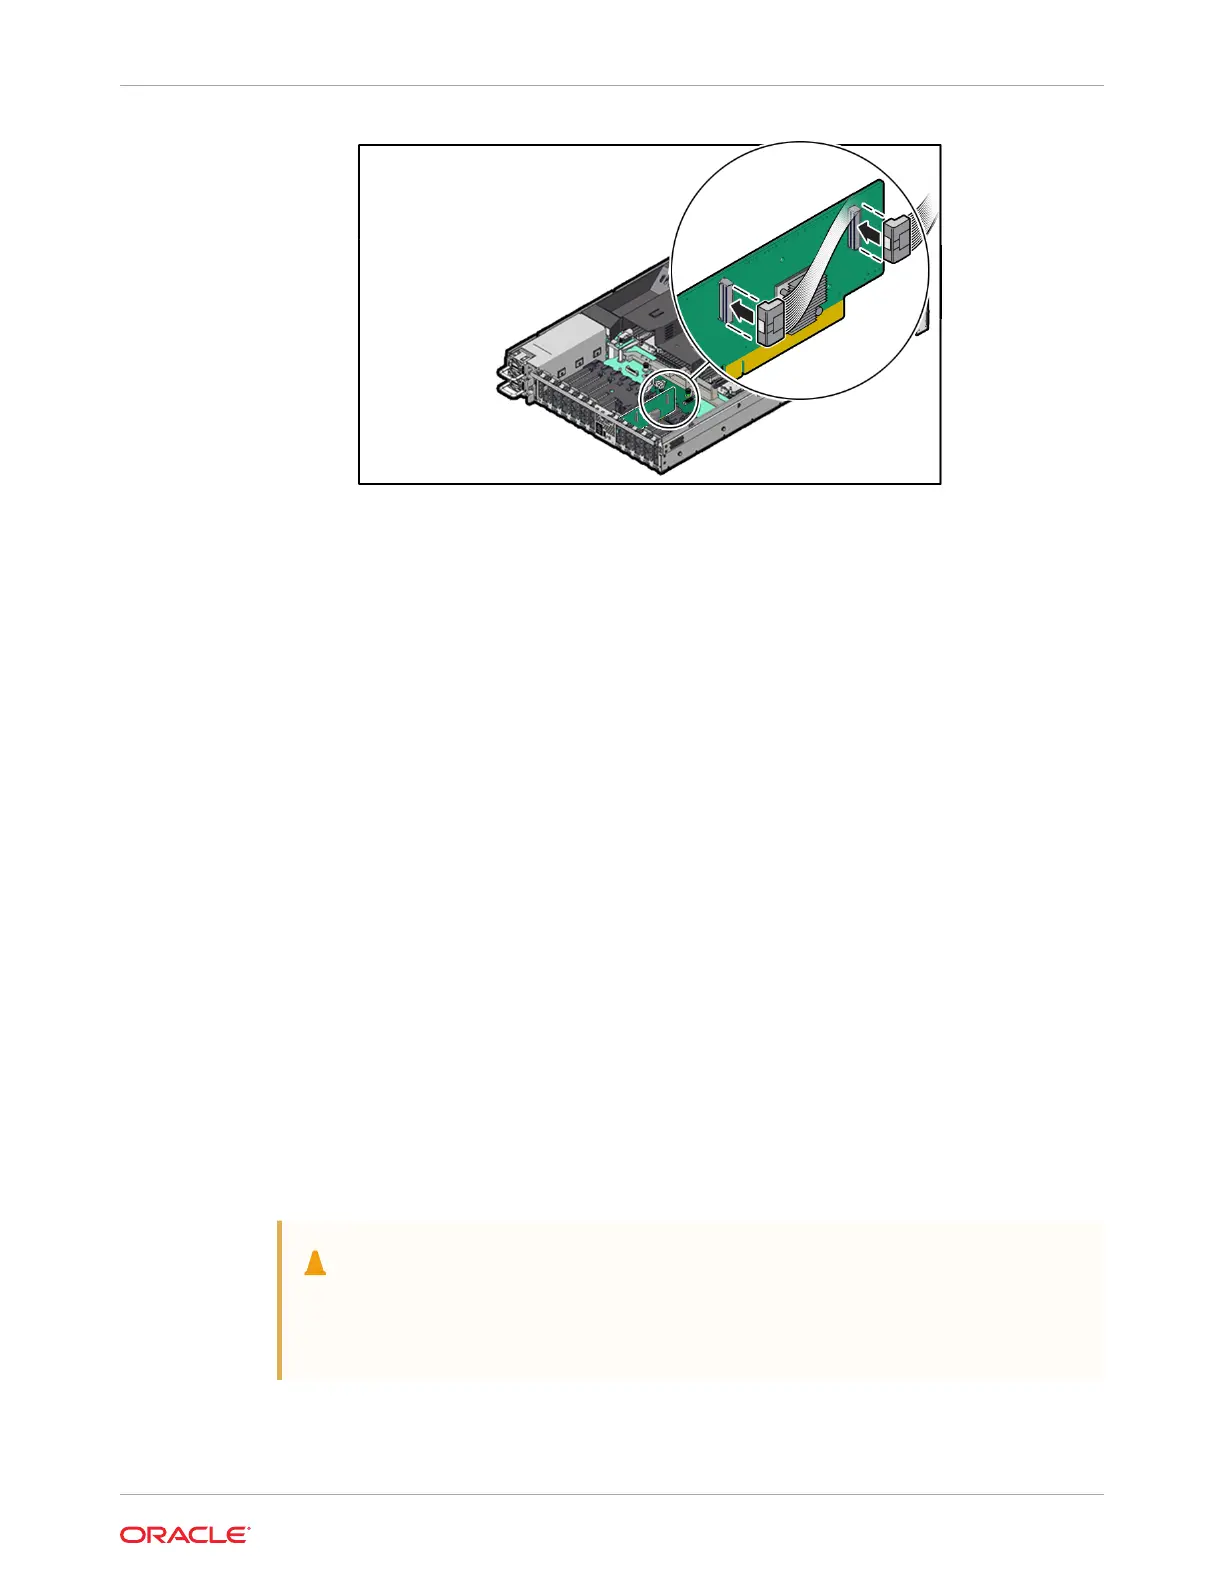
f. Slide the disk backplane Aux Signal and Retimer cables into the cable trough on the
side of the chassis wall (on the left side when facing the front of the system).
3. Return the server to operation.
a. Install the fan tray and fan modules.
See Install the Fan Tray.
b. Install the air baffle.
See Install the Air Baffle.
c. Install the server top cover.
See Install the Server Top Cover.
d. Return the server to the normal rack position.
See Return the Server to the Normal Rack Position.
e. Reconnect the power cords to the power supplies, and power on the server.
See Powering On Oracle Database Appliance.
f. Verify that the power supply AC OK LED is lit.
Servicing the Front LED Indicator Module (FRU)
Perform tasks in this section to service the front LED indicator module.
The front LED indicator module is a replaceable component that requires you to power off the
server before servicing.
Caution:
Ensure that all power is removed from the server before removing or installing a
front LED indicator module. You must disconnect the power cables before
performing this procedure.
Chapter 5
Servicing the Front LED Indicator Module (FRU)
5-33