4. Replace each failed DIMM with either another DIMM of the same rank size (quad-
rank or dual-rank) or leave the slot empty.
For DIMM replacement instructions, see Install a DIMM.
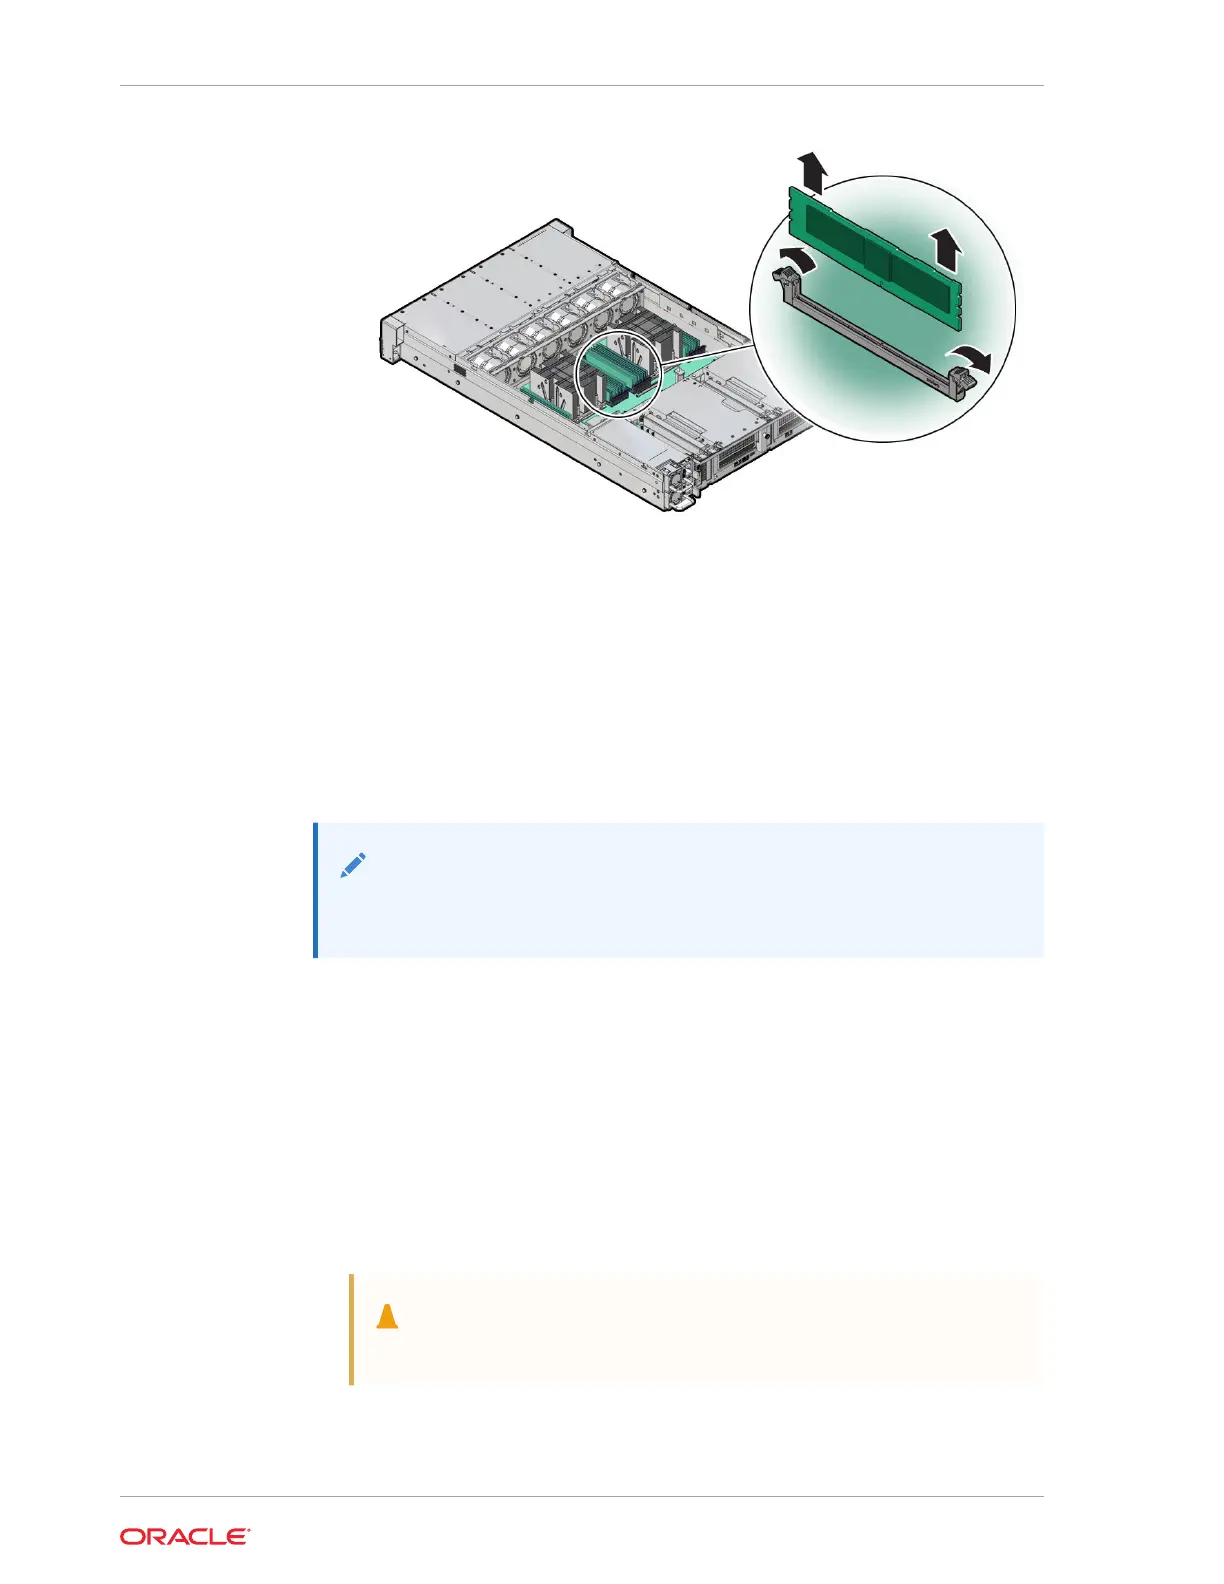
Install a DIMM
1. Unpack the replacement DIMM and place it on an antistatic mat.
2. Ensure that the replacement DIMM matches the size, type, and rank of the DIMM
it is replacing.
Note:
See DIMM Population Rules and Populating DIMMs for Optimal System
Performance.
3. Install a DIMM.
a. Ensure that the ejector tabs are in the open position.
b. Align the notch in the replacement DIMM with the connector key in the
connector slot.
The notch ensures that the DIMM is oriented correctly.
c. Push the DIMM into the connector slot until the ejector tabs lock the DIMM in
place.
If the DIMM does not easily seat into the connector slot, verify that the notch in
the DIMM is aligned with the connector key in the connector slot.
Caution:
If the notch is not aligned, damage to the DIMM might occur.
Chapter 4
Servicing DIMMs (CRU)
4-14