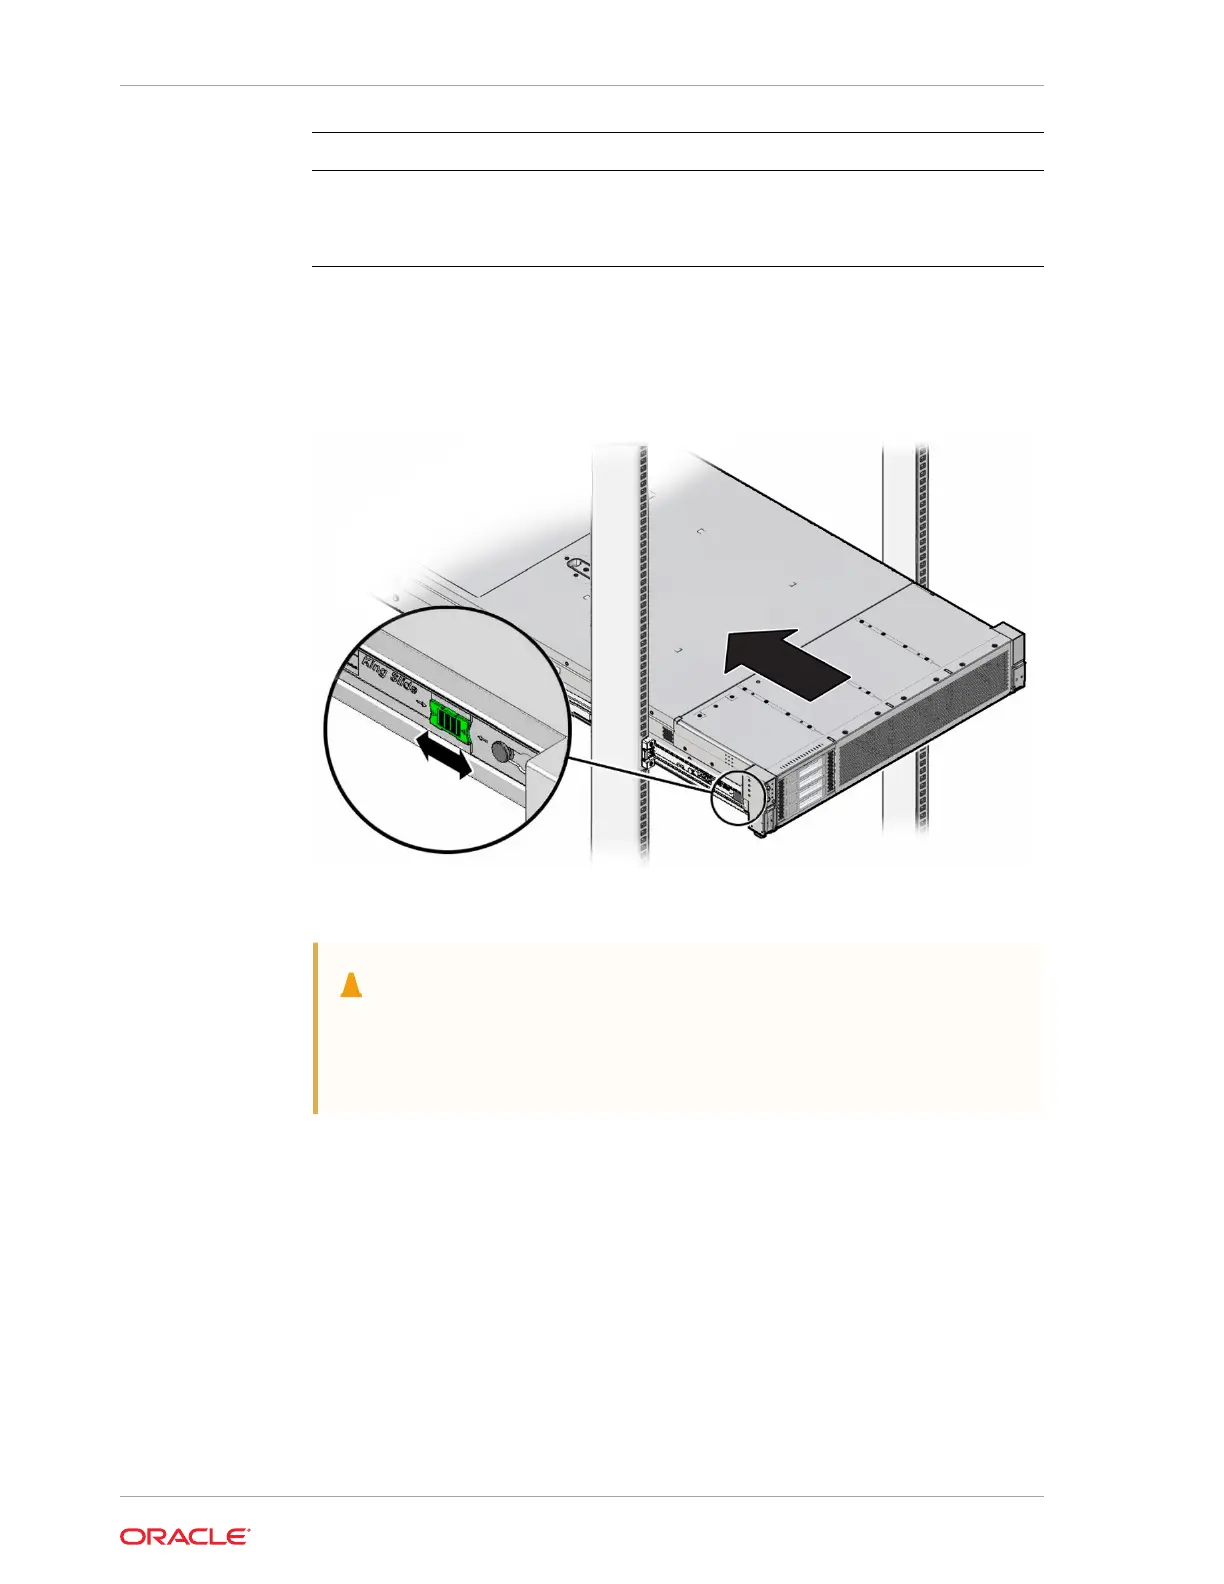
Call Out Description
1 Inserting mounting bracket into slide-rail
2 Slide-rail release button
3 Slide-rail lock
5. Simultaneously push and hold the green slide-rail release buttons on each
mounting bracket while you push the server into the rack. Continue pushing the
server into the rack until the slide-rail locks (on the front of the mounting brackets)
engage the slide-rail assemblies with an audible click.
Caution:
Before you install the optional cable management arm verify that the
server is securely mounted in the rack and that the slide-rail locks are
engaged with the mounting brackets.
6. If you extended the rack anti-tilt mechanism to stabalize the rack, retract it back to
its normal position.
Return the Server to the Normal Rack Position
If the server is in the extended maintenance position, use this procedure to return the
server to the normal rack position.
1. Push the server back into the rack, as described in the following steps.
a. Simultaneously pull and hold the two green release tabs (one on each side of
the slide rails on the server) toward the front of the server, while you push the
server into the rack.
Chapter 6
Return the Server to the Normal Rack Position
6-4