e. Using a Torx T15 screwdriver, loosen the two spring-mounted screws that
secure the disk backplane to the storage drive cage [5].
f. Gently remove the disk backplane from the storage drive cage [6].
g. Place the disk backplane on an antistatic mat.
Install the 4-Drive Backplane
To install the 4-Drive disk backplane and storage drive cage:
1. Unpack the replacement 4-Drive disk backplane and place it on an antistatic mat.
2. Install the 4-Drive disk backplane on to the storage drive cage. Then reinstall the
storage drive cage in to the chassis.
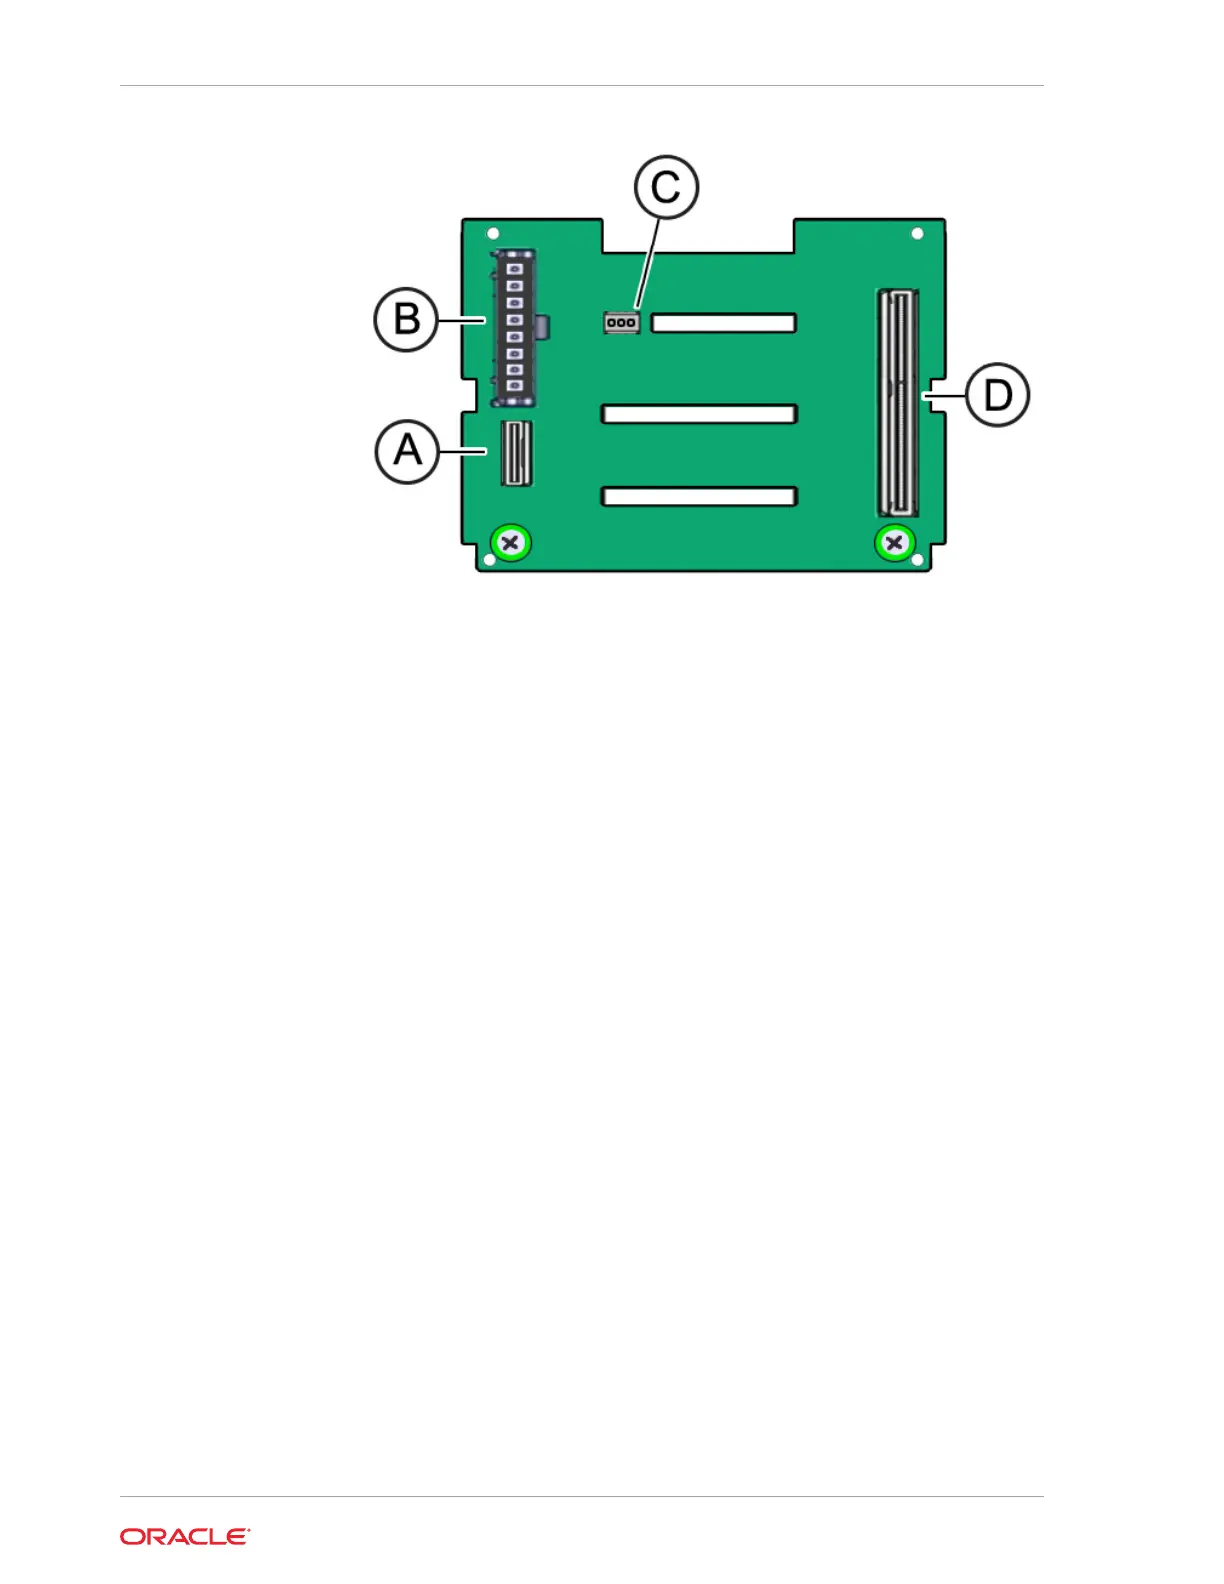
a. Align the replacement disk backplane with the rear of the storage drive cage.
Using a Torx T15 screwdriver, tighten the two spring-mounted screws to
secure the disk backplane to the storage drive cage [1, 2].
Chapter 5
Servicing the Disk Backplane (FRU)
5-26