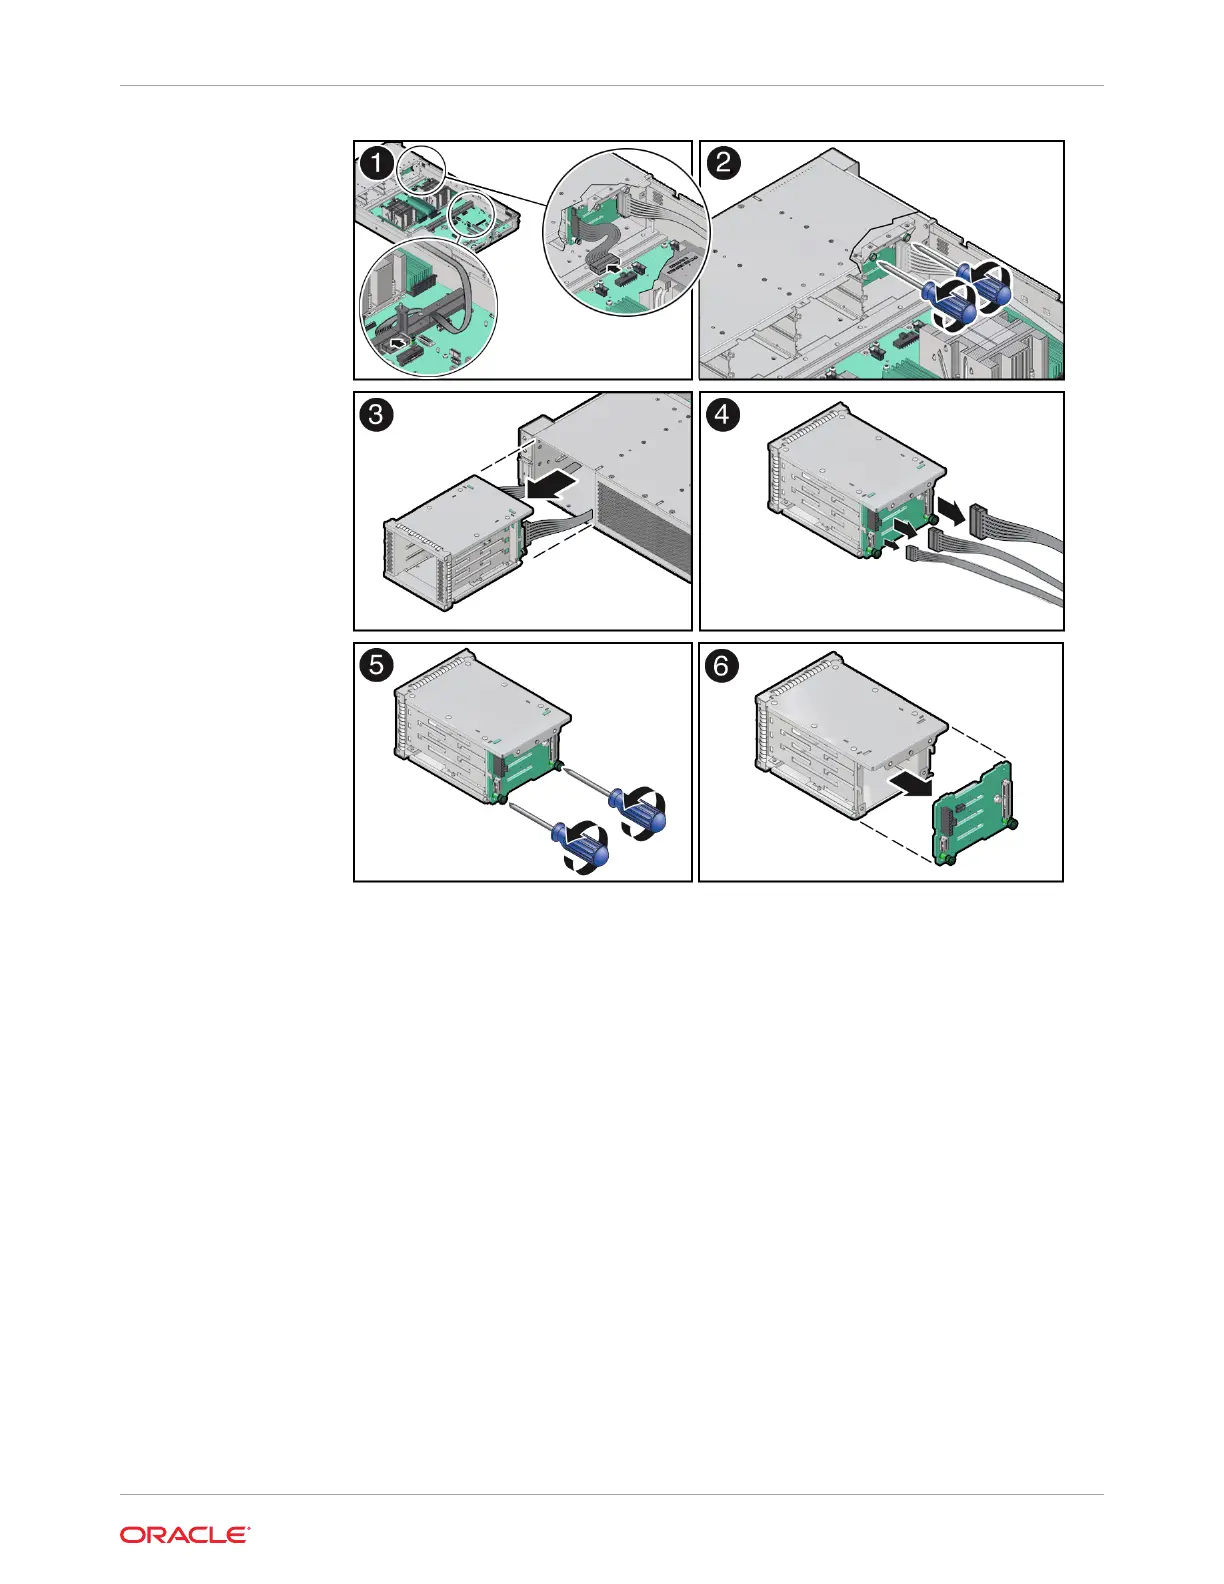
b. Using a Torx T15 screwdriver, loosen the two spring-mounted screws that secure the
storage drive cage in to the chassis [2].
c. Ensure that the disk backplane cables are free from snagging motherboard
components and gently pull the storage drive cage with cables attached through the
front panel of the chassis [3].
d. Disconnect the disk backplane cables from the disk backplane and set them aside
[4].
As shown below, the disk backplane has four connectors to which cables are
attached: the Aux Signal [A], Power [B], Temperature Sensor [C] and Retimer [D].
Press and hold the button on the connector to disengage the locking mechanism,
then gently disconnect each cable from the disk backplane.
Chapter 5
Servicing the Disk Backplane (FRU)
5-25