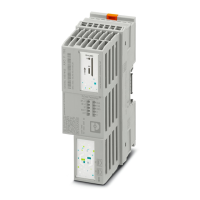
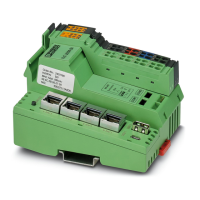
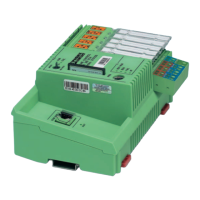
Mounting/removal and power supply
8686_en_01 PHOENIX CONTACT 45
3.6.2 Connecting the power supply/switch-on
Supply the controller using external 24 V DC voltage sources. The permissible voltage
ranges from 19.2 V DC to 30 V DC (ripple included).
The power consumption of the controller at 24 V is typically 9.8 W (no local bus devices con-
nected).
1. Connect the voltage supply to the supply plug, as shown in Section 3.3, “Mounting the
controller”. Please observe the information in Section 2.11, “Connection for the supply
voltage”.
2. Now switch on the power supply. The device LEDs indicate the following behavior:
If the LEDs do not light up or start flashing, there is a serious fault on the controller. In this
case, please contact Phoenix Contact.
Only use power supplies that are suitable for operation with capacitive loads (increased
switch-on current) (see Section “Sizing of the power supply” on page 43).
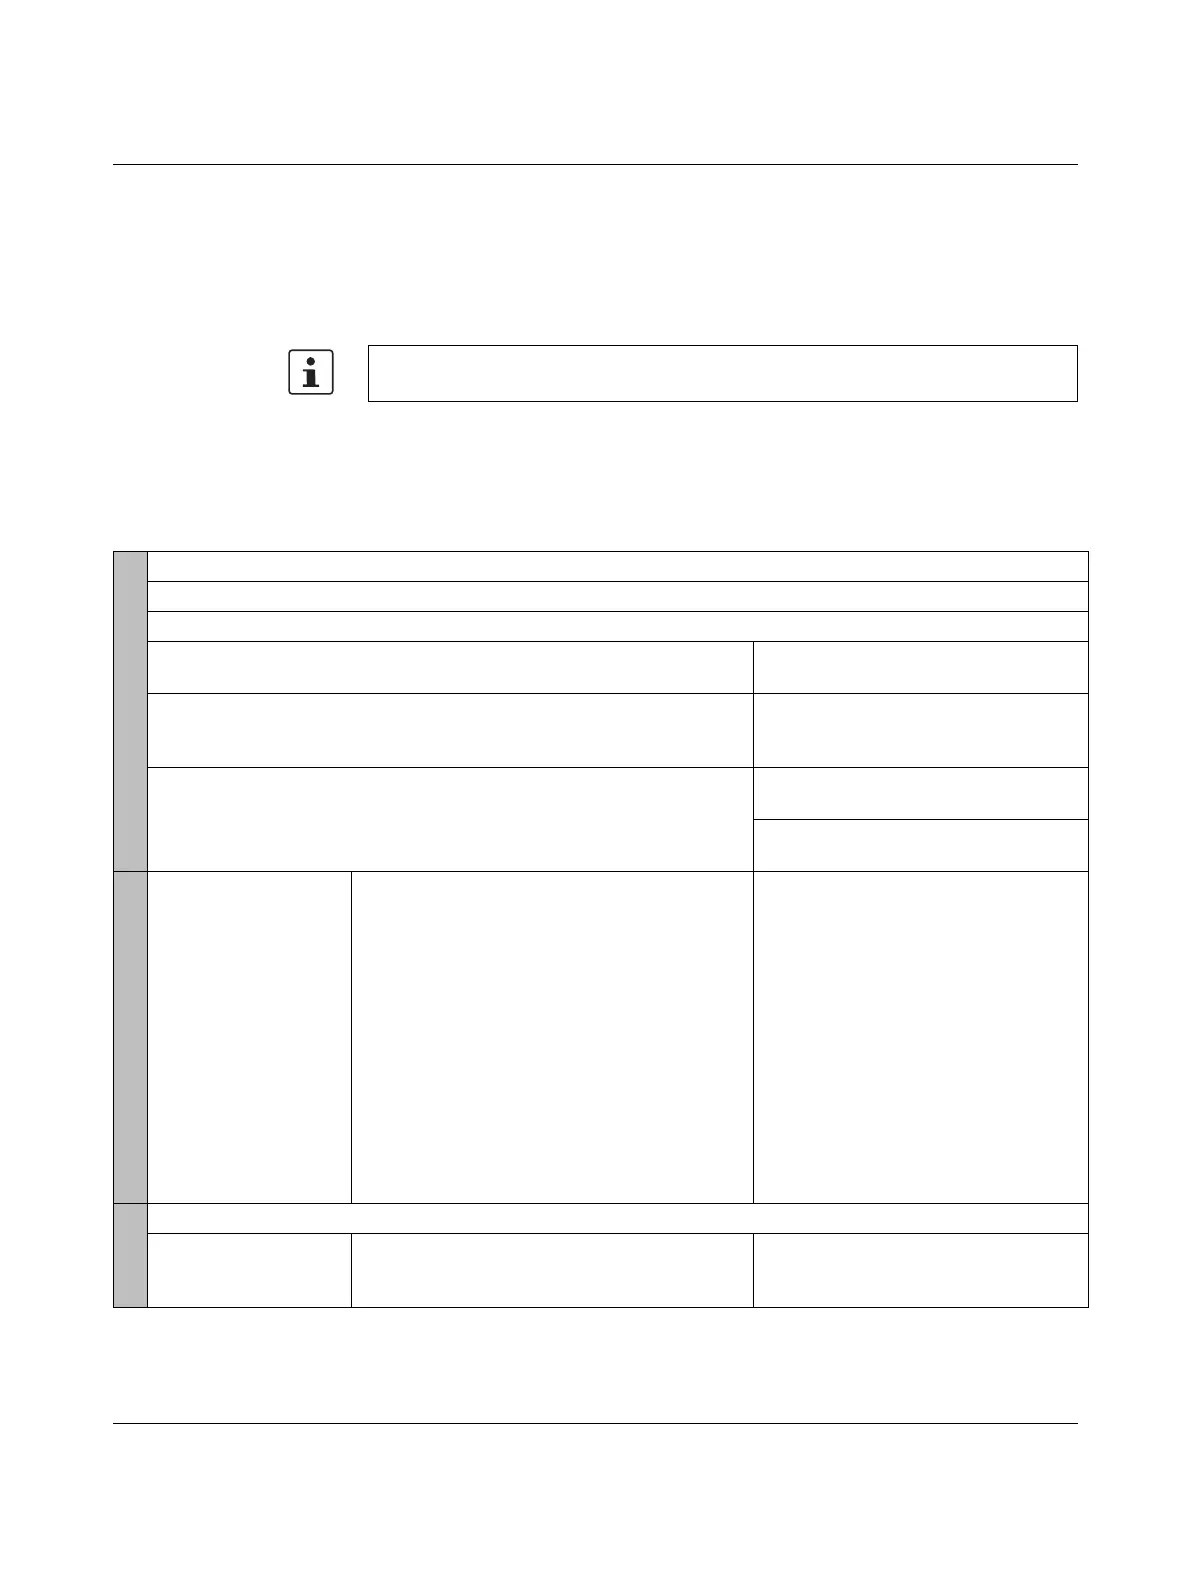
Table 3-1 Behavior of device LEDs following power supply switch-on
Behavior of device LEDs
U
L
LED starts to light up, shortly followed by the ready for operation LED.
The BOOT LED starts to flash approximately 10 s later.
The DBG LED starts to flash approximately 10 s later. The BOOT and DBG LEDs flash with different frequencies.
The DBG and BOOT LEDs go out after approximately another 30 s. The DBG and BOOT LEDs go out after
approximately another 5 s.
The D LED is permanently illuminated in yellow. The D LED starts to light up yellow and
shortly after lights up permanently in
green.
The RUN and BF-C LEDs start to flash permanently with the same fre-
quency.
The RUN LED starts to light up perma-
nently in green.
The BF-C LED goes out after briefly
flashing red.
Conditions
Switch on with default
settings:
– Delivery state of the
controller
Switch on with default settings and activated
BootP server:
– The controller is connected with PC Worx on-
line using one of the three Ethernet interfaces.
– The MAC address(es) of the controller and the
corresponding IP address settings are entered
in PC Worx in the “IP Settings” tab in the “De-
vice Details” window.
– The BootP server is activated in PC Worx.
– The previously entered IP address settings are
assigned to the Ethernet interface connected
with PC Worx via BootP (see Section “Assign-
ing the IP addresses using a BootP server” on
page 54).
Switch on with configuration:
– One program is downloaded to the
controller.
– IP address settings are assigned to the
controller.
Result
The AXC 3050 is now fully initialized and ready for operation.
IP address settings can
be assigned to
AXC 3050.
The AXC 3050 can be accessed via the previ-
ously configured Ethernet connection.
The AXC 3050 is processing the existing
project.
 Loading...