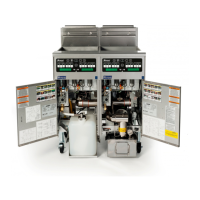
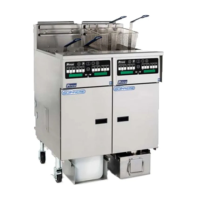
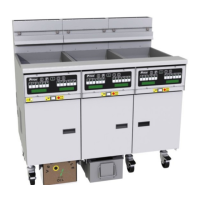
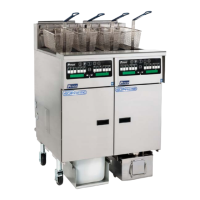
Pitco SSHLV (ROV) Gas Fryers
11 Replacing an Igniter/Pilot Assembly
DANGER
Prior to moving, testing, maintaining or repairing
any appliance, ensure it is emptied of all oil,
cool, disconnected from gas and all electrical
power. Failure to do so may result in property
damage, damage to your fryer, injury or death.
1. First cut and remove the zip ties which hold
the flame sensor wire, then carefully remove
the ignition wire boot and move it out of the
way.
2. Remove the two (2) screws, which hold the
pilot assembly using a 5/16”inch socket. One
(1) of the screw, holds the ground wire, be
careful when removing the screw.
3. The pilot assembly consists of the pilot tube,
flame hood, flame sensing rod and spark rod
and also the pilot orifice. (If spark wire, flame
sensor wire or ground wire need changing you
will need to gain excess to the ignition module
page 29)
4. Follow steps 1 through 3 in reverse order to
reinstall pilot assembly. Remember to attach
the ground wire to one of the screws.
4. Verify that the spark is adjusted correctly.
The purple spark should jump from the spark
rod to the center of the flame hood. The spark
should not jump to the flame sensing rod.
Spark should be about ¼ inch in length if
adjusted properly.
DANGER
Check for gas leaks after installation or servicing
of a gas fryer. Apply a leak detection solution to
all connections and joints to ensure there are no
bubbles or leaks. Failure to check for and correct
any leaks could lead to fire and/or explosion,
property damage, injury and death.
L22-392 R1 30