CLUTCHING
4.45
Clutch Alignment Inspection
NOTE: Drive clutches are purposely misaligned slightly forward to compensate for the engine shifting on it’s
mounts. Under load, the engine will pull back slightly so both clutches are in alignment.
1. After clutch offset has been verified, inspect alignment.
2. Install proper alignment tool, depending on type of clutch, as shown in Ill. 1 page.
3. There should be a .060s - .090s (1.5 - 2.25 mm) gap between front of driven clutch and tool, with the tool just
touching at the rear. Up to .125s (3.1 mm) gap is acceptable in the front on new machines.
Clutch Alignment Adjustment
1. Loosen all 4 engine mounting bolts.
2. Adjust engine torque stop until clutches are in proper alignment.
3. Tighten engine mounts securely.
4. Recheck both clutch offset and alignment.
5. Verify proper torque stop adjustment.
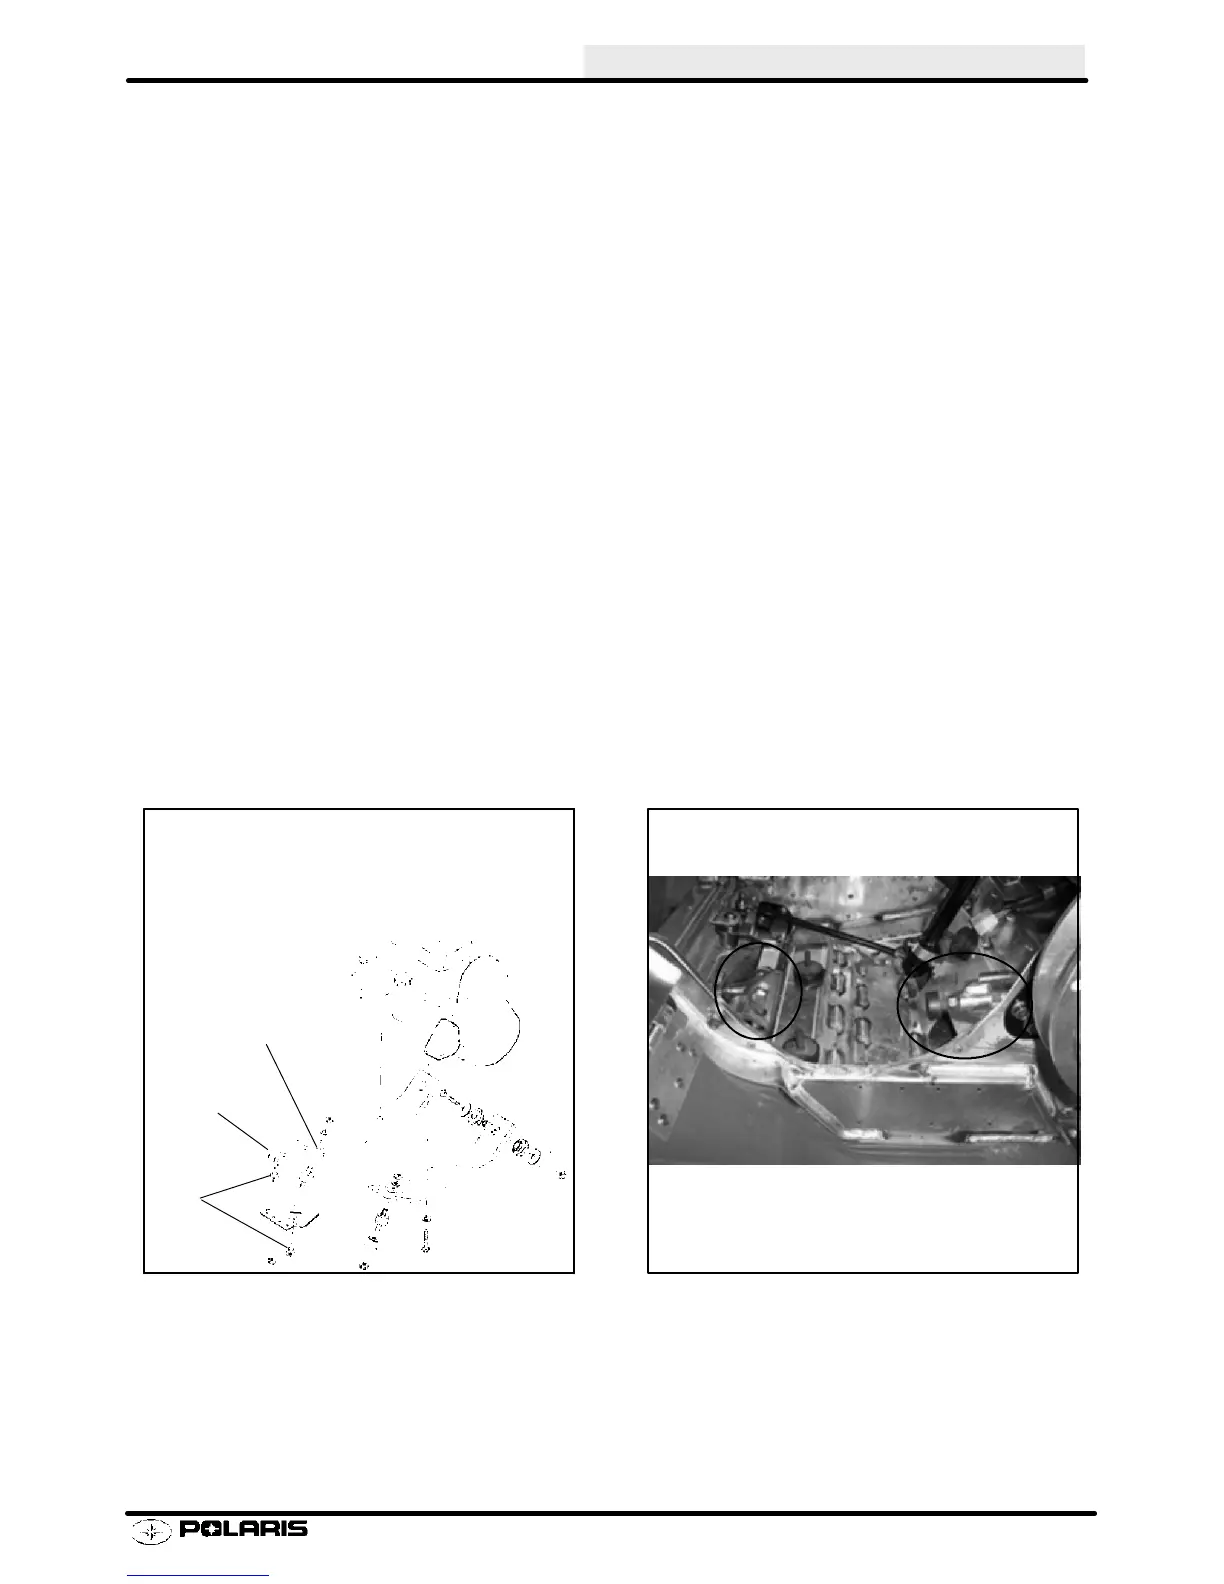
Torque Stop Adjustment
NOTE: There are two types of torque stops currently used. Refer to the illustrations below for adjustment of each
type.
1. After aligning clutches, adjust torque stop by
loosening lock nut and rotating stop to proper
clearance as shown. Hold torque stop and tighten
jam nut to 15-17 ft. lbs. (21-23.5 Nm).
Lock
Nut
Adjust gap between stop and engine
mount to .010s - .030s (.25 - .75 mm)
r .005s (.13 mm)
ENGINE MOUNT TORQUE STOP
Torque Stop
Engine Mount
Adjust gap between stop and engine
crankcase to apply slight pre--load
for Race applications.
CRANKCASE TORQUE STOP
Enfocus Software - Customer Support
 Loading...