CARBURETION
3.24
Mikuni TMX Carburetor Service
CAUTION:
Wear eye protection when using compressed air or cleaning
solvents. Review all fuel system warnings found on page
3.1 before proceeding.
Carburetor Removal, Disassembly, and Inspection (Typical VM Mikuni)
1. Remove carburetor from engine. Before
disassembling, clean outside of carburetor thoroughly
with solvent.
CAUTION:
Do not use compressed air to dry at this time. The float
chamber could become pressurized resulting in damage to
the floats or inlet needle and seat..
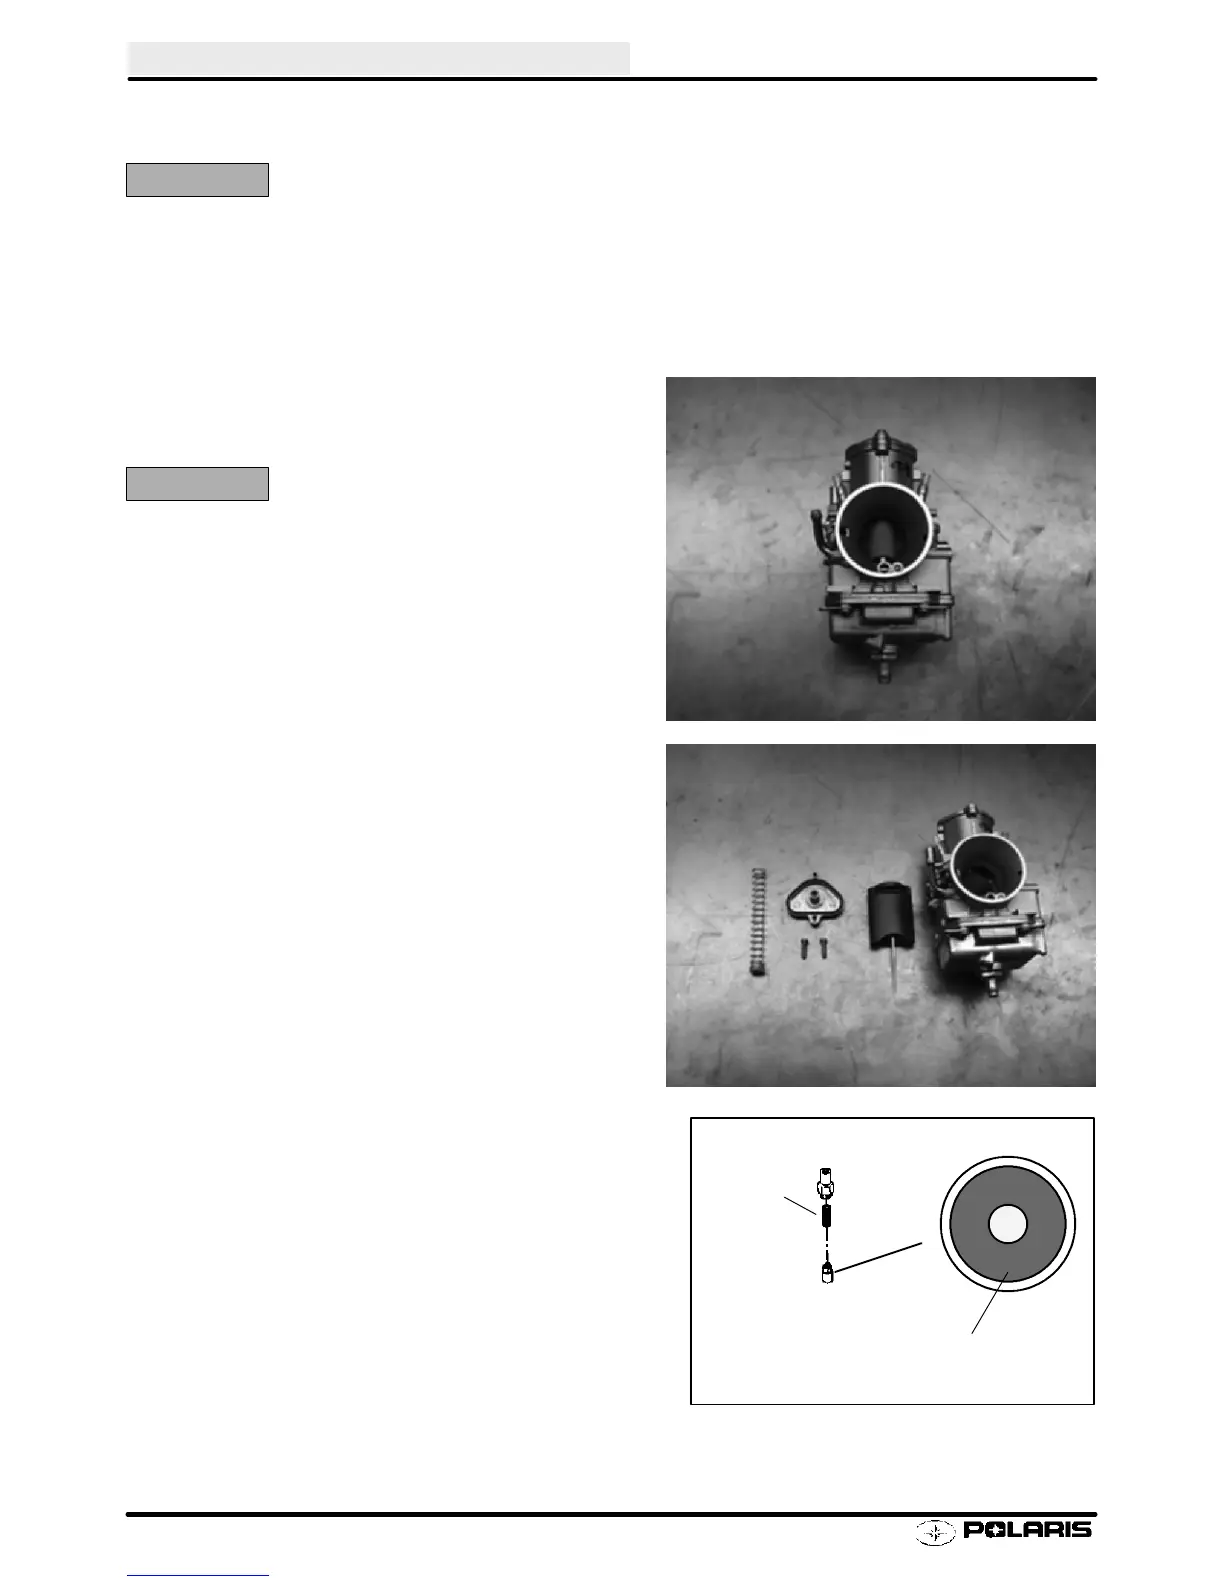
2. Remove slide valve. Inspect for nicks or burrs which
may cause sticking.
3. Remove jet needle by compressing return spring
toward top cap and removing throttle plate which rests
on top of needle “E” clip. Note the “E” clip position and
inspect needle taper for wear. An indication of wear
would be an hourglass shape or polished spots
somewhere along the taper.
4. Remove enricher (choke) plunger. Check condition of
seal on tip of plunger. Any nicks or cuts will cause
leakage and a rich fuel condition, usually most evident
at idle and low speeds. Inspect the plunger seat for
damage or foreign material.
5. Check choke cable movement. Plungers and springs
should move back and forth freely, without binding.
6. Check carb bore for nicks or foreign objects.
Plunger Seat
Spring
Enfocus Software - Customer Support
 Loading...