9.15
BRAKES
9
6. Install wheel hub assembly, washers, and castle nut. Torque
castle nut to 80 ft. lbs. (108 Nm) and install a new cotter pin.
7. Install the front brake caliper (see “FRONT CALIPER
SERVICE”).
8. Follow bleeding procedure outlined earlier in this chapter.
9. Field test unit for proper braking action before putting into
service. Inspect for fluid leaks and firm brakes. Make sure
the brake is not dragging when pedal is released. If the brake
drags, re-check assembly and installation.
REAR BRAKE PADS
Pad Removal
1. Elevate and support rear of vehicle.
2. Remove the rear wheel.
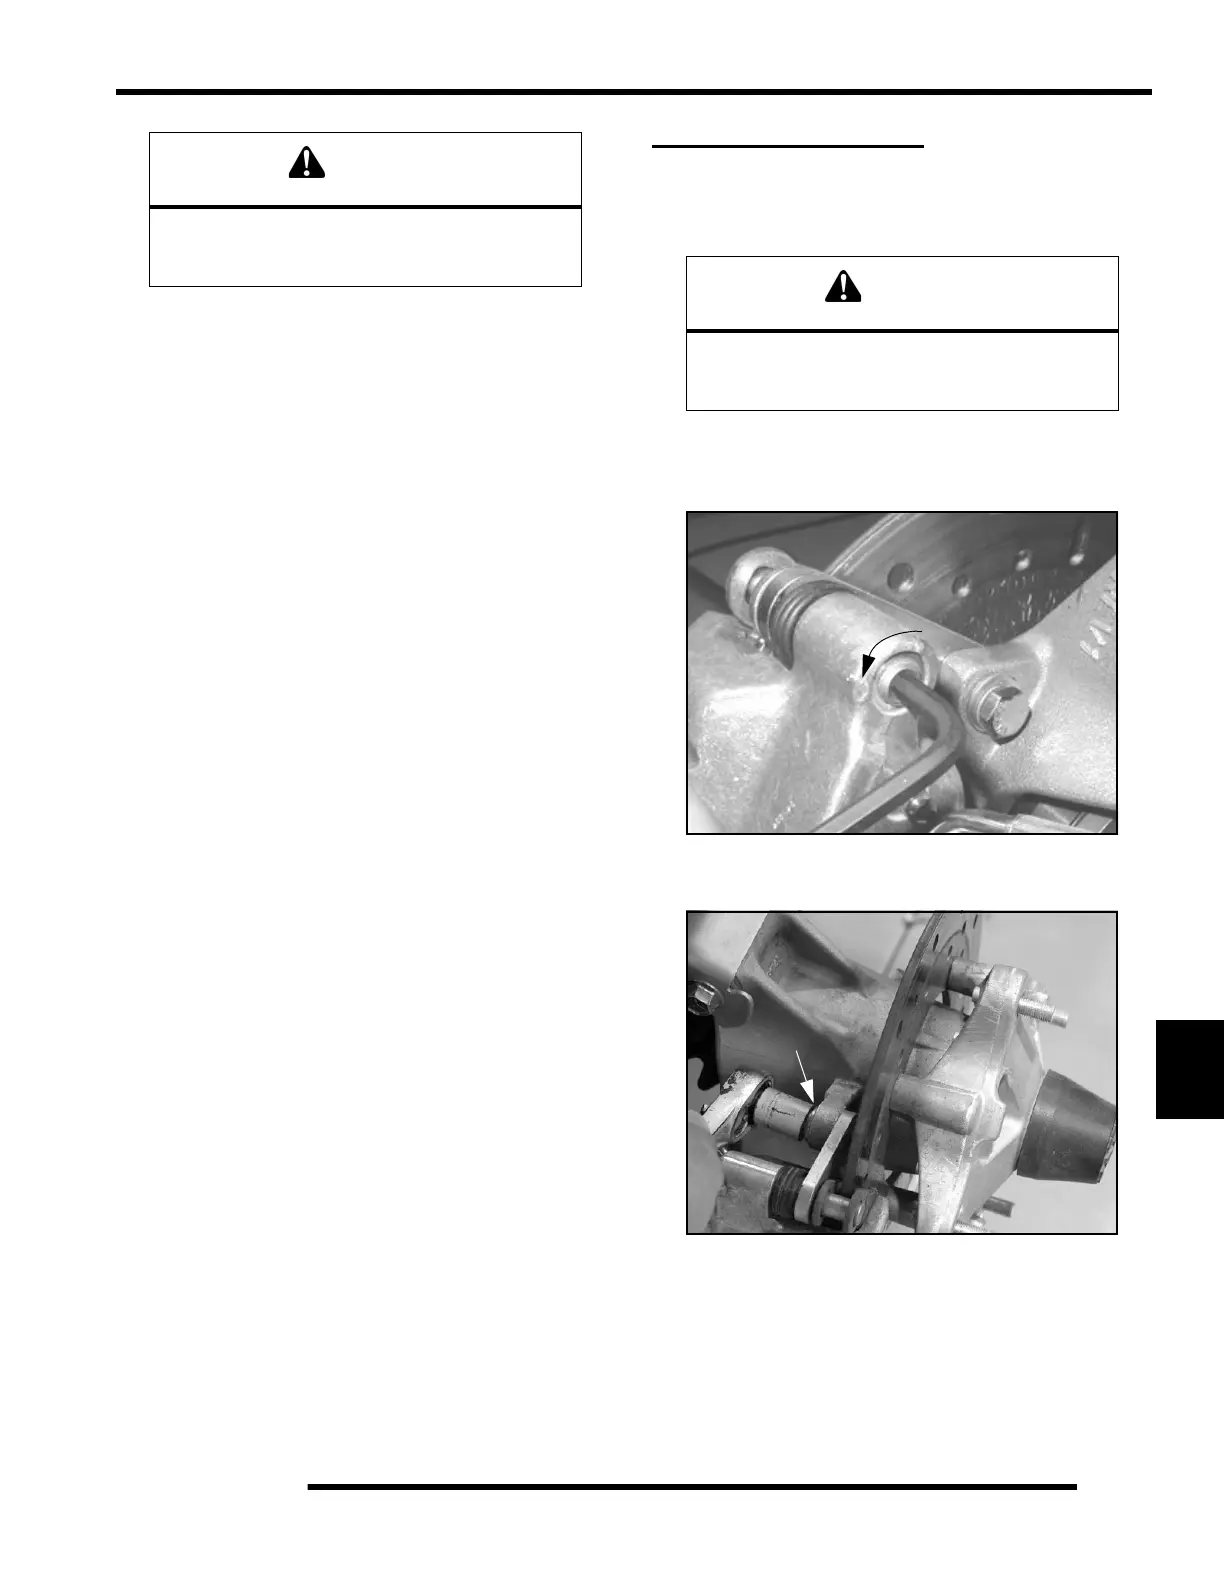
3. Loosen pad adjuster screw 2-3 turns.
4. Remove the two caliper mounting bolts and lift caliper off
the brake disc.
NOTE: When removing caliper, be careful not to
damage brake line. Support caliper so as not to kink
or bend brake line.
Always use new brake disc mounting bolts. The
bolts have a pre-applied locking agent which is
destroyed upon removal.
Use care when supporting vehicle so that it
does not tip or fall.
Severe injury may occur if machine tips or falls.
 Loading...
