I
PFC-6006 • 5403559 • REV D • 11/17
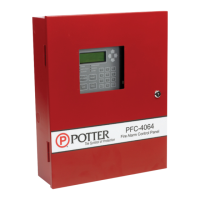
Overview: The Quick Start Guide explains how to quickly
setup your Potter PFC-6006 Sprinkler Monitoring panel by
using the panel's default settings, and the built-in DACT (i.e.,
phone line communicator). These step-by-step programming
instructions show you how to program the DACT's settings
using the panel's keypad to efciently get the system
operational.
PFC-6006 Quick Start Guide
Manual #5406279–Rev A
09/14
Programming the DACT (Dialer) Via the Keypad
Programming Notes:
• You may choose to use the DACT's default settings for some of the options, which will speed up programming. For your
convenience, the defaults are shown at the beginning of each option. If you want to use an option's default, skip that step and
go onto the next one.
• There are 2 ways to select menu options: (1) by scrolling up/down using the keypad arrows and pressing the "Enter" key
or (2) by entering the menu option number. Both methods are provided in Steps 1-12; after that point, only the menu option
number method is shown.
• For an in-depth overview of programming the DACT, view our on-line training video located at Potter's website as follows:
www.pottersignal.com, Fire Alarm Systems – Training, select Go to Training videos. Next, click the Additional Fire Training
button and scroll to the PFC-6006 DACT video.
Note: If you choose to change the panel's default settings, you
must use Potter's Fire Panel programming software installed on
a computer. Please see the PFC-6006 Sprinkler Monitoring
Panel's Installation, Operation & Programming Guide (Manual
#5403559–Rev A) for detailed instructions on changing defaults,
enabling the e-mail features or programming the IP communicator.
Default Settings: The PFC-6006 Sprinkler Monitoring
panel includes the following default settings:
• Input Zone 1 – Waterow
• Input Zone 2 – Smoke Detector
• Input Zone 3 – Pull Station
• Input Zone 4 – Supervisory (Non-latching)
• Input Zone 5 – Tamper (Latching)
• Input Zone 6 – Tamper (Latching)
• NAC – General Purpose (no Strobe Sync)
KEYPAD STEPS PANEL MENU OPTIONS
1. From the panel's keypad, press Enter to
display the Main Menu.
• Press the down arrow to scroll to
"Programming" and press Enter.
-OR-
• Enter "6" – Programming.
• Enter "1111" as the programming
password code.
• Press Enter or "1" – System Setup.
2. From the "System Setup" menu:
• Press down arrow to scroll to "DACT
Setup" and press Enter.
-OR-
• Enter "2" – DACT Setup.
Main Menu
1 = View History
5 = System Tools
6 Programming
Enter Code
****
Programming
1 System Setup
System Setup
1 = AC PWR Delay
1 = AC PWR Delay
2 DACT Setup
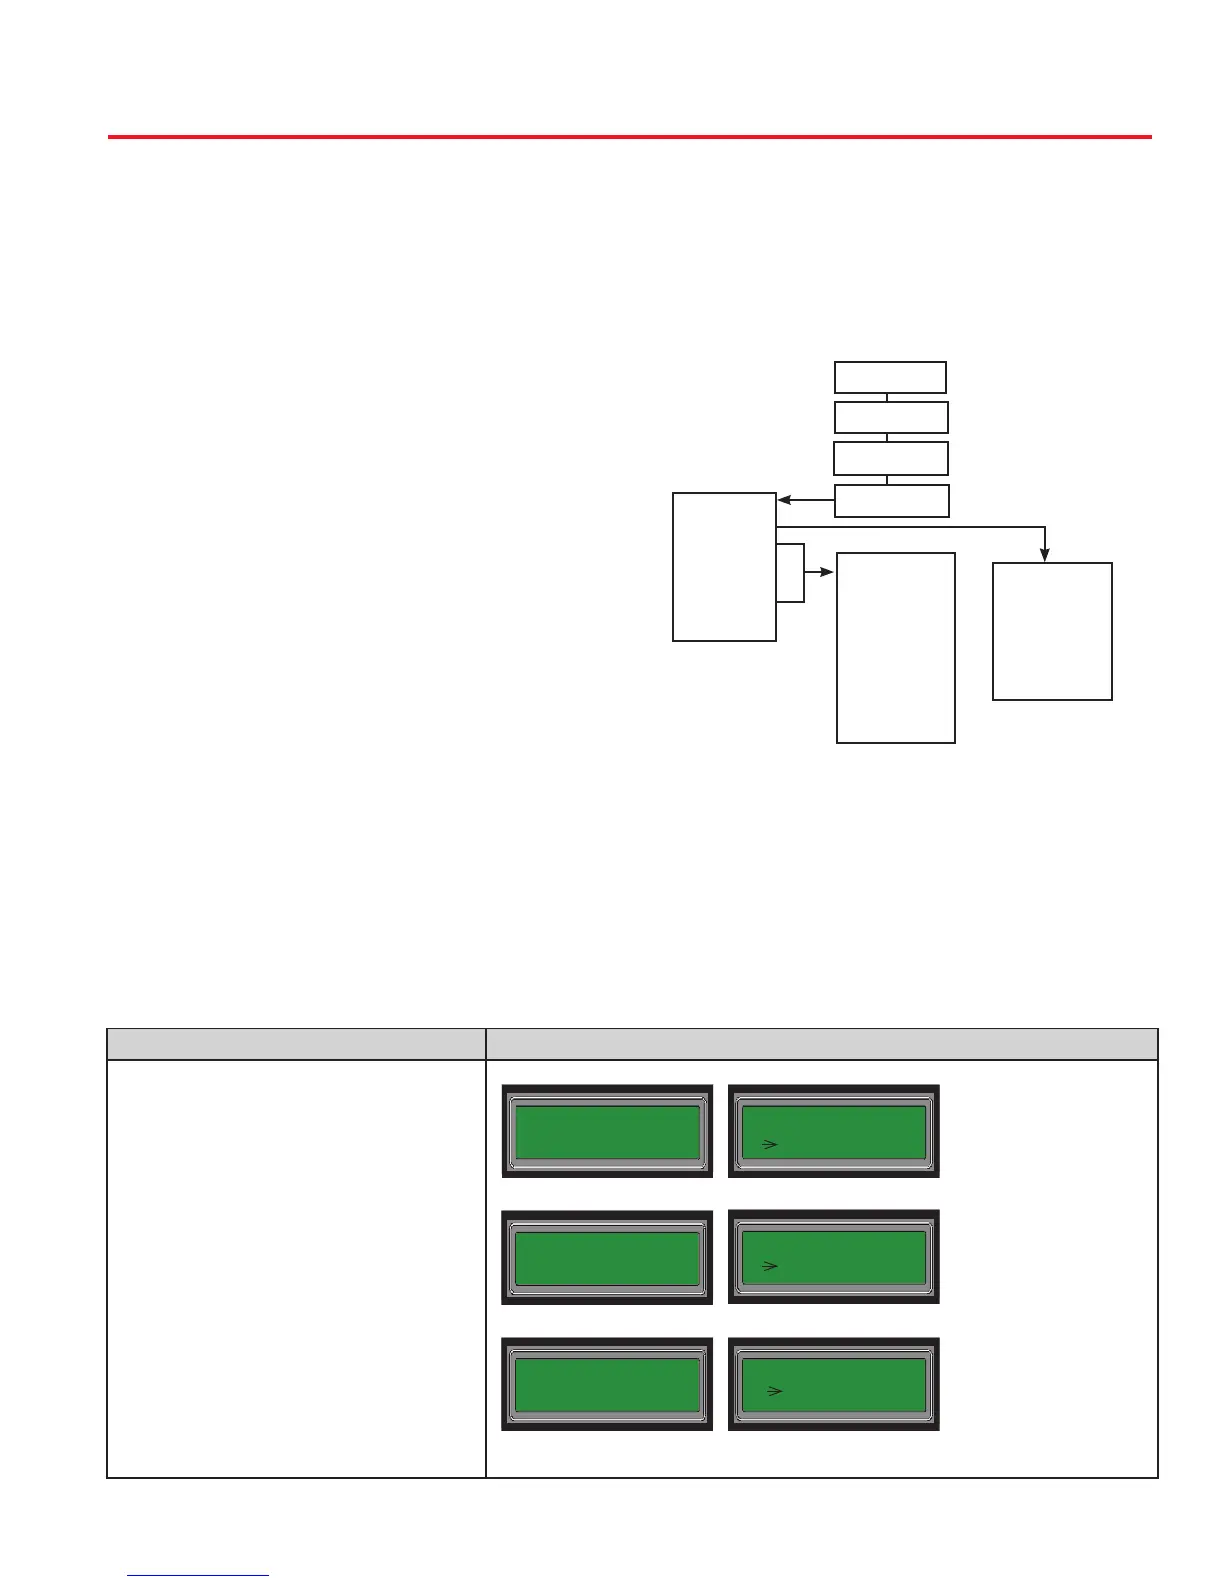
Control Panel Menu Tree – DACT Setup
Acct Setup
1=Rpt Event Type
2=Rpt By Option
3=Pri Acct ID
4=Pri Phn No.
5=Pri Rpt Fmt
6=Pri Rpt Test
7=Sec Acct ID
8=Sec Phn No.
9=Sec Rpt Fmt
0=Sec Rpt Test
Esc=Exit
MAIN MENU
6=Programming
1=System Setup
2=DACT Setup
DACT Setup
1=Line 1 Setup
2=Line 2 Setup
3=Acct 1 Setup
4=Acct 2 Setup
5=Acct 3 Setup
6=Acct 4 Setup
7=Acct 5 Setup
Esc=Exit
Line Setup
1=Enable/Disable
2=Line Monitor
3=No. of Rings
4=Ans. Machine
5=Line Prex
6=Dial Tone Det
Esc=Exit