Paper Path
199
Paper Path
NOTE: This procedure applies only to cabinet models.
Removal
1. Prepare the printer for maintenance (page 132).
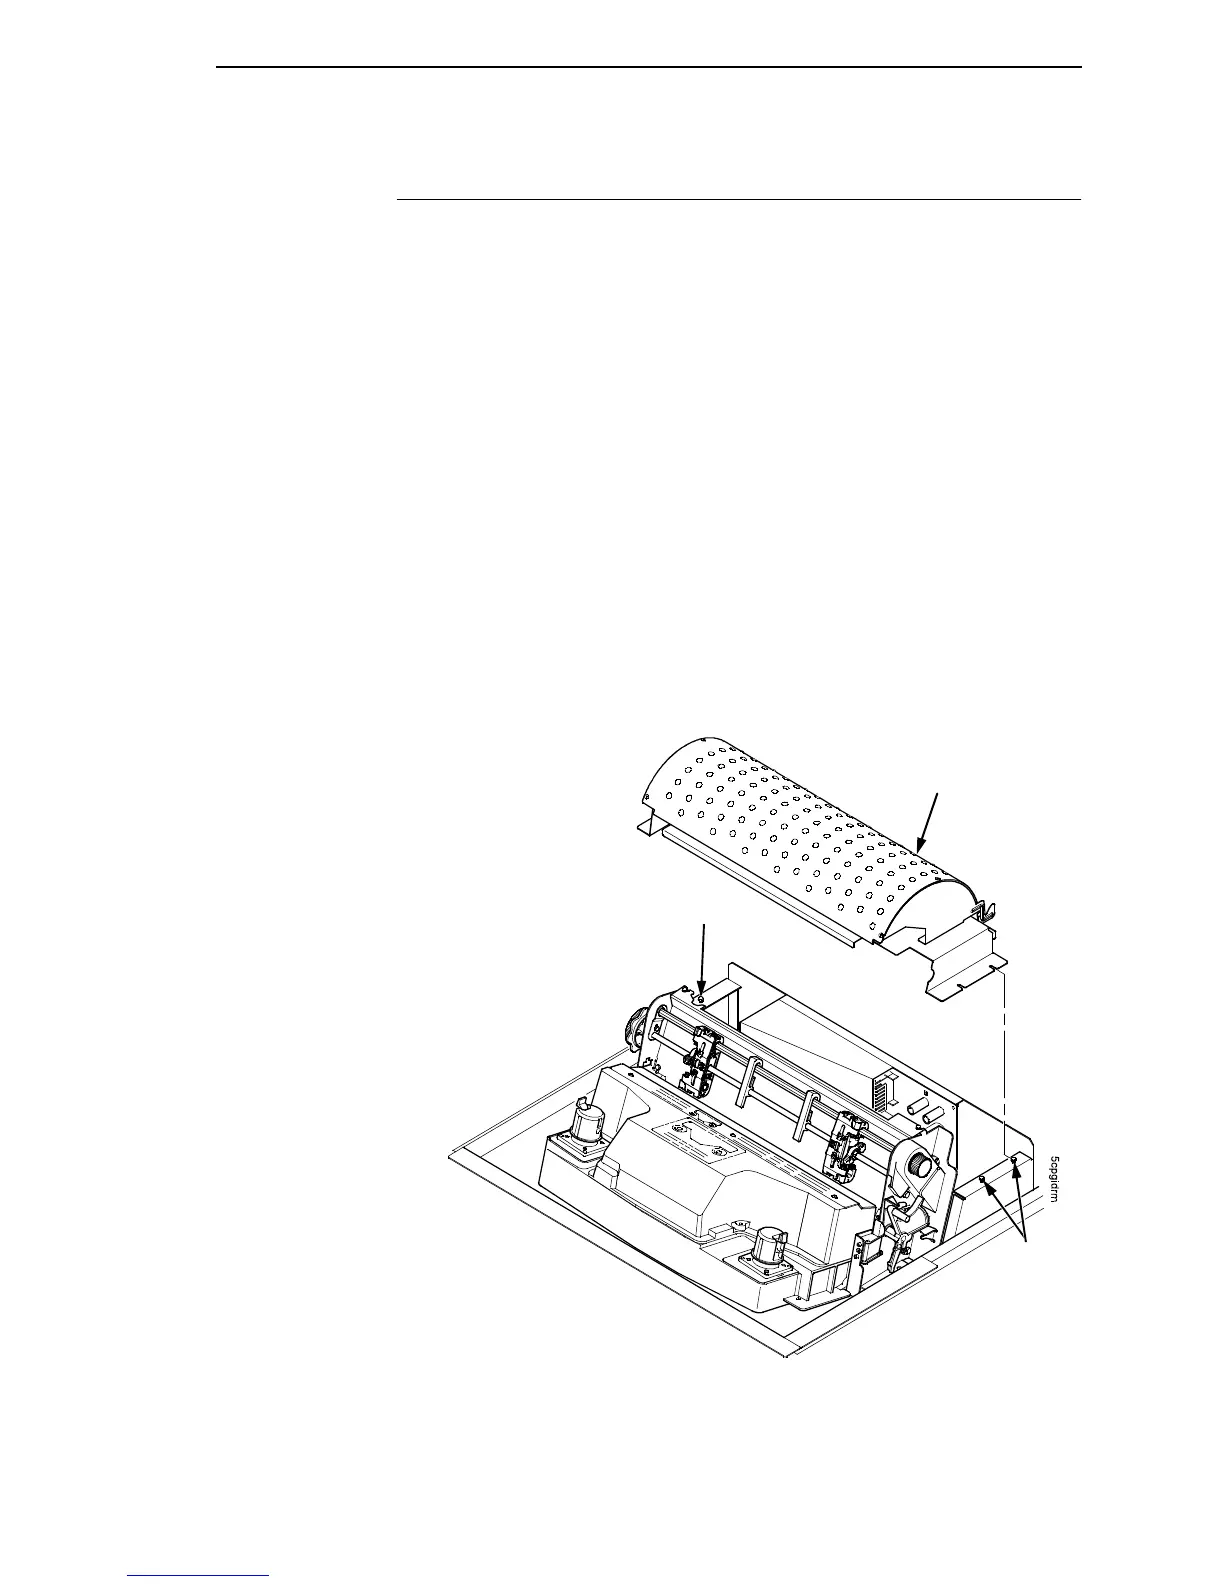
2. Loosen the three screws that secure the paper path to the card cage.
(See Figure 27.)
3. Slide the paper path to the left and lift it off the card cage.
Installation
1. Position the paper path offset slightly to the left on the card cage with the
keyway cutouts over the three loosened screws. (See Figure 27.)
2. Slide the paper path to the right, engaging the three screws in the keyway
slots. Slide the paper path to the right as far as it will go.
3. Tighten the screws securing the paper path to the card cage. (See Figure
27.)
4. Return the printer to normal operation (page 133).
Figure 27. The Paper Path
Paper Path
Screw
Screw