2-10 Physical setup
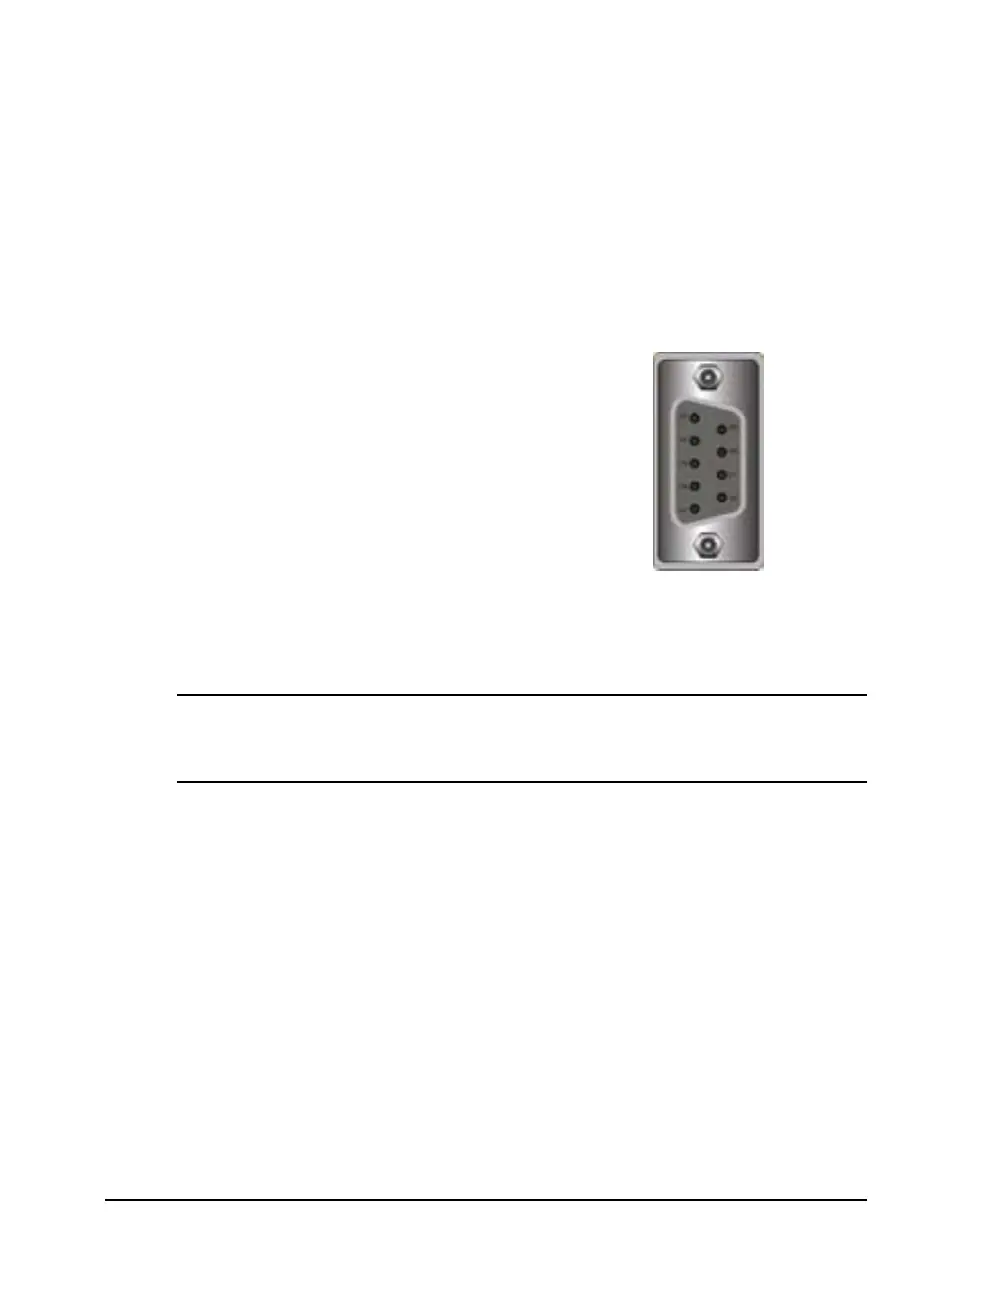
RS-232 Serial Port
1 Using a standard (straight through connection) RS-232 serial cable,
connect the appropriate mating end of the cable into the printer.
2 Tighten the cable securing screws into the serial port to secure the cable
to the printer.
3 Connect the opposite end of the serial cable to the host computer. Be sure
to note which port (COM1, COM2, etc.) you have connected the printer
to as this will later be needed for software setup.
Pin Assignments
Pin Signal
1 N/C
2 TXD
3 RXD
4 DTR
5 GND
6 DSR
7 RTS
8 CTS
9 N/C
Note: The maximum RS-232 serial cable length is dependent on the
communication parameters being used. For best performance and reliability,
only serial cables supplied by QuickLabel should be used.