74 •
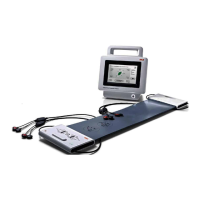
4. SYSTEM DATA
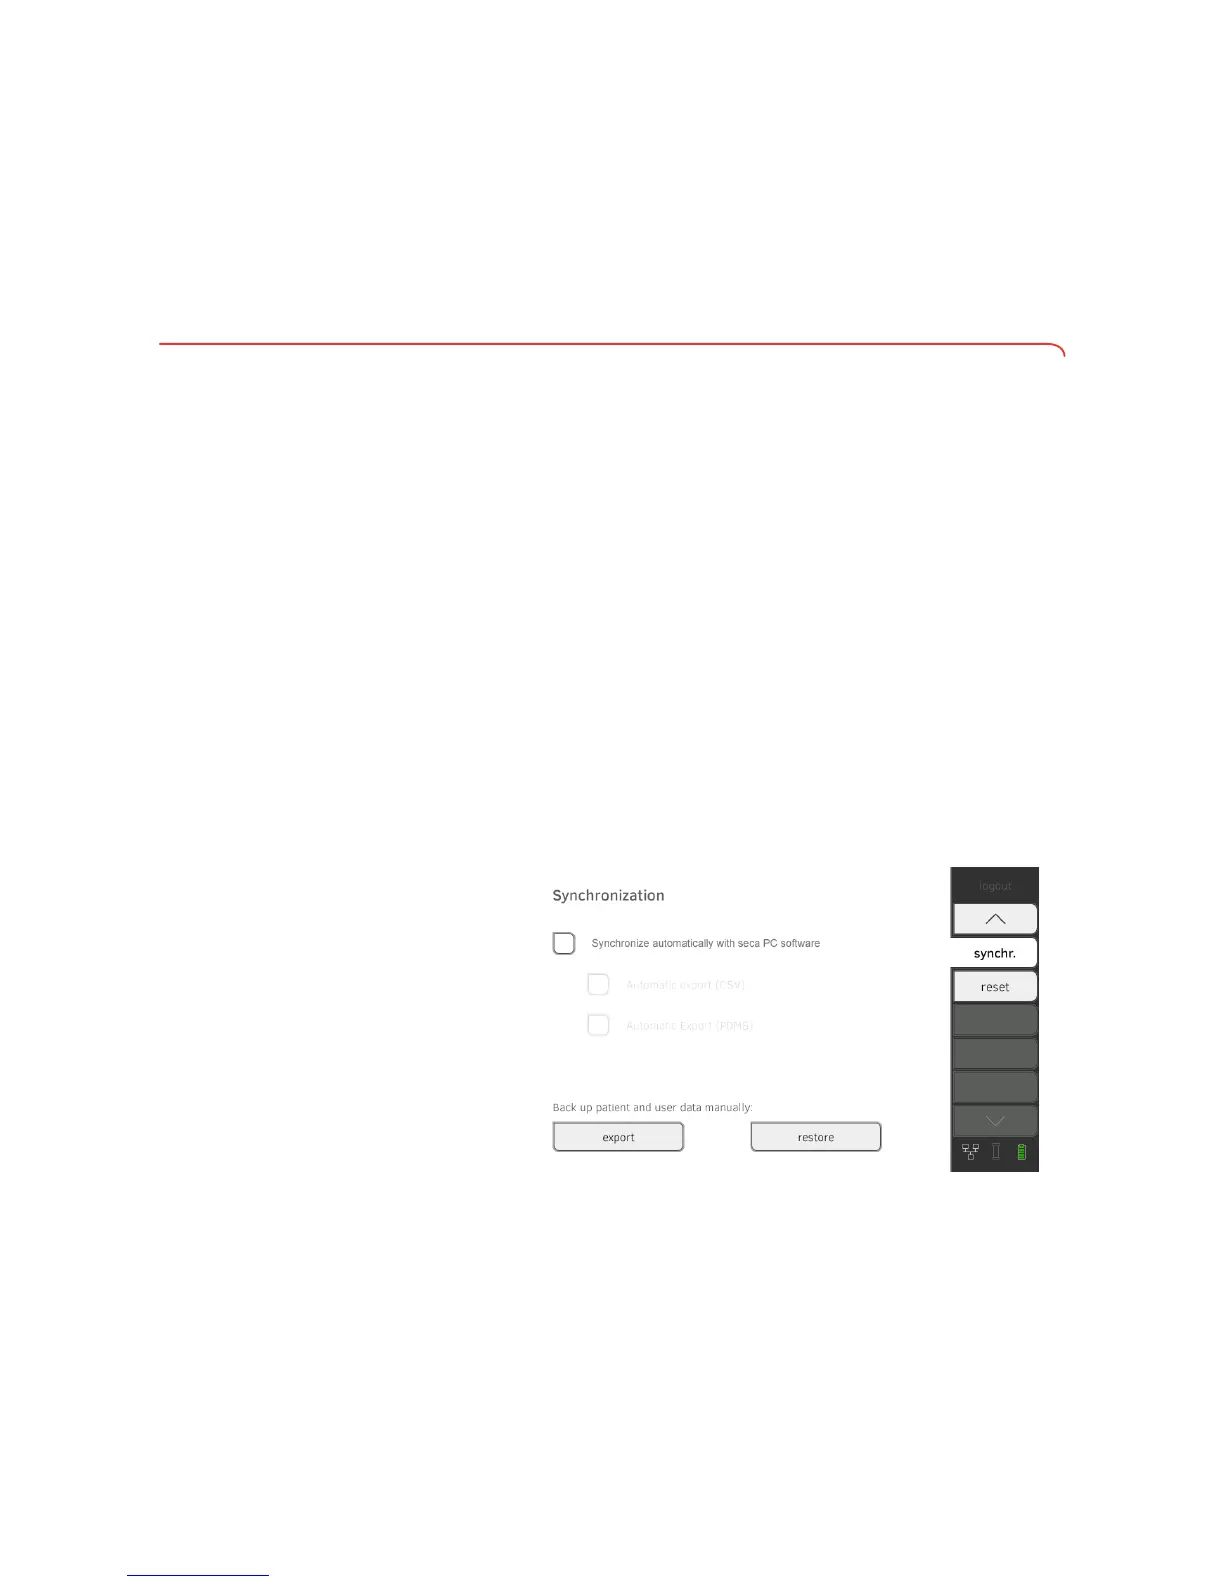
4.1 Synchronization and backup
Activating automatic
synchronization
If you are using the device in combination with the seca 115 PC software, you
should activate automatic synchronization. The following data are then syn-
chronized as soon as they are changed either on the device or in the PC soft-
ware:
• seca patient files
• user accounts and passwords
• automatic export settings
ATTENTION!
Malfunction
In order to be able to use automatic synchronization, a connection to
the PC software must be set up ➔ Setting up a connection to the
seca analytics 115 PC software.
► Ensure that the connection to the PC software is set up before you
activate automatic synchronization.
1. Press the
synchr. tab.
2. Press the Synchronize automatically with seca PC software checkbox.
Automatic synchronization is activated.
NOTE:
• The data are synchronized as soon as they are changed either on
the device or in the PC software. No further settings are required.
• In the event of conflicts during synchronization, the data of the
seca 115 PC software take priority. The data of the seca 525 will be
overwritten.
➔ Synchronization and backup
➔ System information
➔ Factory settings
➔ Activating automatic synchronization
➔ Setting up automatic export
➔ Exporting patient and user data manually
➔ Restoring patient and user data manually