2-64
COPIER
Contents
6
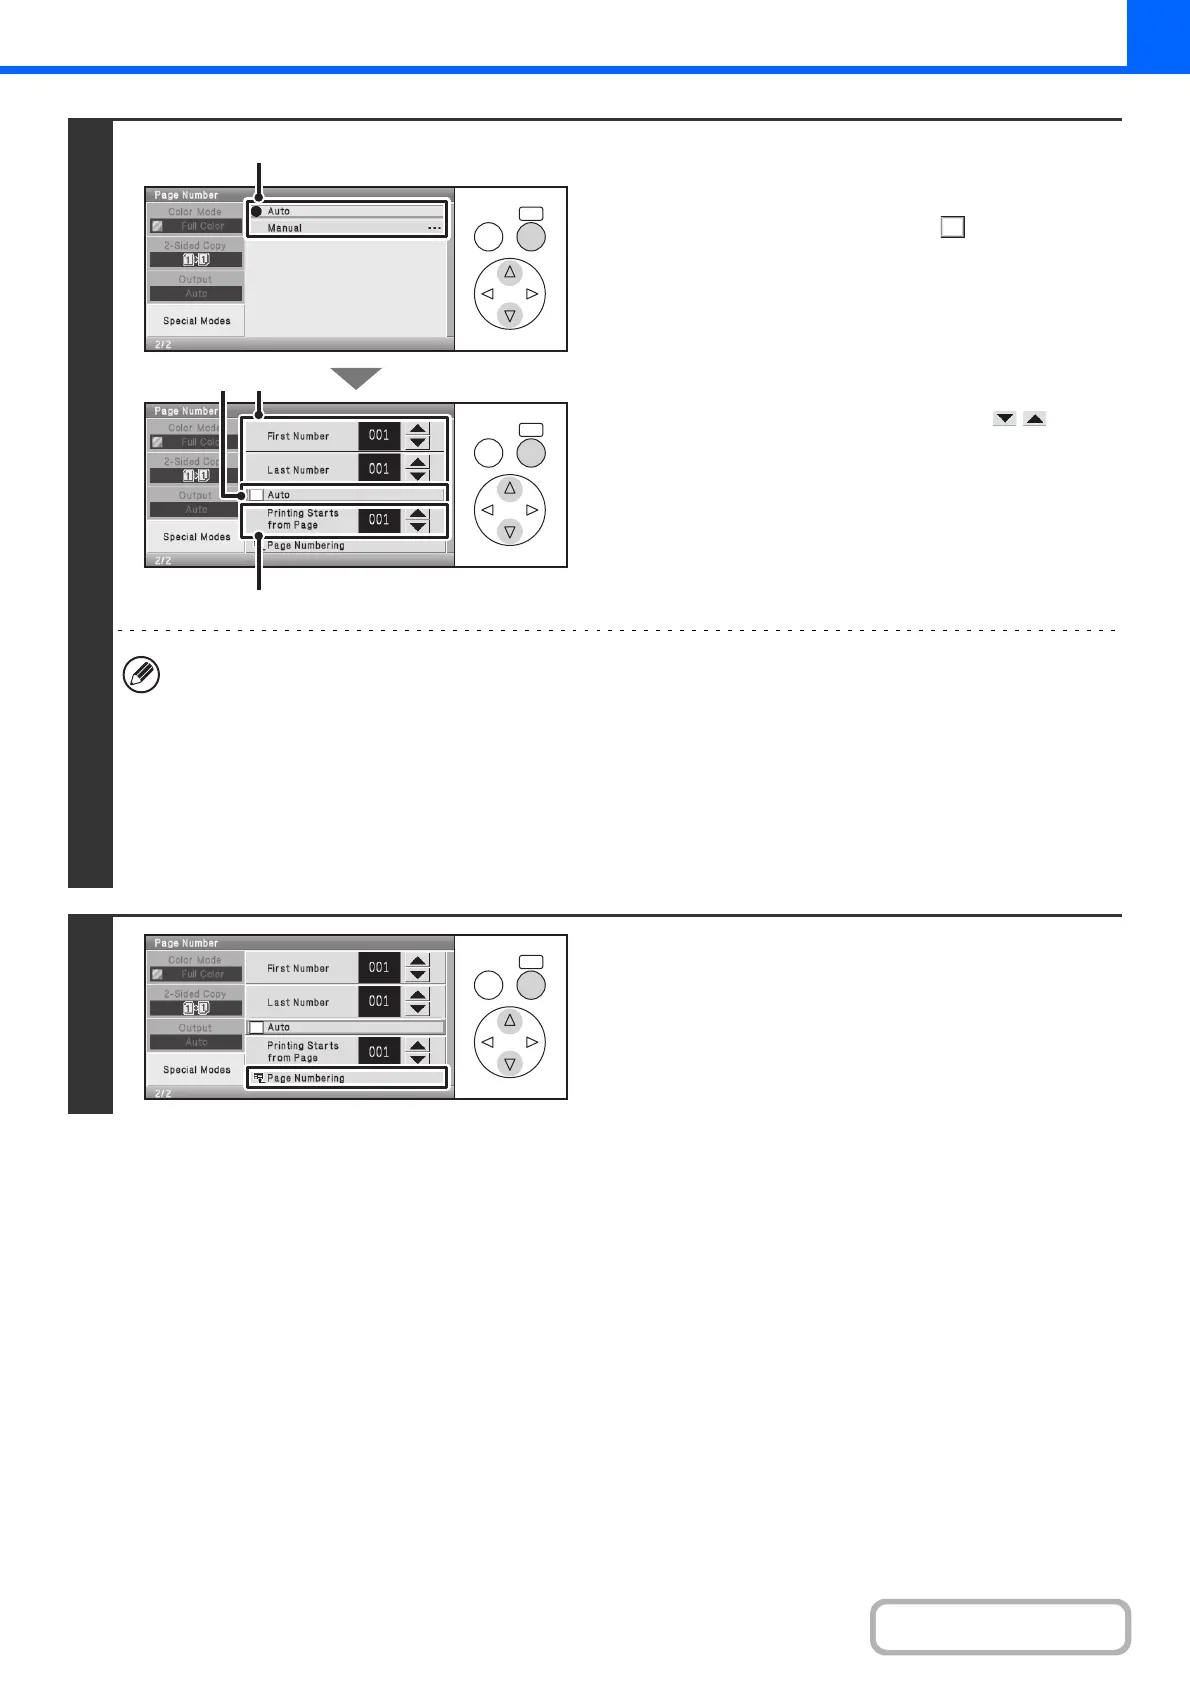
Select page number settings.
(1) Select the [Manual] key.
(2) Set the [Auto] checkbox to .
(3) Set the first number, the last number, and
the "Printing Starts from Page" number.
Select each number display and press the [OK] key. A
number entry screen will appear. Enter a number (1 to
999) with the numeric keys and select the [OK] key in the
number entry screen.
You can also change the number with the keys.
• A "Last Number" smaller than the "First Number" cannot be set.
• The "Last Number" is initially set to "Auto", which means that page numbers are automatically printed through the
last page based on the "First Number" and "Printing Start from Page" settings.
• If the "Last Number" is set to a number smaller than the "Total Pages", page numbers are not printed on pages after
the page set as the "Last Number".
• "Printing Starts from Page" is used to set the page number from which you want to begin printing page numbers.
For example, if "3" is set and 1-sided copying is being performed, page numbers will be printed beginning from the
3rd copy sheet (the 3rd original page). If 2-sided copying is being performed, page numbers will be printed
beginning from the front side of the 2nd copy sheet (the 3rd original page).
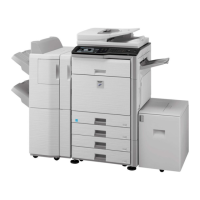
7
Select the [Page Numbering] key.
When you have finished selecting the settings, continue from
step 5 of "GENERAL PROCEDURE FOR USING STAMP"
(page 2-56) to complete the copy procedure.
OKBACK
OKBACK
(1)
(3)
(2) (3)
OKBACK