Changing and expanding the FDnet/C
Removing or replacing non
12
50 | 178
3. Re-insert the C-NET device in the C-NET in the same, previous position.
4. Acknowledge the 'Fault'.
a If this 'Fault' is no longer displayed, the control panel updates the settings of
the re-inserted C-NET device.
a If this 'Fault' is still displayed, and / or the ↑ detector line is not in normal
operation, the detector line has to be restarted.
The work described in this chapter may be performed when the
line is switched on.
See also
2 Restarting the detector line [➙ 80]
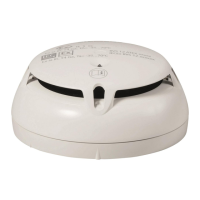
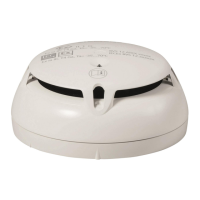
12.4.1.2 Replacing non-stationary devices of the same type
You will find additional information about the individual steps on the specified
pages.
1. Switch the test mode on. Link [➙ 84]
2. Remove the C-NET device you want to replace from the base.
3. Wait approx. 20 seconds.
4. Insert the new device of the same type.
a The internal ↑ alarm indicator flashes for 10 seconds following successful
replacement.
Proceed as follows if the alarm indicator does not flash:
1. Ensure that you wait long enough before inserting.
2. Check whether other devices are missing on the ↑ detector line.
3. Check whether a device that is not of the same type has been inserted. If this is
the case, insert a device of the same type.
4. Restart the line.
5. Switch ↑ normal operation on. Link [➙ 85]
6. Connect the PC to the ↑ 'Station'. Link [➙ 27]
7. Load the configuration from the 'Station' to the PC. Link [➙ 32]
8. Disconnect the PC from the 'Station'. Link [➙ 27]
The work described in this chapter may be performed when the
line is switched on.
 Loading...