Detailed commissioning steps
15
84 | 178
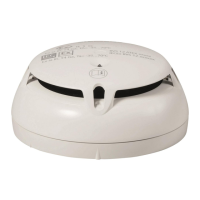
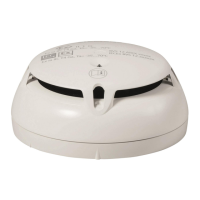
15.17.1 Activate the detector
w DETECTOR TEST is switched on.
1. Activate all automatic 'Detectors' and 'Manual call points' using the
corresponding tools.
2. Write down the sequence of the test activations.
a The ↑ alarm indicator for the activated detector flashes at each test activation.
a If an ↑ external alarm indicator is connected and correspondingly configured,
the external alarm indicator also lights up.
You will find information about triggering detectors in document A6V10212047.
See chapter 'Applicable documents'.
See also
2 Applicable documents [➙ 11]
15.17.2 Testing logged test activations
1. Test the logged test activations. This can be done in two ways:
– ↑ Person Machine Interface: Select 'Event memory' in the main menu.
– Cerberus-Engineering-Tool: Select the 'Commissioning' > 'Upload site
event memory' menu items.
2. Rectify existing errors if necessary, e.g. if the alarm indicator has not flashed or
no test entries exist.
15.18 Switching on test mode
1. Select 'Topology' > ↑ 'Detection tree' in the main menu.
2. Select the element you want to switch to test mode: ↑ 'Area', ↑ 'Section', or
↑ 'Zone'
3. Press the 'More Options' ↑ softkey and select 'Execute commands'.
4. Select a command from the following table.
a The yellow 'Detector test' LED lights up.
a The element is in test mode.
Element Command
Area ● 'Non-MCP zones det.test'
● 'MCP zones det.test'
Section ● 'Non-MCP zones det.test'
● 'MCP zones det.test'
Zone ● 'Detector test'
 Loading...