Changing and expanding the FDnet/C
Convert two stubs into a loop
12
56 | 178
12.5.2 Switching off replace mode
1. Select 'Functions' > 'All functions' > 'Detector' in the main menu.
2. Enter the zone address in 'Zone' and press <ok>.
3. Enter the detector address in 'Detect.' and press <ok>.
4. Select the 'Device replace mode OFF' menu item.
a The following message is shown following successful switching off: 'Command
executed'.
a The yellow 'ISOLATION' LED goes out.
a The yellow 'DETECTOR TEST' LED lights up.
a The 'Manual call point' is in test mode.
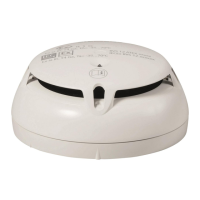
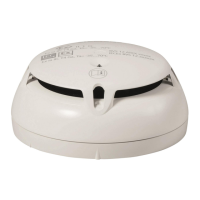
12.5.3 Testing 'Manual call point'
1. Check whether the 'Manual call point' is in test mode using the LED.
2. Activate the 'Manual call point' using the corresponding tools.
You will find information about this in the 'Manual call point' documentation.
12.6 Convert two stubs into a loop
You will find additional information about the individual steps on the specified
pages.
w The two ↑ stubs are assigned to the same line pair, e.g., 'Line' 11 and 'Line' 12.
1. Switch both the C-NET detector lines off. Link [➙ 79]
2. Wire both stubs to a ↑ loop. You will find more information about this in
document A6V10210390. See chapter 'Applicable documents'.
3. Read-in the C-NET devices. Link [➙ 82] Start with the first 'Line' (in the
example 'Line' 11).
a The second 'Line' is adopted and the loop is formed (in this example,
'Line' 1).
4. Connect the PC to the ↑ 'Station'. Link [➙ 27]
5. Load the configuration from the 'Station' to the PC. Link [➙ 32]
6. Test the function of the ↑ 'Site'. Link [➙ 86]
7. Remedy any errors you notice and load the corrected configuration from the
PC to the 'Station'. Link [➙ 30]
8. Disconnect the PC from the 'Station'. Link [➙ 27]
See also
2 Applicable documents [➙ 11]
 Loading...