4. Read the notes and confirm these with "Accept."
5.
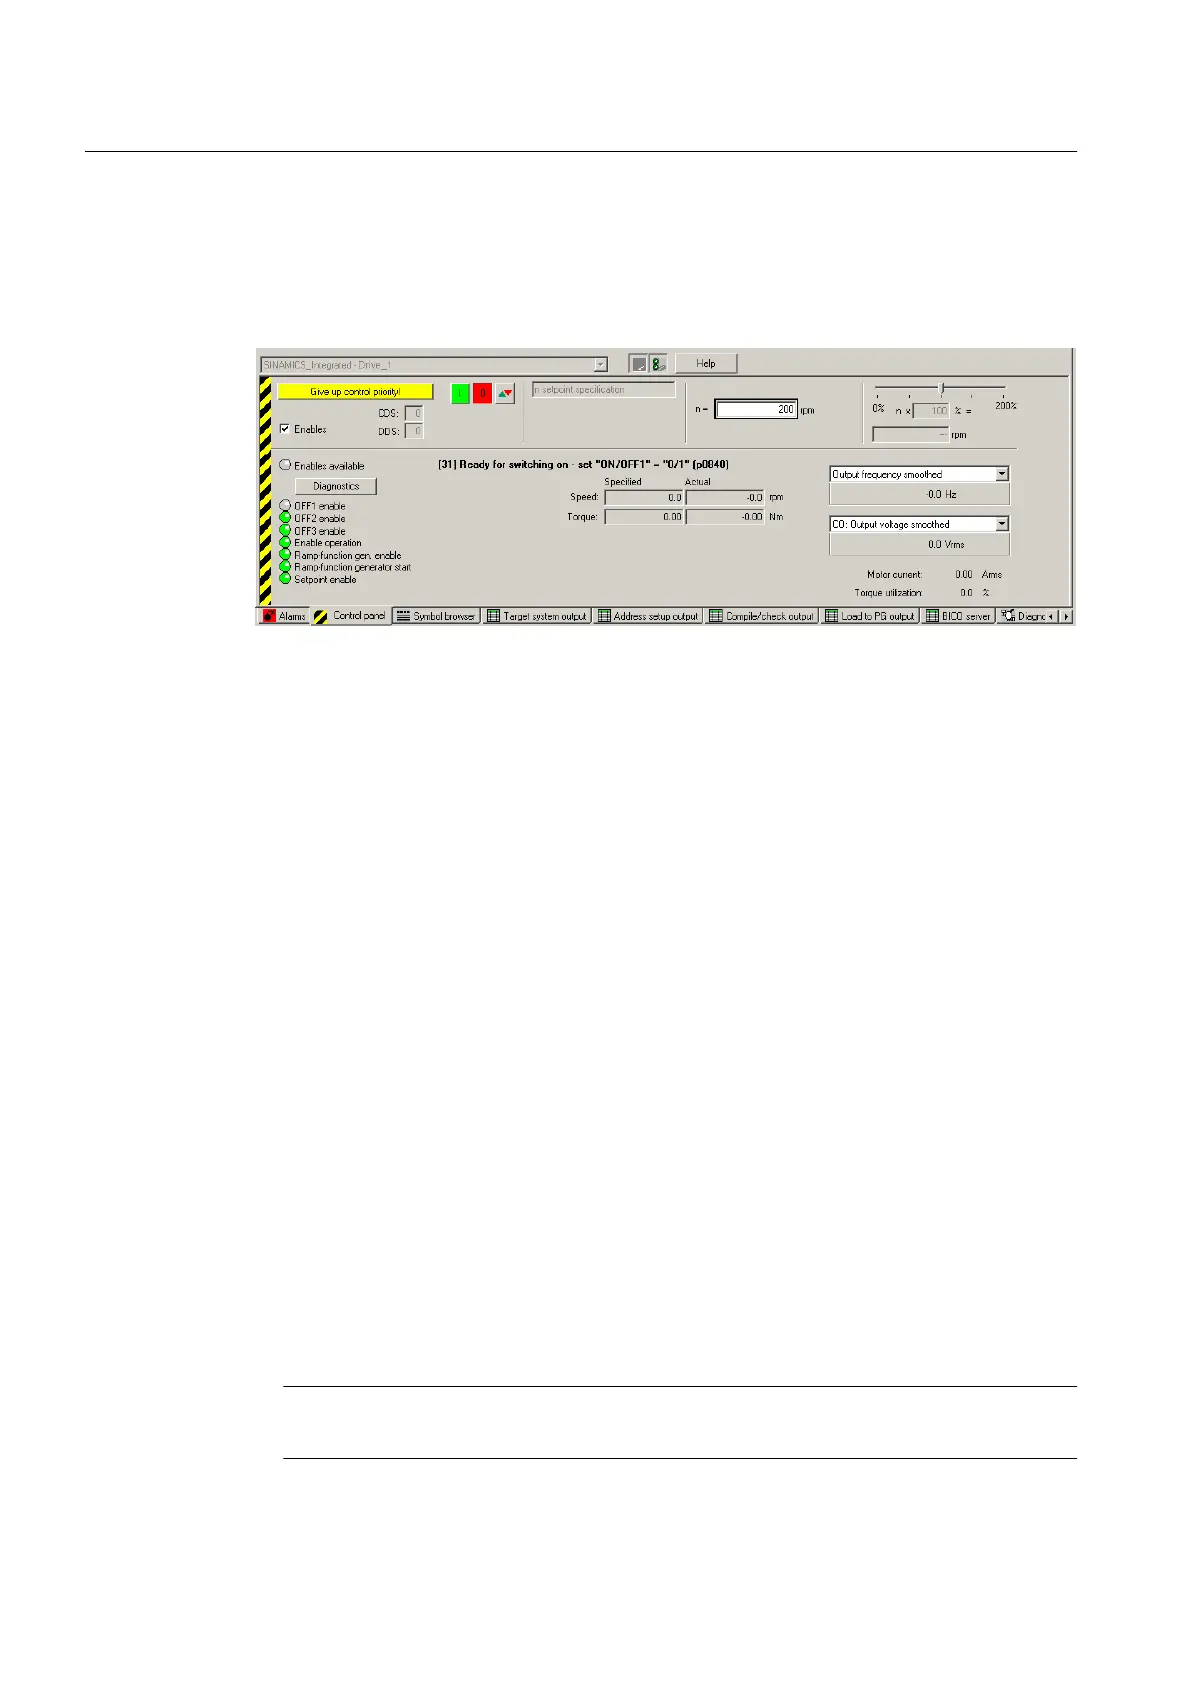
Activate the "Enables" checkbox to enable the drive.
All enables are now set with the exception of ON/OFF1.
6. Enter the desired setpoint in the entry field, and, as a safety setting, slide the scaling to 0%.
Figure 5-18 Entering a setpoint
7.
Click the "Drive On" button. The green "Enable available" LED lights up. If you move the
slider to the right, the drive rotates. The current motor speed is displayed in "Actual."
8. Click "Drive Off" to stop the drive after you completed the test.
9. Deactivate the enable and click the "Give up control priority" button to deactivate control
from the PG/PC.
5.6 Creating and testing an axis
5.6.1 Overview of SIMOTION Engineering
Performing engineering with SIMOTION SCOUT
The SIMOTION SCOUT Engineering Software is used to add axes to your project.
1. Start a session of the Axis Wizard in order to configure the axes and interconnect these
with the SINAMICS Integrated drive.
2. Provided you have completed the configuration at the drive end, we strongly recommend
for faster working that the SINAMICS Integrated is deactivated via "Target system" > "Select
target device".
3. Complete your SIMOTION application, for example, by creating axis functions and
SIMOTION execution programs.
4. Compile the project and download it to SIMOTION D410.
Note
Note that only one real axis can be used on a SIMOTION D410.
Commissioning (software)
5.6 Creating and testing an axis
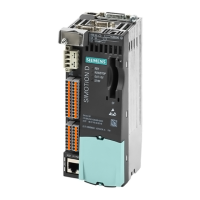
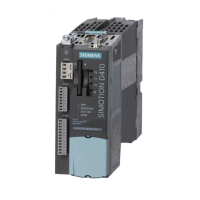
SIMOTION D410
110 Commissioning Manual, 04/2014
 Loading...