Operators Tools
7-117SJ62 Manual
C53000-G1140-C121-1
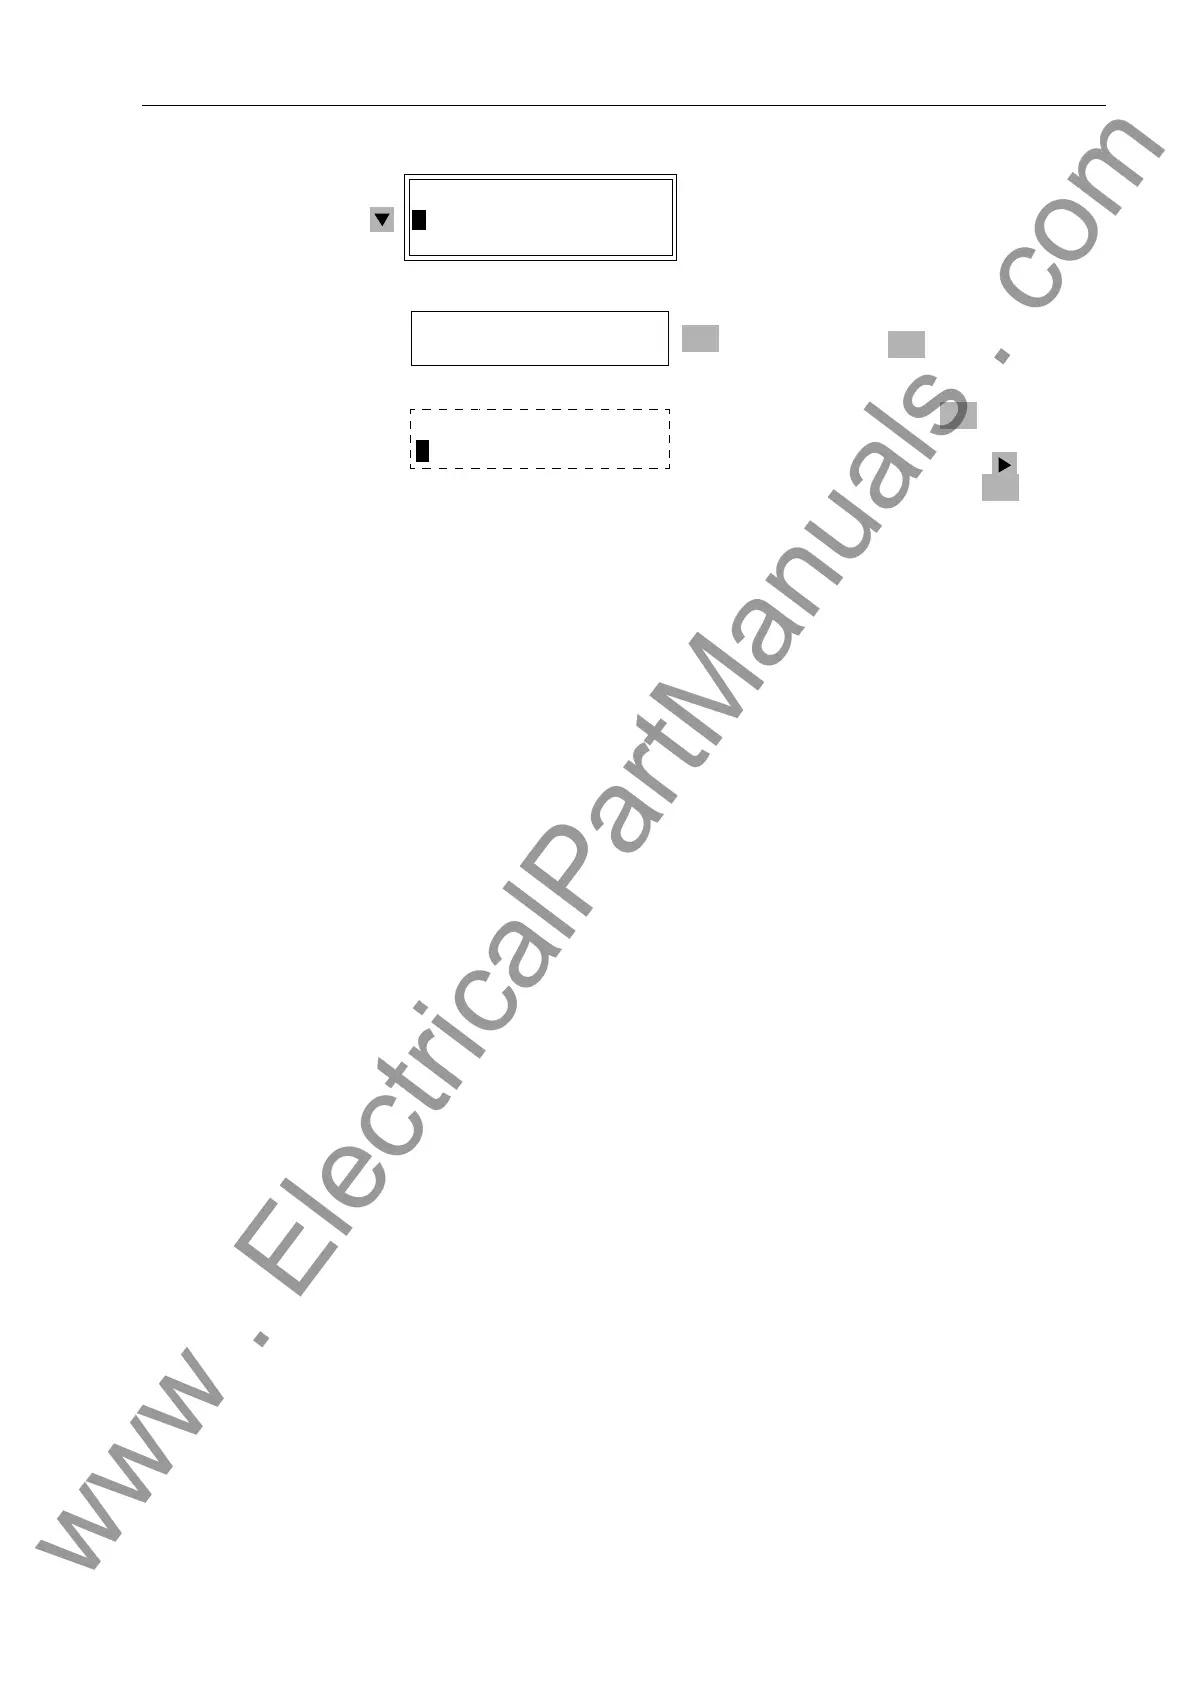
Figure 7-13 Erasing Messages from the Operator Control Panel
From PC with
DIGSI
®
4
When operating with DIGSI
®
4, the device messages can be saved on the hard drive
of a personal computer before they are erased from the device. To do this, follow ex-
actly the same steps taken to retrieve the messages. Instead of double clicking on the
message group in the message list to open the group, select the option )LOH → 6DYH
in the DIGSI
®
4 window menu bar. DIGSI
®
4 then automatically creates a directory for
the messages — if one does not exist — and saves the message group in this direc-
tory. For details, see the “DIGSI
®
4 Device Operation” Handbook, order no. E50417–
H1176–C097, Sub-section 9.4.
When all of the desired message groups have been saved on the PC, they can be
erased from the device as described above.
Of course, you can erase the saved data from the hard drive of your PC as every file.
7.1.1.6 General Interrogation
From PC with
DIGSI
®
4
The present condition of a SIPROTEC
®
4 device can be retrieved by using DIGSI
®
4.
The messages are found by double-clicking on $QQXQFLDWLRQ(see Figure 7-2),
double-clicking on *HQHUDO,QWHUURJDWLRQ, and double-clicking on the date and
time that appear in the right window. All messages are shown along with the present
status.
7.1.1.7 Spontaneous Annunciations
From PC with
DIGSI
®
4
The spontaneous annunciations that can be displayed via DIGSI
®
4 are refreshed im-
mediately, an event or status change occur.
Find the message groups by clicking on $QQXQFLDWLRQ (Figure 7-2).
6(75(6(7
!(YHQW/RJ
!7ULS/RJ
Etc
Press the associated number key to se-
lect the messages to be erased.
$UH\RXVXUH"
!<(612
Confirm “<(6” with the key and com-
plete the erasing of the selected messag-
es, or switch to “12” with the key and
cancel the erasure with the key.
ENTER
ENTER
ENTER
3:3DUDPHWHU&KDQJH"
Enter Password No. 5 (for setting change)
and confirm with
ENTER
:
:
:
www . ElectricalPartManuals . com

 Loading...


