STEP 2: Routing to the Main Busses
Having brought signal into the channel, we will now learn how to bring it out again. We will cover more of the channel output
options in Steps 4 and 7.
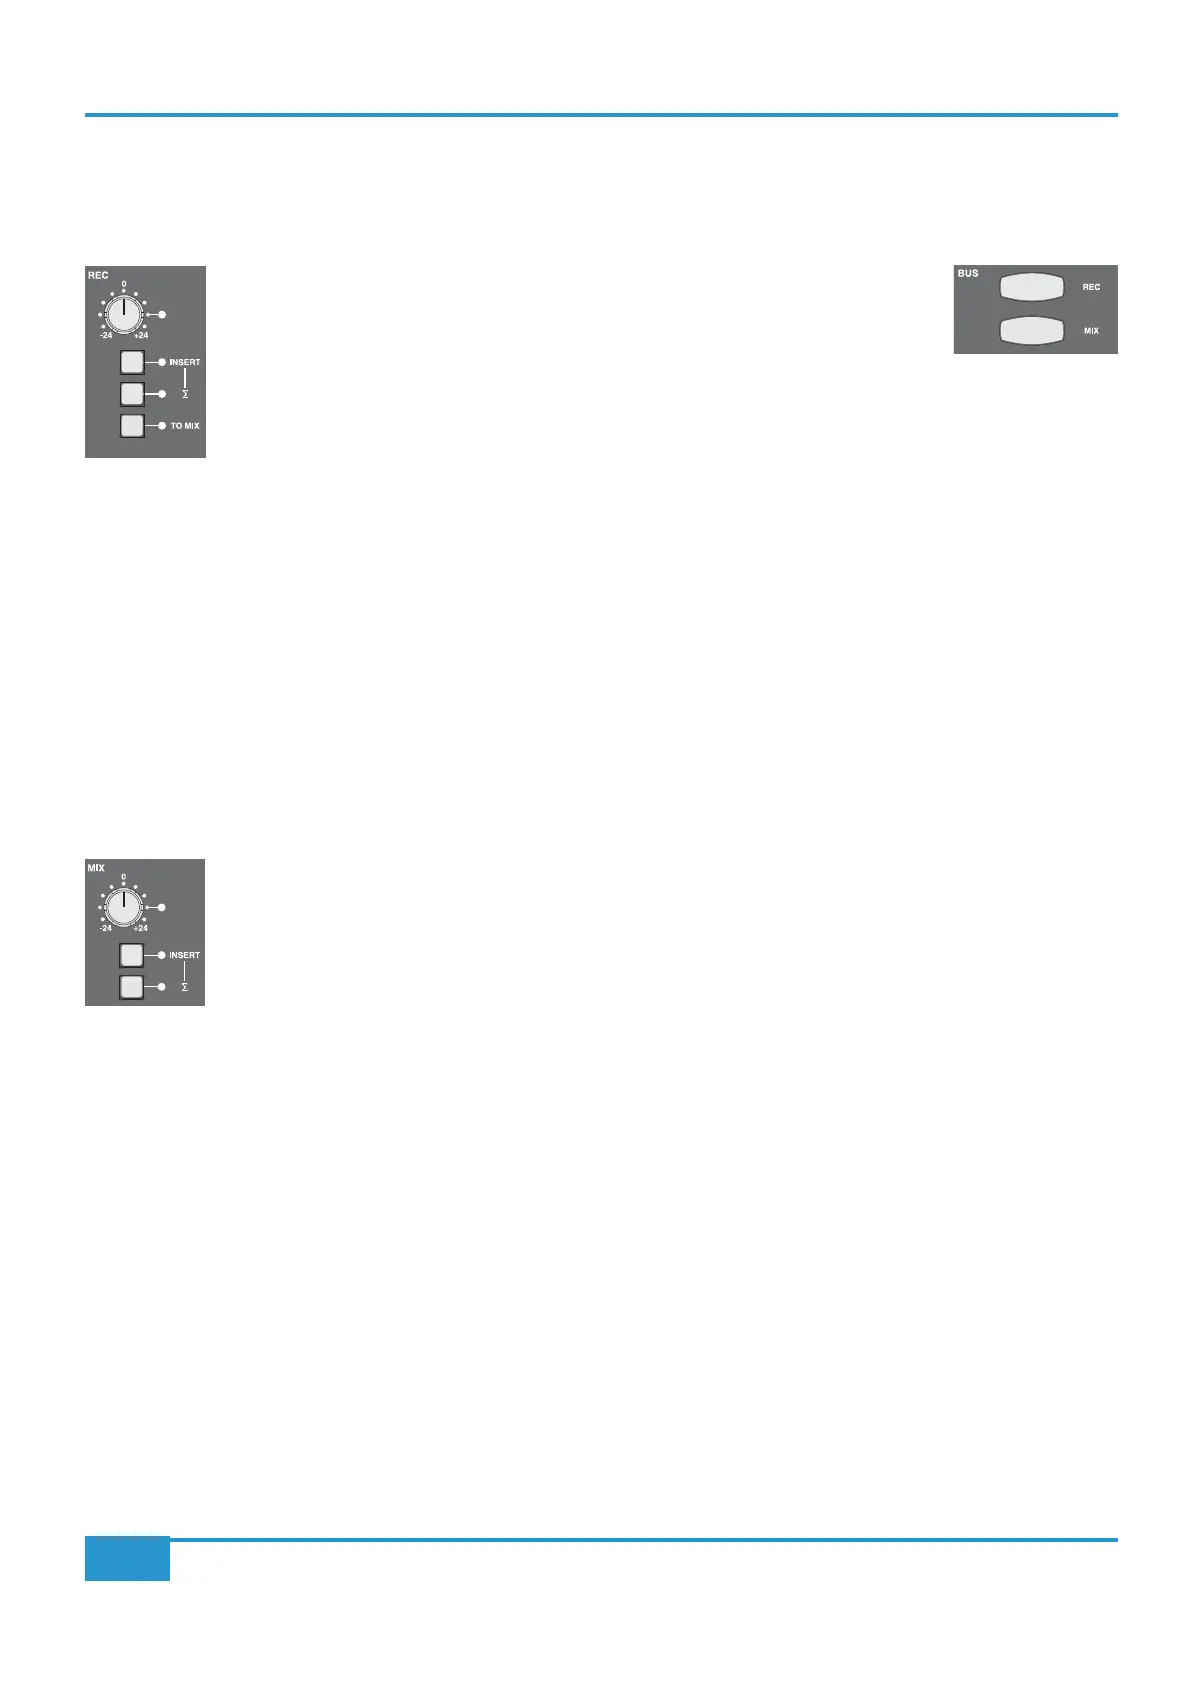
³ Press the REC button in the BUS area towards the bottom of the Master Channel.
This routes the signal to the record bus. The button will light red to indicate that
this routing is active. Your CD signal should now be shown in the
REC meter, to
the right of the VU’s above the centre section.
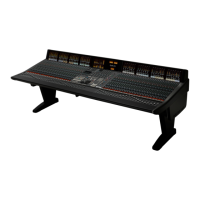
³
REC bus controls, located in the top-
right of the centre section (shown left).
There are two ways to route the signal to both record and mix busses:
³ Press the
MIX button, below the REC button in the Master Channel. It will light yellow to indicate that this routing is active.
Your CD signal should now be shown in the
MIX meter, to the right of the VU’s above the centre section.
Secondly, we will route the whole record bus to the mix bus:
³ So as not to double the routing, deselect the mix bus routing from the channel by pressing
MIX again.
³ In the
REC area of the centre section, press the TO MIX button. The LED next to it will light to indicate that this routing
is active.
³ Lift the master fader, to the right of the channel faders, to 0dB.
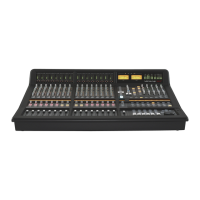
³ Turn the gain pot in the main
MIX bus controls, located to the left of the REC bus controls. In order to
distinguish the mix bus from the record bus in the following step, leave the mix bus level about 20dB lower
than the record bus level.
Chapter 2 - Getting Started
19
Matrix
2
Owner’s Manual