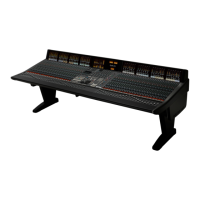
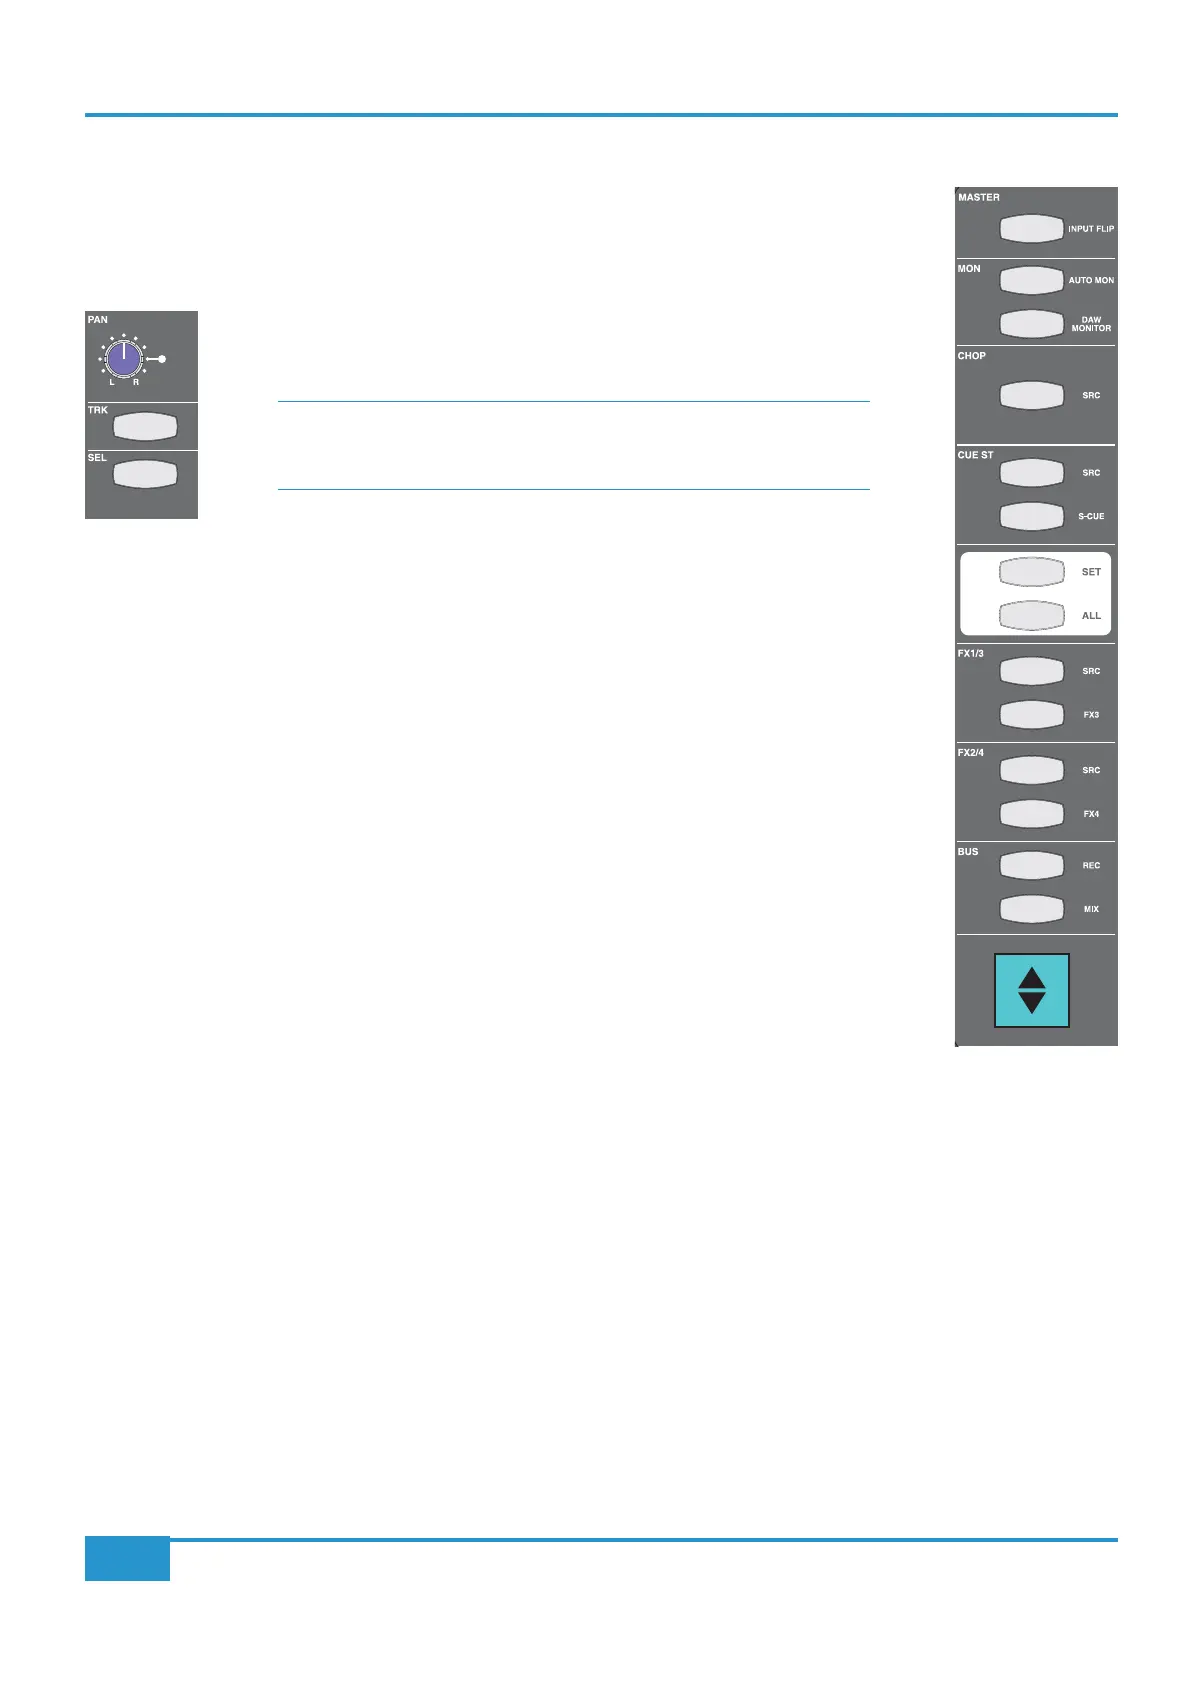
The Master Channel Strip
In addition to the controls within the physical channel strip, there is another section on Matrix which is
used to access channel strip functions. This is the Master Channel strip which appears in the top left-hand
corner of the desk’s centre section (shown right). While each line input has a dedicated channel strip,
all 16 channels share the Master Channel, its controls accessing the channel strip to which it is assigned.
To assign the Master Channel to a particular channel strip, press the SEL button located
the numeric display.
SEL
SEL
To assign the Master Channel to multiple channel strips, hold the left-most
SEL button
of the main part of your intended selection and then press its right-most
SEL button.
This assigns both selected channels plus all the channels in between. Pressing the
ALL key will select all
16 channels, enabling you to perform global routing or source selection.
When multiple channels are assigned to the Master Channel, the LEDs on the Master Channel will
assume the status of the lowest selected channel. Any switching then performed will apply that setting
in all selected channels to correspond to the status to which the lowest channel has been switched. For
example, if Channels 1 to 5 are assigned to the Master Channel and Channel 1’s
CUE ST source is set
to
INPUT, switching the Master Channel CUE ST source from channel input to POST fader will set all
CUE ST source to POST fader, regardless of what their status was before the switching.
If the
SET button above the ALL button in the Master Channel is activated while an array of channels is
selected, any switching action on any of the physical channel strips (as opposed to the Master Channel)
such as muting a send, will be replicated across all selected channels, even if the channel strip used to
trigger the switch is not part of the selected array. Any switching then performed will unify that setting
on all selected channels to correspond to the status to which the operated channel has been switched.
The
SET button will light up to indicate that it is active.
Chapter 3 - Analogue Signal Flow
31
Matrix
2
Owner’s Manual