9 PRINTING REPORTS – Report
The Report section enables configuring and printing
measurement reports in the predefined format.
To open the Report section, press the <Menu> key,
select the Report position and press <Enter>.
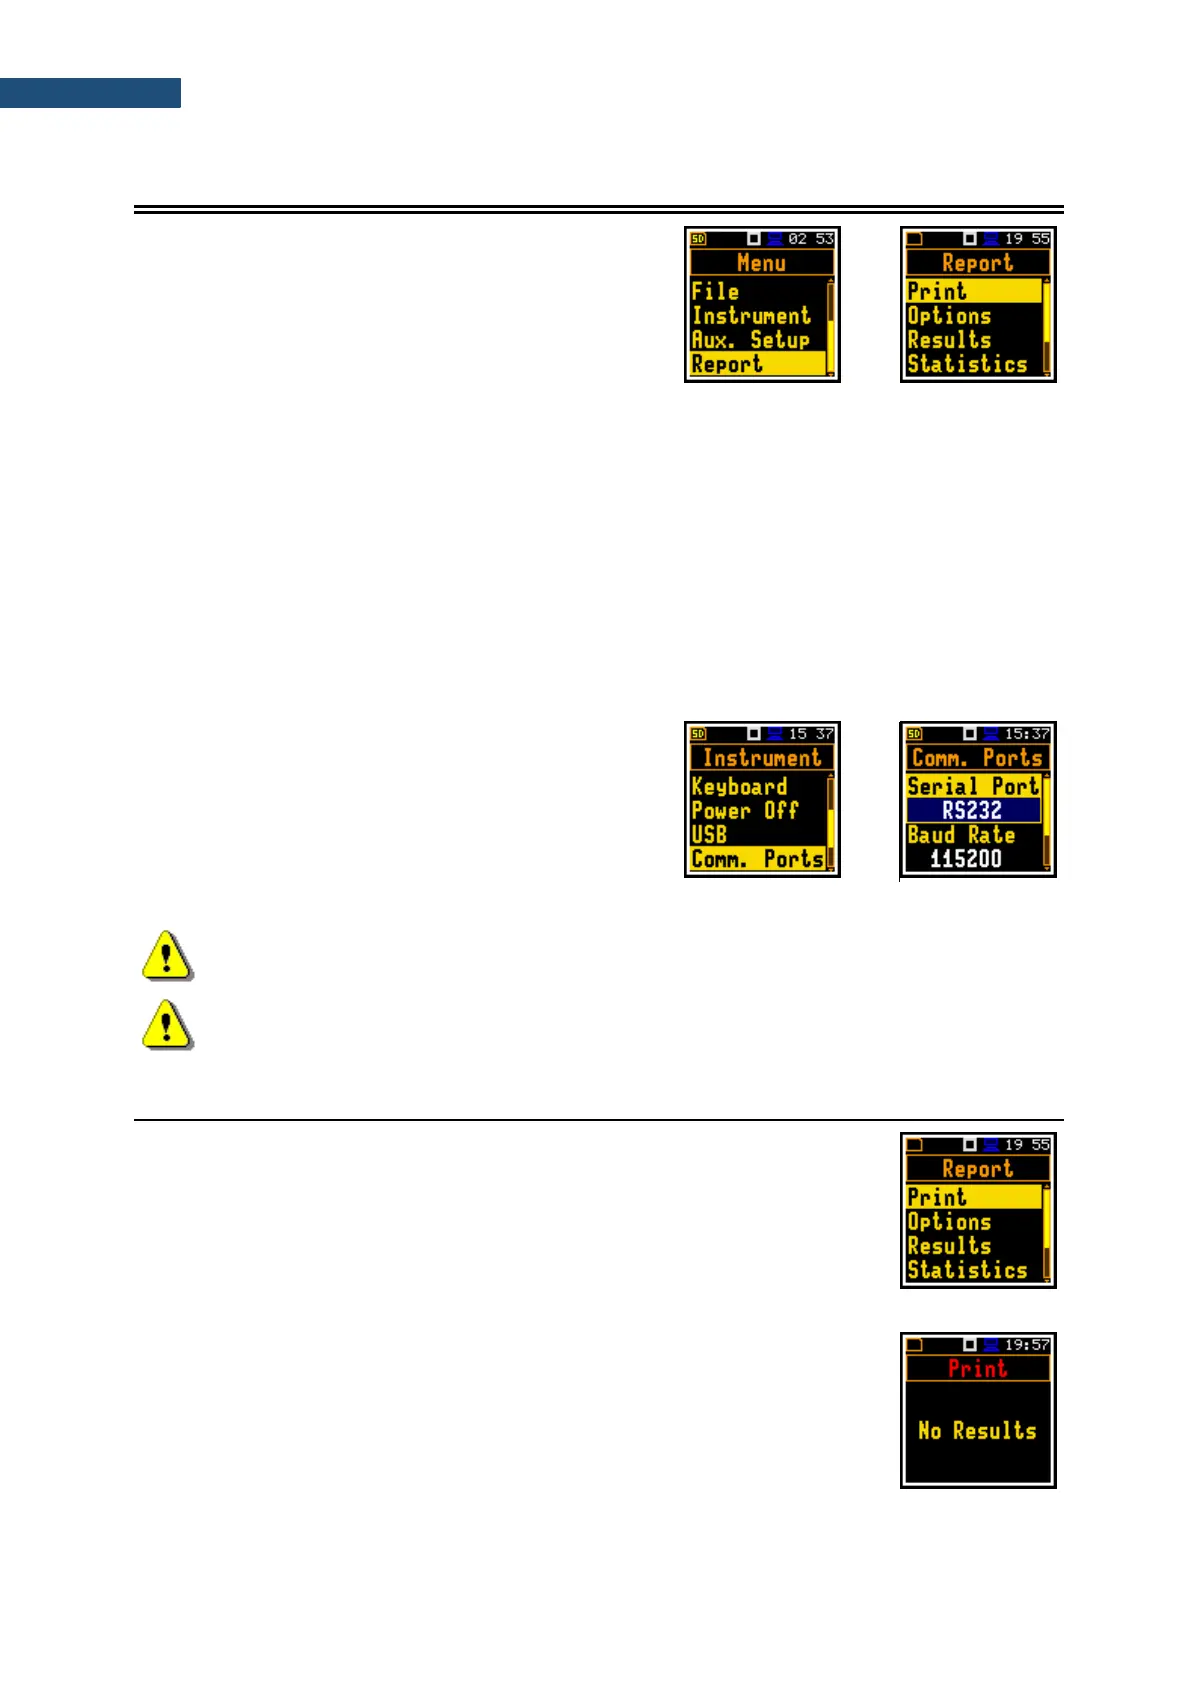
The Report section contains following positions:
Print allowing you to print measurement results on the default printer;
Options allowing you to set report options;
Results allowing you to select measurement results to be included in the report;
Statistics allowing you to select statistics to be included in the report;
Spectrum allowing you to select 1/3 octave bands to be included in the report;
Printer allowing you to select the number of characters in the line of the report.
To obtain a report, connect the instrument to the printer’s RS 232 port using the SV 76 interface. This
hardware interface is hidden in the Cannon type, 9-pin RS 232 plug-in. On the other end of the SV 76
interface, which itself looks like a cable, there is the micro USB-C plug-in. This plug-in should be placed
in the USB-C socket of the instrument.
Be sure that the RS232 port is properly configured.
For this, in the Communication Ports screen (path:
<Menu> / Instrument) set RS232 in the
Serial Port position and select the transmission speed
(Baud Rate) and the time limit during which the data
transmission should be performed (Time Out).
Printers, which have only the USB interface, are currently not driven by the instrument.
Note: Switch the power off before connecting the instrument to any external device (e.g. a
printer or a PC).
Note: All reports are printed in the character format using the ASCII set on either A4 or A5 size
paper.
9.1 PRINTING MEASUREMENT RESULTS – PRINT
The Print position enables printing a report on the attached printer or PC.
After pressing <Enter>, the instrument checks its current state. If the
measurement is running, printing is not possible, and the appropriate message
is displayed.
If the measurement has been already performed and results are available, the
data will be transferred from the instrument to the attached printer. The
instrument returns to the Report list after transferring all data.
If no measurements were performed the next message is displayed.
The message about the time limit is displayed if the printer (or a PC) is not
connected or there is any other reason that it does not receive data. The
instrument waits for the reaction of the user (any key should be pressed except
<Shift>) and after pressing a key it returns to the Report list.
Below is an example printout of the report.