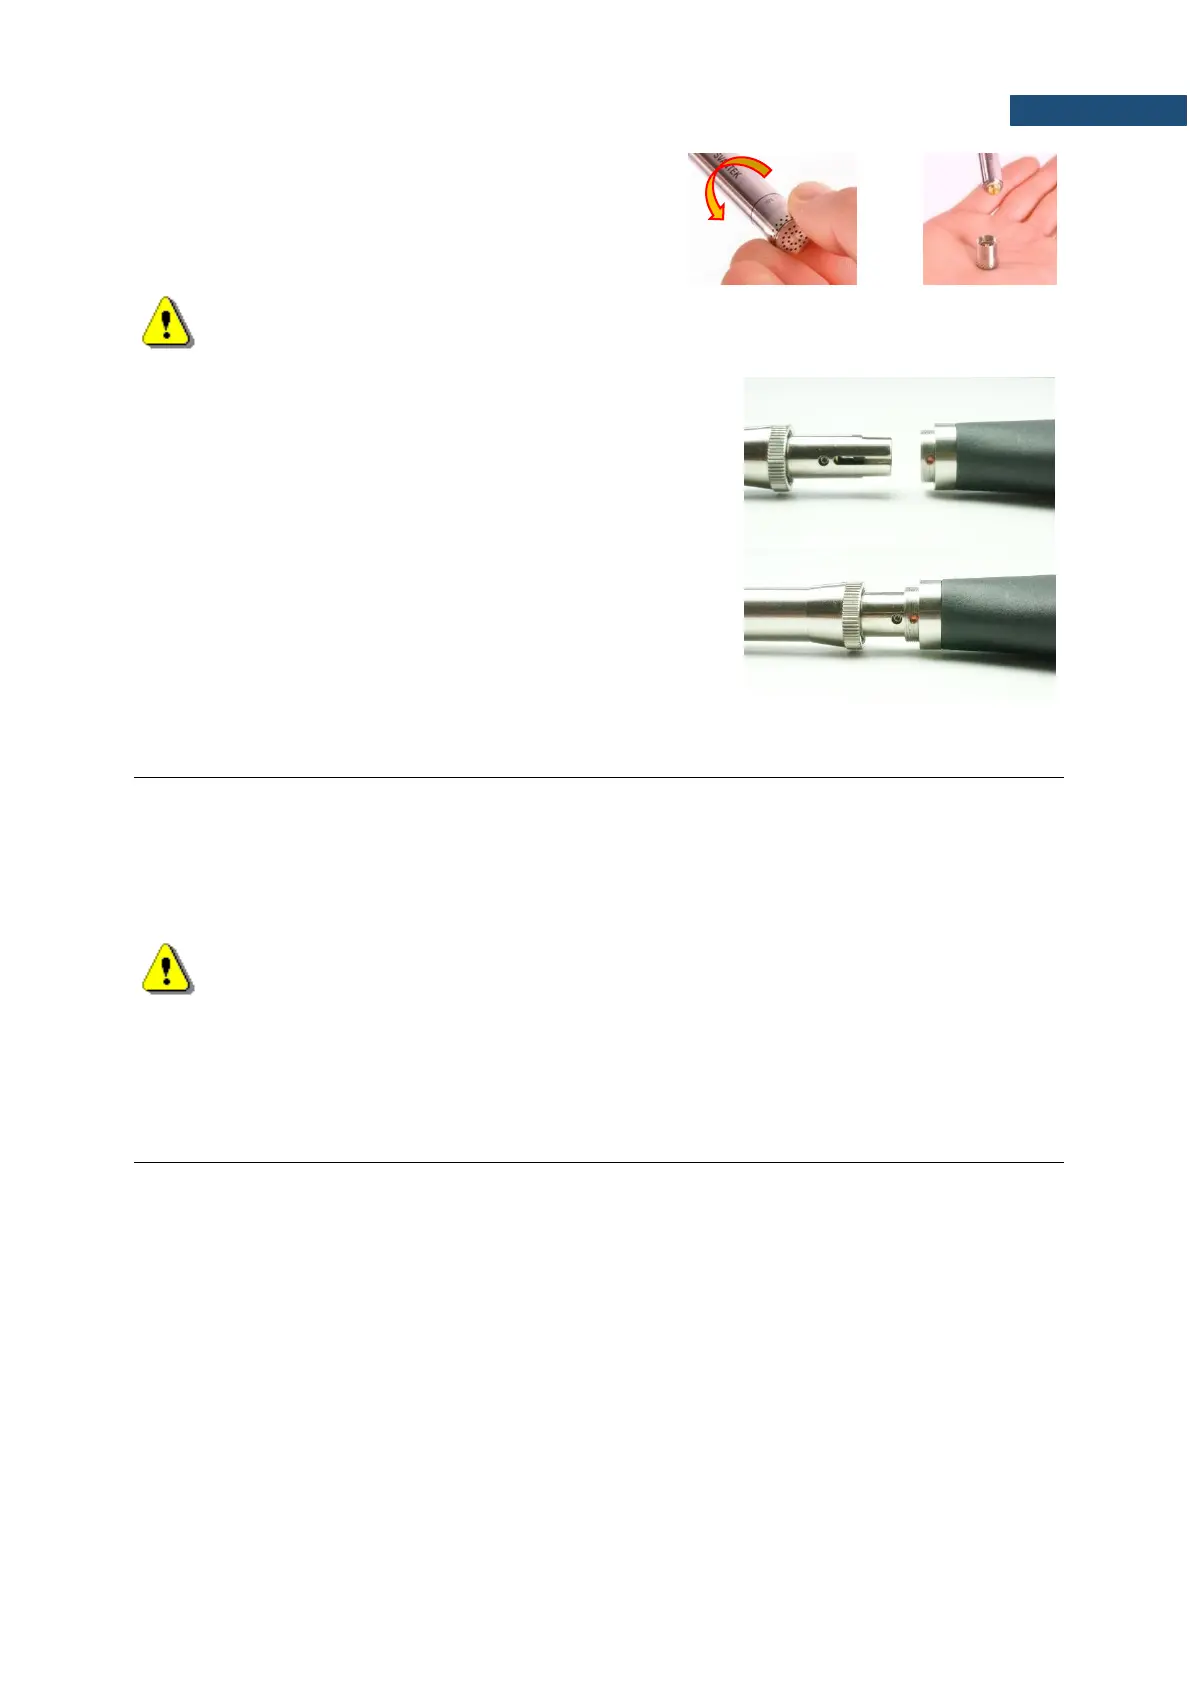
You can replace the microphone cartridge just unscrewing
the previous microphone and screwing the new one. When
unscrewing the microphone, care must be taken not to drop
the microphone. To avoid this, unscrew the microphone so
that it ended up in the user's palm.
Note: After replacing the microphone you must calibrate the instrument! Due to the significant
difference in the sensitivity of the microphones, the calibration drift may also be significant,
which in this case will not mean a malfunction.
The instrument is delivered with the attached preamplifier.
Nevertheless, sometimes it is necessary to disconnect the
preamplifier (for example, in the case SV 971A should be
used with the SV 271 monitoring station).
To disconnect the preamplifier from the instrument, unscrew
the screw threaded ring of the preamplifier and pull the
preamplifier out of the instrument.
To connect the preamplifier (with the microphone) to the
instrument, position the instrument socket and the
preamplifier plug in the way that the red point on the
instrument socket is in line with the pilot slot on the
preamplifier plug. Then insert the preamplifier plug into the
socket and tighten the screw threaded ring.
16.4 RESETTING THE INSTRUMENT
• SYSTEM RESET: internal software reset clears any setup configuration and brings back the
default factory settings. See Factory Settings (path: <Menu> / Auxiliary Setup).
• HARDWARE RESET: internal hardware reset doesn’t change any settings. Make sure the battery
is not exhausted, and the unit is turned off. Hold down the <Shift> and <Start/Stop> keys for
10 seconds, and then release them. Turn on the instrument as usually.
Note: Hardware reset should only to be used in extreme situations such as an instrument
hang-up.
Be aware, that a hardware reset:
- will stop any pre-programmed auto-run modes,
- will stop measurement run!
16.5 UPGRADING THE FIRMWARE
SVANTEK is committed to continuous innovation path of development, and as such reserves the right to
provide firmware enhancements based on user’s feedback.
To update the instrument firmware:
• Unpack the provided firmware package (provided as a suitable compressed file).
• Make sure the instrument is turned off.
• Connect the SC 158 cable to the instrument and then to the PC.
• Keeping pressed the <Enter> and <ESC> keys switch on the instrument - the following
message should appear on the instrument’s screen: Bootstrap ver: 2.01 (or higher).
• Wait for the “<USB>” message on the instrument’s screen and run the go-usb.bat file in the
PC.
• The changing number and final message "..... o.k." should appear on the PC screen.
• Successful firmware update will be indicated by the message “Program loaded!”
• Switch off the instrument.