Note: Every time you return to factory settings without keeping the last calibration (see Chapter
8.2), the new record appears in the list stating the Factory calibration of the instrument.
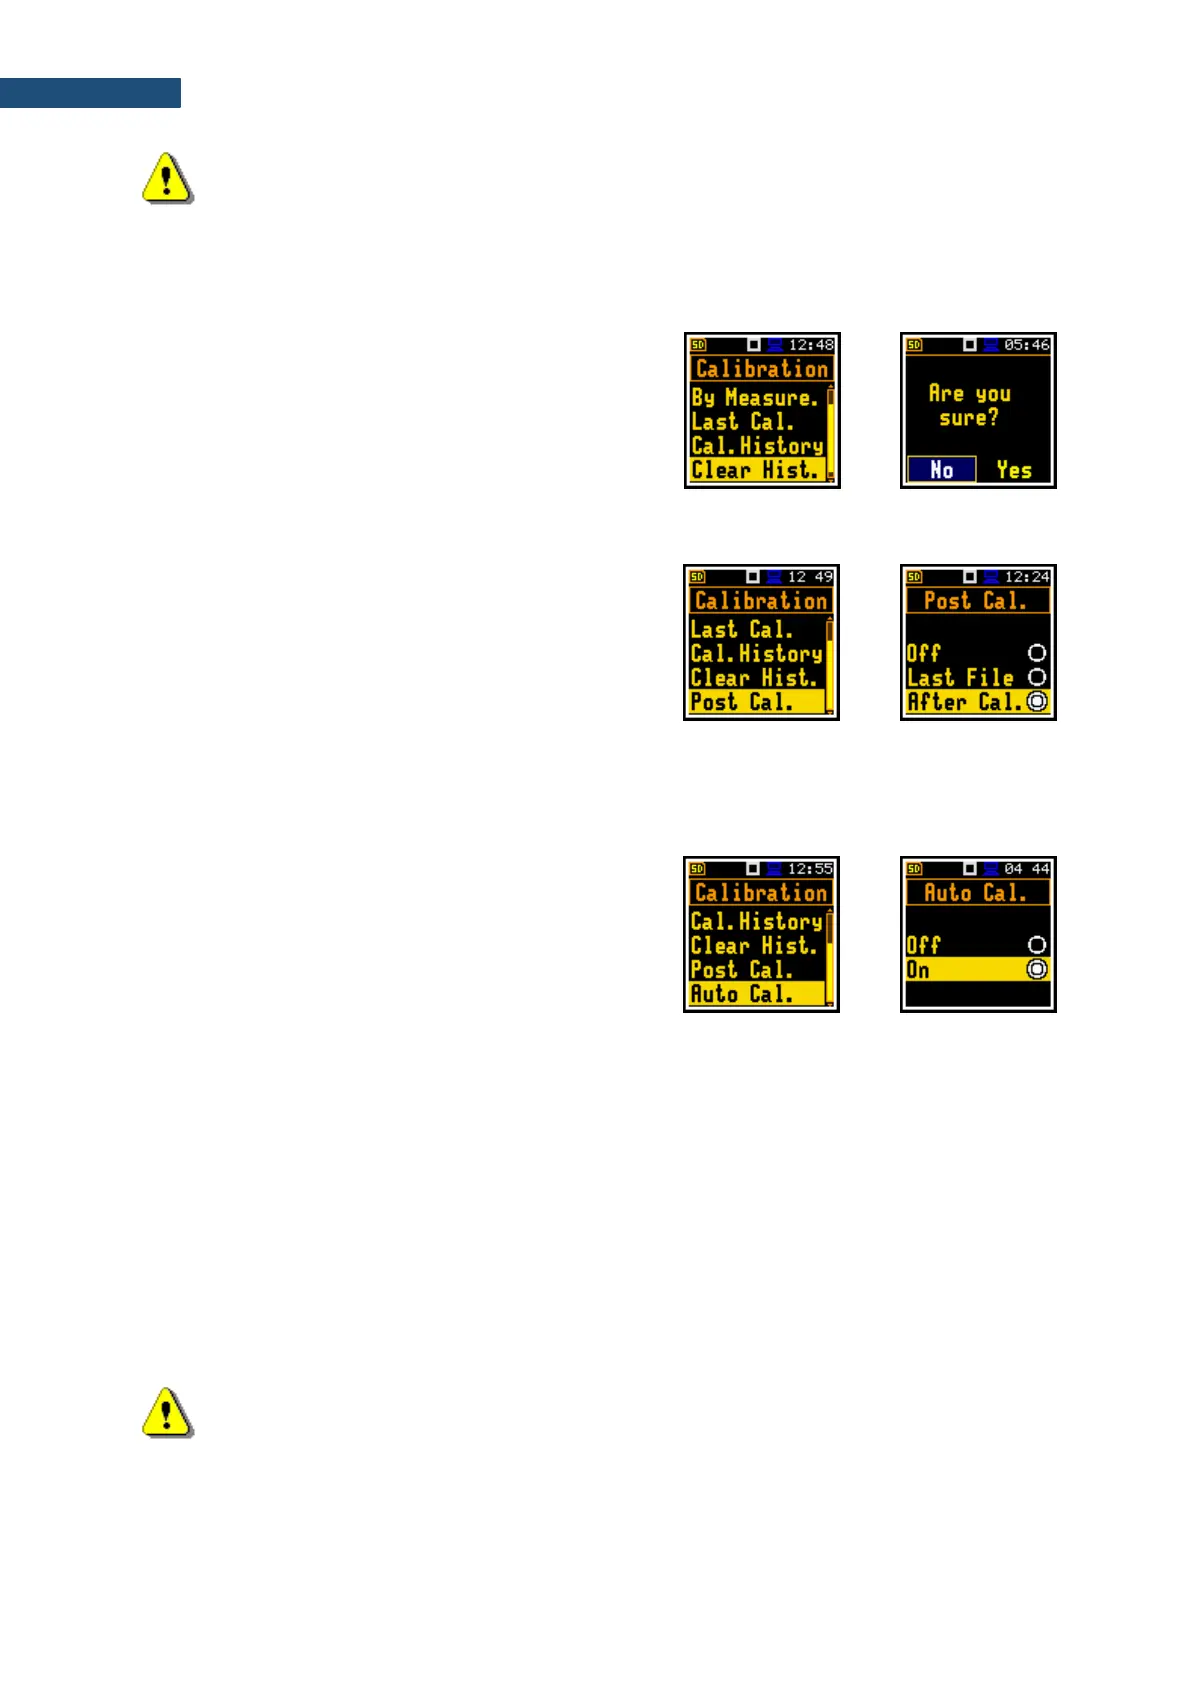
3.2.4 Erasing calibration records – Clear History
To erase all calibration records in the history, choose the
position Clear Hist. and press <Enter>.
The instrument requests confirmation of the selected
operation.
3.2.5 Post measurement calibration – Post Calibration
Some regulations require post-measurement calibration
information to be added to measurement files created
before such calibration. The last calibration factor is for
informational purposes only, as it was not considered
during the measurement.
The Post Cal. screen allows three options: not to save
(Off), save in the last created file (Last File) or save in
the files which were created after the previous calibration
(After Cal.).
3.2.6 Automatic calibration – Auto Calibration
The Auto Cal. position enables the user to perform
automatic calibration when the sound calibrator is
attached. In this case, the “Calibration by measurement”
screen will appear automatically. If Auto Cal. is switched
off, the user should enter this screen through the Menu.
Automatic calibration feature was implemented to make calibration as easy as possible and allow the
user to perform calibration of the instrument with minimum steps.
If the automatic calibration is switched on, the instrument, when it doesn’t perform the measurement,
periodically compares the measured signal level (Running SPL for 1 second) with the reference
calibration level and starts the calibration measurement if the stable SPL result is within ±5dB of the
calibration level.
To perform the automatic microphone calibration, follow next steps:
1. Switch on the instrument.
2. Attach the SV 36 (or equivalent 114 dB/1000 Hz) calibrator to the microphone and switch it on (if
the used calibrator doesn’t have automatic switch-on feature).
The calibration starts automatically, and the calibration process is similar as in case of calibration By
Measurement.
Note: The automatic calibration will be performed regarding the calibration level set in the
By Measurement screen.