3 Press the RECORD [0] button to switch to recording
standby. The indicator will flash.
NOTE
If the or icon appears in the upper right of the Home
Screen, the adjustment for the angle and the left-right
channels of the microphone do not suit the recording setting.
Change the settings. (See “Using the built-in microphone” on
page 41.)
4 Use the INPUT LEVEL + or – button on the left side
panel to adjust the input level. See “Adjusting the input
level” on page 49 for details.
5 Press the RECORD [0] button to start recording. The
indicator will light during recording.
6 Press the (HOME) [8] button to finish recording.
NOTE
To pause recording, press the RECORD [0] button. Press the
RECORD [0] button again to restart recording in the same
le.
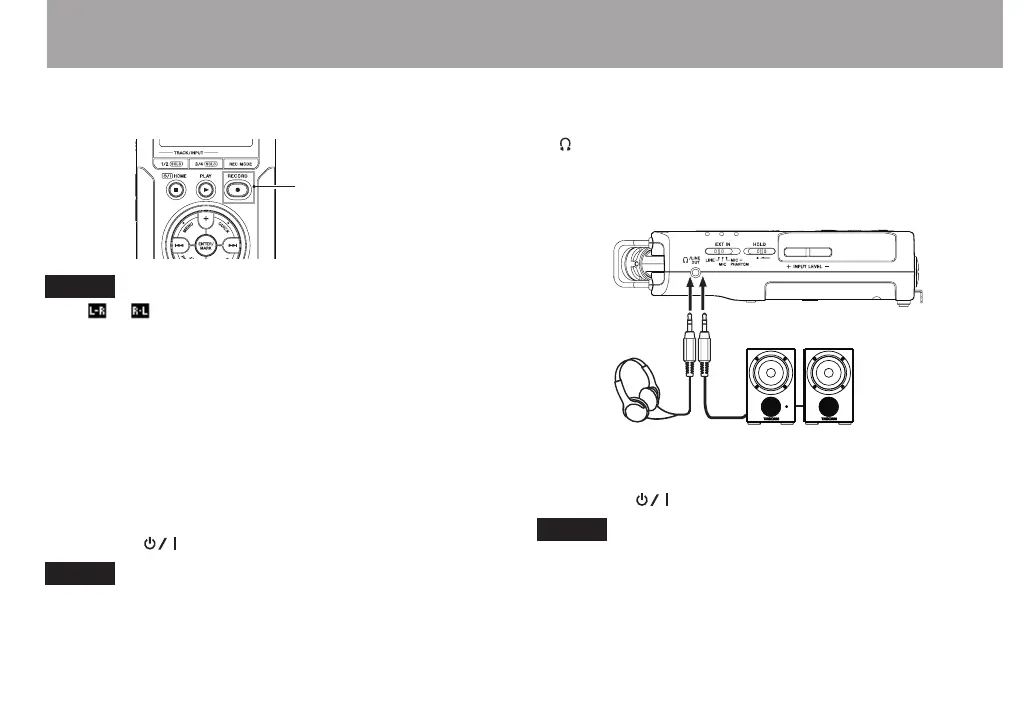
7 Press the PLAY [7] button for playback. If you use a
headphone or amplifier/speaker set, connect it to the
/LINE OUT socket on the left side panel.
For playback over the built-in speaker, enable it on
the speaker settings screen (See “Using the built-in
speaker” on page 40.)
Powered monitor speakers or
amplifer and speakers
Headphones
8 Use the + or – button to control the playback volume.
9 Press the (HOME) [8] button to stop playback.
NOTE
If you have made several recordings, use the . or /
button to select the le to play when playing back or stopped
and the Home Screen is displayed.
Quick Start Guide
 Loading...