Higher values provide better recording quality.
•
WAV/BWF les are higher quality than MP3 les, but they
•
take up more space, so MP3 formats allow for longer
recordings.
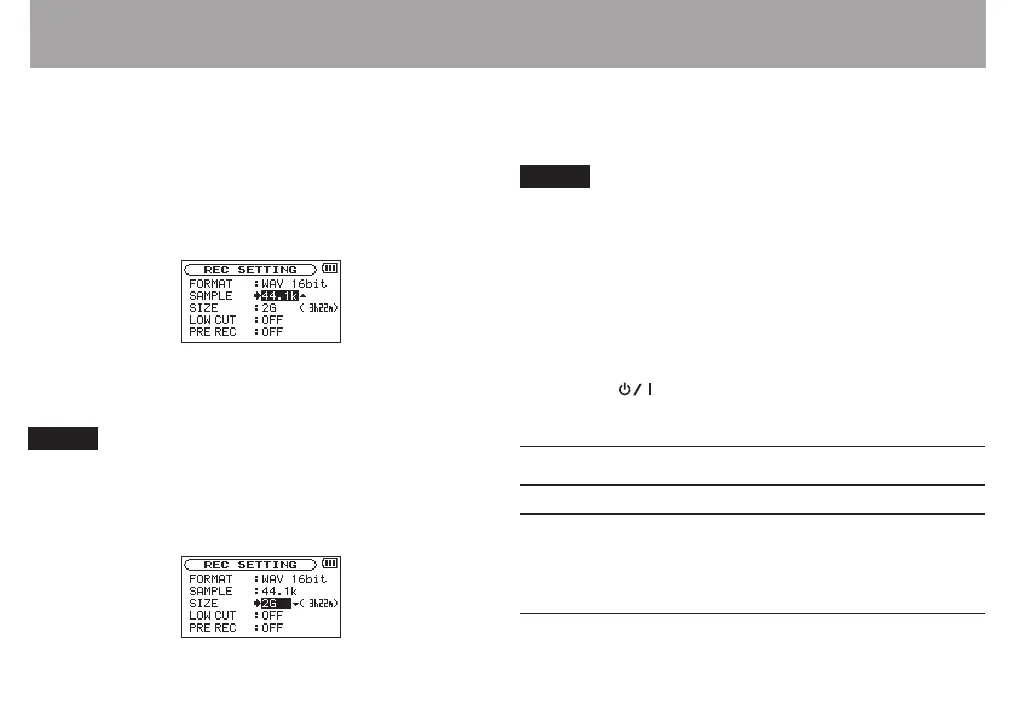
5 Press the . button to show settings.
6 Use the + or – button to select
SAMPLE
, and press the
ENTER/MARK or / button.
7 Set the sampling frequency with the + or − button to
one of the following options.
44.1k
(default),
48k
,
96k
NOTE
96k
cannot be selected if
FORMAT
is set to MP3.
8 Press the . button to show settings.
9 Use the + or – button to select
SIZE
, and press the
ENTER/MARK or / button.
10 Set the maximum file size with the + or − button to one
of the following options.
64M
,
128M
,
256M
,
512M
,
1G
,
2G
(default)
NOTE
If the maximum set le size is exceeded during recording,
•
the unit will automatically continue recording in a new le.
Depending on the le format, the amount of recording
•
time will dier for the same le size. The amount of
recording time is shown on the right of the setting value (in
parentheses).
Recording automatically stops if recording time exceeds 24
•
hours.
11
Press the
(HOME) [8] button to return to the Home
Screen.
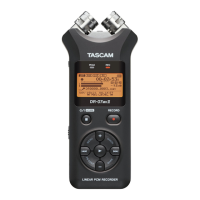
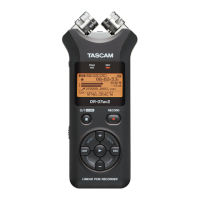
Preparing the recording inputs
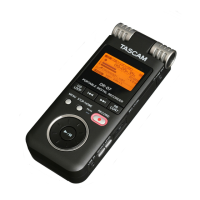
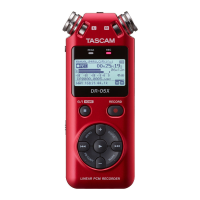
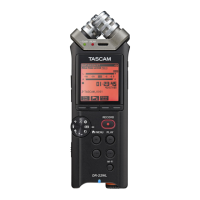
Recording with the built-in mics
Point the mics at the sound source and place the unit in a
stable location where there is little vibration.
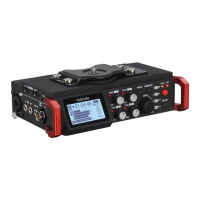
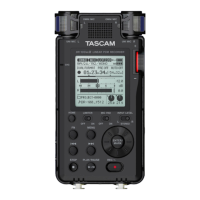
Recording with external mics (EXT MIC IN)
Connect external mics to the EXT MIC/LINE IN connectors.
4 – Recording