13 Press the . button to return to setting item
selection.
14 If using MS mics, use the + and – buttons to select
MS
DECODE
, and press the ENTER/MARK or / button.
Use the + and – buttons to set
MS DECODE
to
ON
(default
value:
OFF
).
15 When setting is complete, press the (HOME) [8]
button to return to the Home Screen.
Starting dual recording
Press the RECORD [0] button to start dual recording.
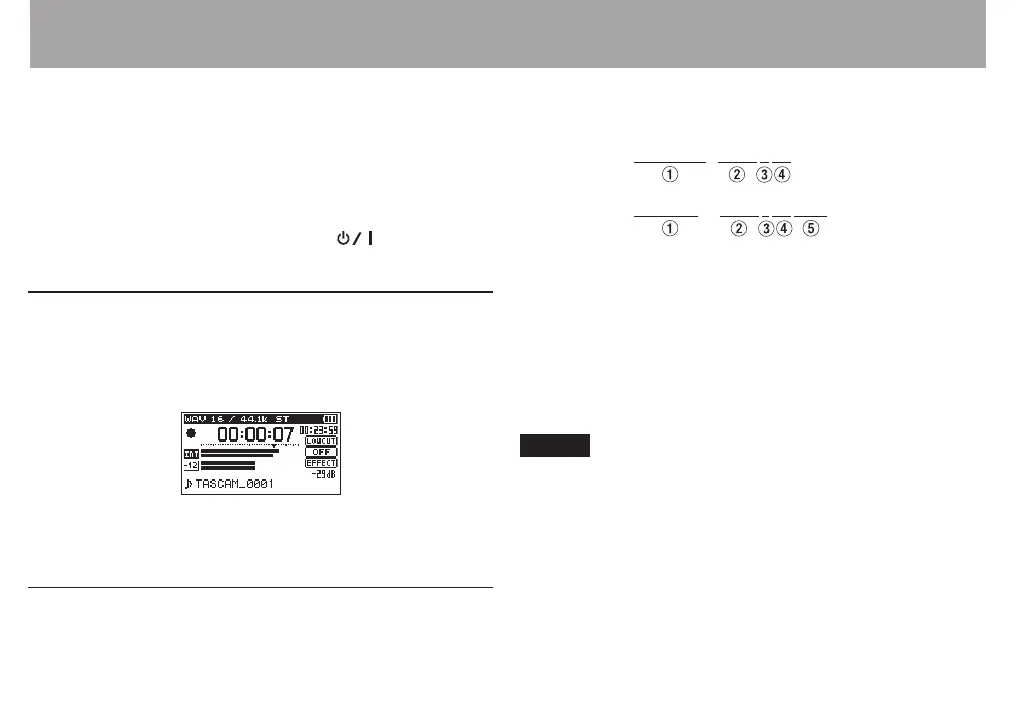
During dual recording, the recording screen appears as
follows.
In the input source display area of the recording screen,
the input levels of the current input source and the dual
recording are shown.
Dual recording file names
Dual recording allows two les to be recorded simultaneously.
The name of the second le created by dual recording has
“DXX” added to the le name of the ordinary recording. “DXX”
shows the amount that the input level has been lowered.
TASCAM_0002S12.WAV
TASCAM_0002S34D12.WAV
1: Set with the
WORD
item on the
FILE NAME
screen
2: Recording le base number
3: “S” is the source le
4: Assigned channels (“12” is channels 1/2 and “34” is
channels 3/4)
5: This dual recording le was recorded with the input level
set to −12 dB. (This would be “D06” if recorded at −6 dB or
“D10” if recorded at −10dB, for example.)
NOTE
If the input level is less than –24 dB, dual recording might
•
not have the expected result.
If
•
LVL CTRL
is set to
AUTO LVL
or
PEAK REDUCTION
, then
the
DUAL LVL
cannot be changed.
4 – Recording