11 – USB audio interface functions
Uninstalling the dedicated software
NOTE
Normally, there is no need to uninstall the dedicated
software. Follow these procedures if a problem occurs or you
no longer intend to use the unit with the computer.
Uninstalling the Windows dedicated
software
1. Open the “Uninstall or change a program” screen using the
procedures for the operating system being used (Windows
11/Windows 10).
2. Select “TASCAM Sonicview USB ” from the list, and double-
click it.
3. Then, follow the instructions that appear on the screen.
Opening the dedicated software
The dedicated TASCAM Sonicview USB software can be opened
in the following manner.
Windows
o From the “Start” menu select “TASCAM Sonicview USB” under
“TASCAM”.
Input latency
The amount of latency for audio input and output signals
transferred to and from the computer can be adjusted using the
ASIO driver.
Smaller values result in less audio signal delay, but require high-
speed processing by the computer.
If the processing cannot keep up, for example, due to other
system operations, clicking and popping noises might occur and
the audio signal might even drop out.
Increasing the value will stabilize operation and suppress
negative effects on audio signals, but the delay in audio signal
transfer between the unit and the computer will increase.
The amount of latency for this unit can be adjusted according to
use conditions.
Default: Normal (256 Samples)
NOTE
On macOS, adjust this with application settings.
Setting Sound Properties
1. Open the Control Panel on the Windows computer.
NOTE
Follow these procedures to open the Control Panel.
Windows 11
Click the Windows Start button, and from “All apps” click
“Windows Tools” and then double-click “Control Panel”.
Windows 10
Click the Windows Start button, and under “Windows
System”, click “Control Panel”.
2. Double-click “Sound” in the Control Panel.
NOTE
If the Control Panel is set to be viewed as icons, a “Sound” icon
will appear.
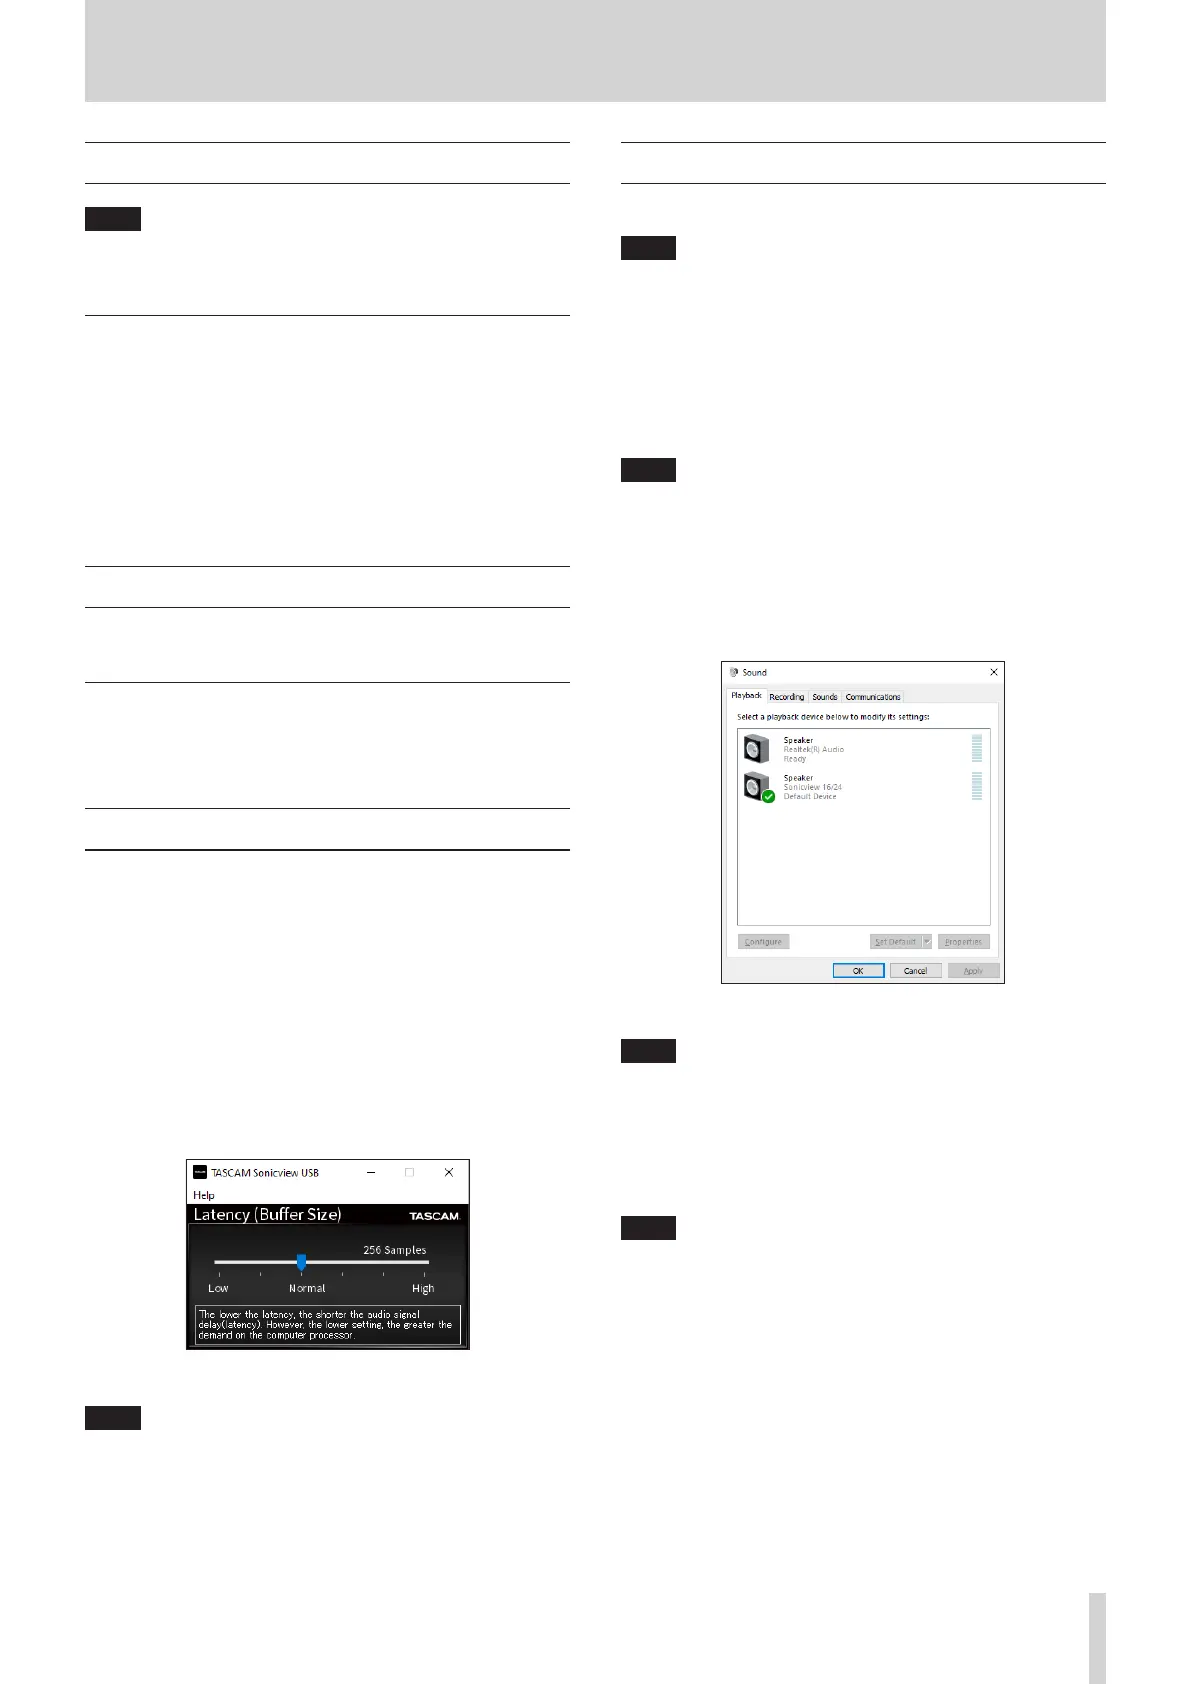
3. On the “Playback” page, right-click “Sonicview 16/24”,
and click “Set as Default Device” in the pop-up menu that
appears.
When you do this, the green check mark appears next to the
selected device.
Windows 10 screen
NOTE
Set the default device according to the device being used on
the Recording tab in the same manner as on the Playback tab.
4. After completing the setting, click the “OK” button.
5. Launch Windows Media Player and play an audio file to
input the playback sound from the computer to USB IN 1
and 2 on the Sonicview 16/24.
NOTE
i If you change the setting while Windows Media Player is
running, the software will not recognize that the device has
been changed. In this case, restart Windows Media Player.
i if you still cannot hear sound after making the settings and
completing the procedures above, restart the computer.
i If you make this setting, sound will be output through this
unit, but no sound will be output from the computer’s
speakers or headphone jack.
TASCAM Sonicview 16/Sonicview 24 V1.1.0 203

 Loading...