5 – Routing
Insert input and output routing
The CH 1–40, MIX1–22 and MAIN L/R Master modules have
insert functions.
Set insert input and output routing on the MODULE (OVERVIEW)
Screen of these modules.
Tap the MODULE NAME area on the Home Screen to open this
screen.
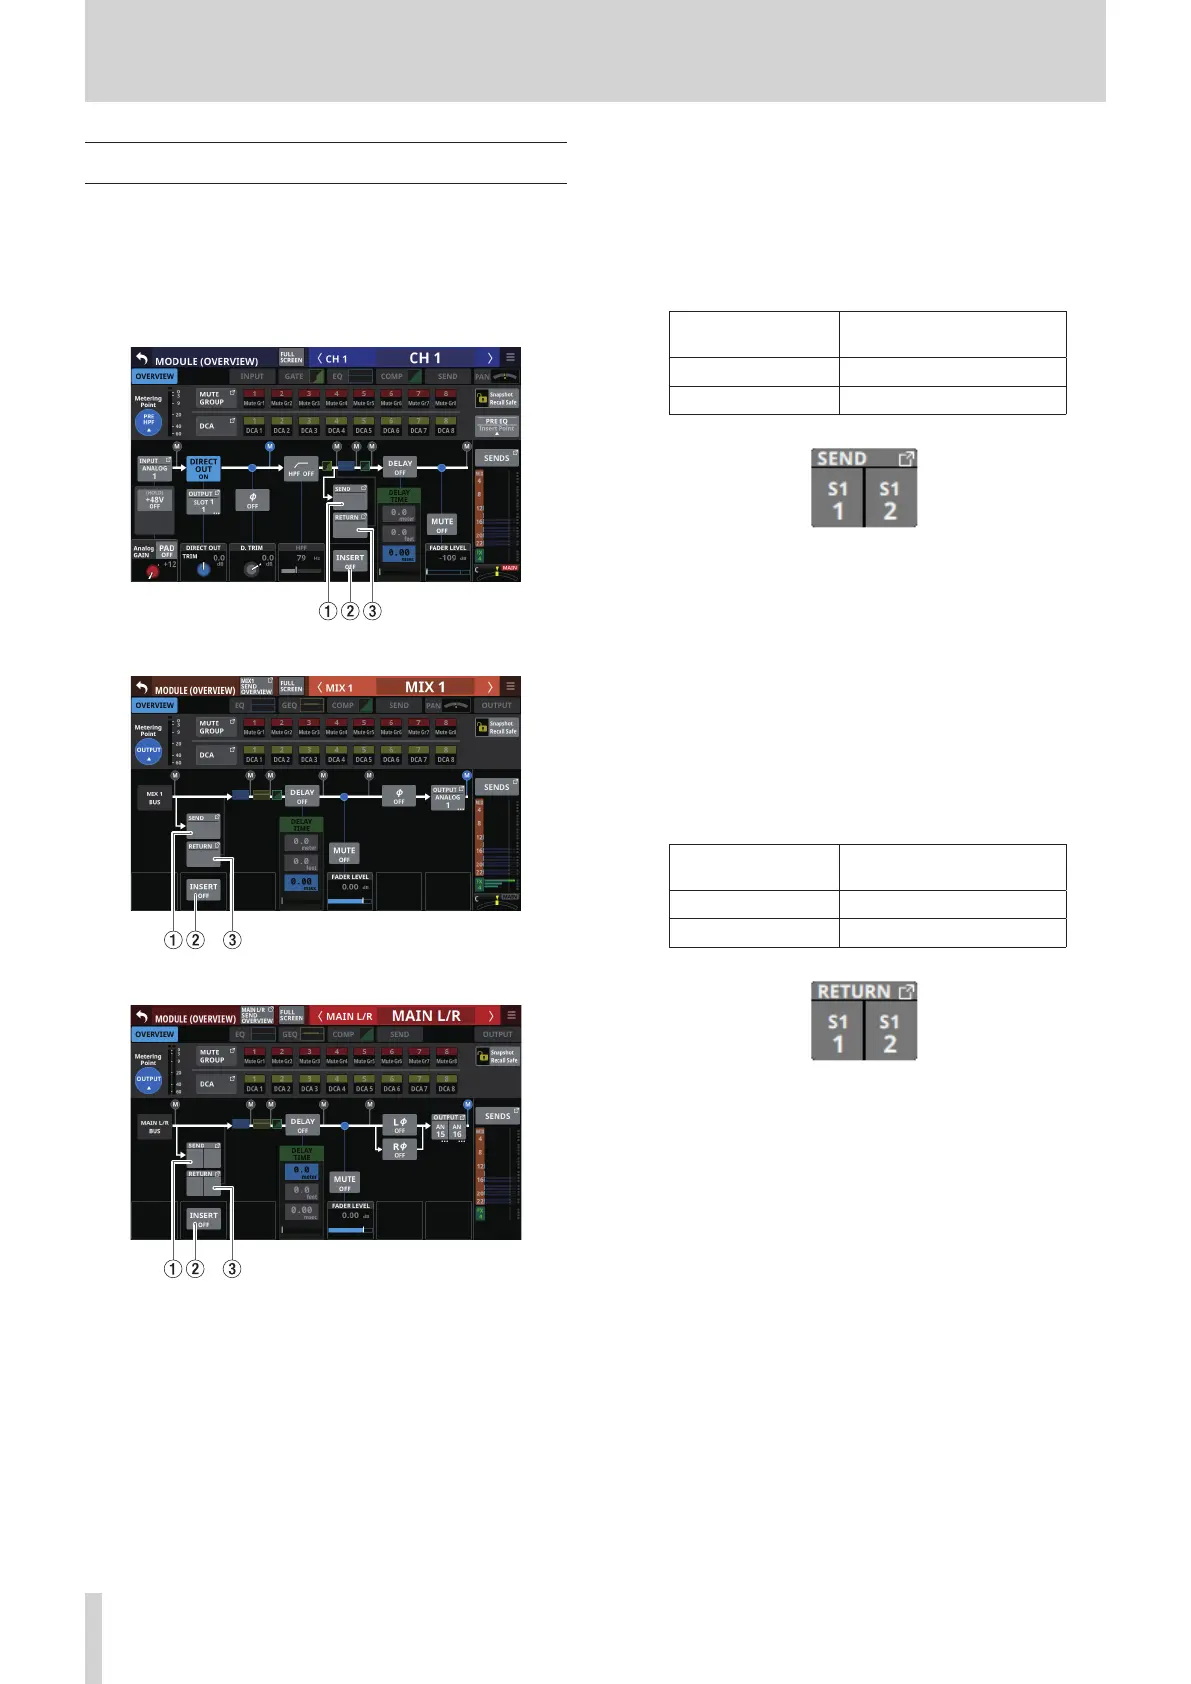
CH 1–40 modules
MIX 1–22 modules
MAIN L/R Master module
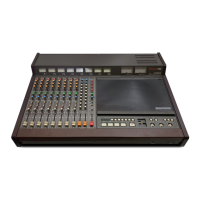
1 SEND button
o This shows the name of the output port that the INSERT
SEND signal is assigned to. If it has been assigned to
multiple output ports, “…” will appear to the bottom right
of the button.
o If the module is stereo, output port names will appear
split left and right and abbreviated as follows.
Module name
shown
Stereo module name
shown
SLOT 1 S1
SLOT 2 S2
o Tap this button to open the INSERT SEND PORT SELECT
Screen where INSERT SEND signal output ports can be
selected. (See “INSERT SEND PORT SELECT screen” on page
106.)
2 INSERT button
Tap this button to turn INSERT ON or OFF.(default).
When this is ON, the button will appear highlighted.
3 RETURN button
o This shows the name of the input port that is assigned for
the INSERT RETURN signal.
o If the module is stereo, input port names will appear split
left and right and abbreviated as follows.
Module name
shown
Stereo module name
shown
SLOT 1 S1
SLOT 2 S2
o Tap this button to open the INSERT RETURN PORT SELECT
Screen where INSERT RETURN signal input ports can be
selected. (See “INSERT RETURN PORT SELECT screen” on
page 107.)
98 TASCAM Sonicview 16/Sonicview 24 V1.1.0