G10 Installation Guide 7.13.2 126
C
Rev. 005-140228
3. Verify that the PWR LED is GREEN, indicating that the IAP100 is receiving
power (Figure C.17).
4. Tighten the two thumbscrews.
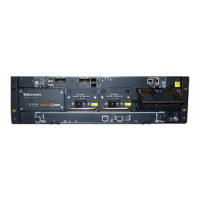
SAS AMC (IAP100)
Remove the SAS AMC only after the IAP100 has been powered OFF. The G10 does not
support removing the SAS AMC while the IAP100 is powered ON.
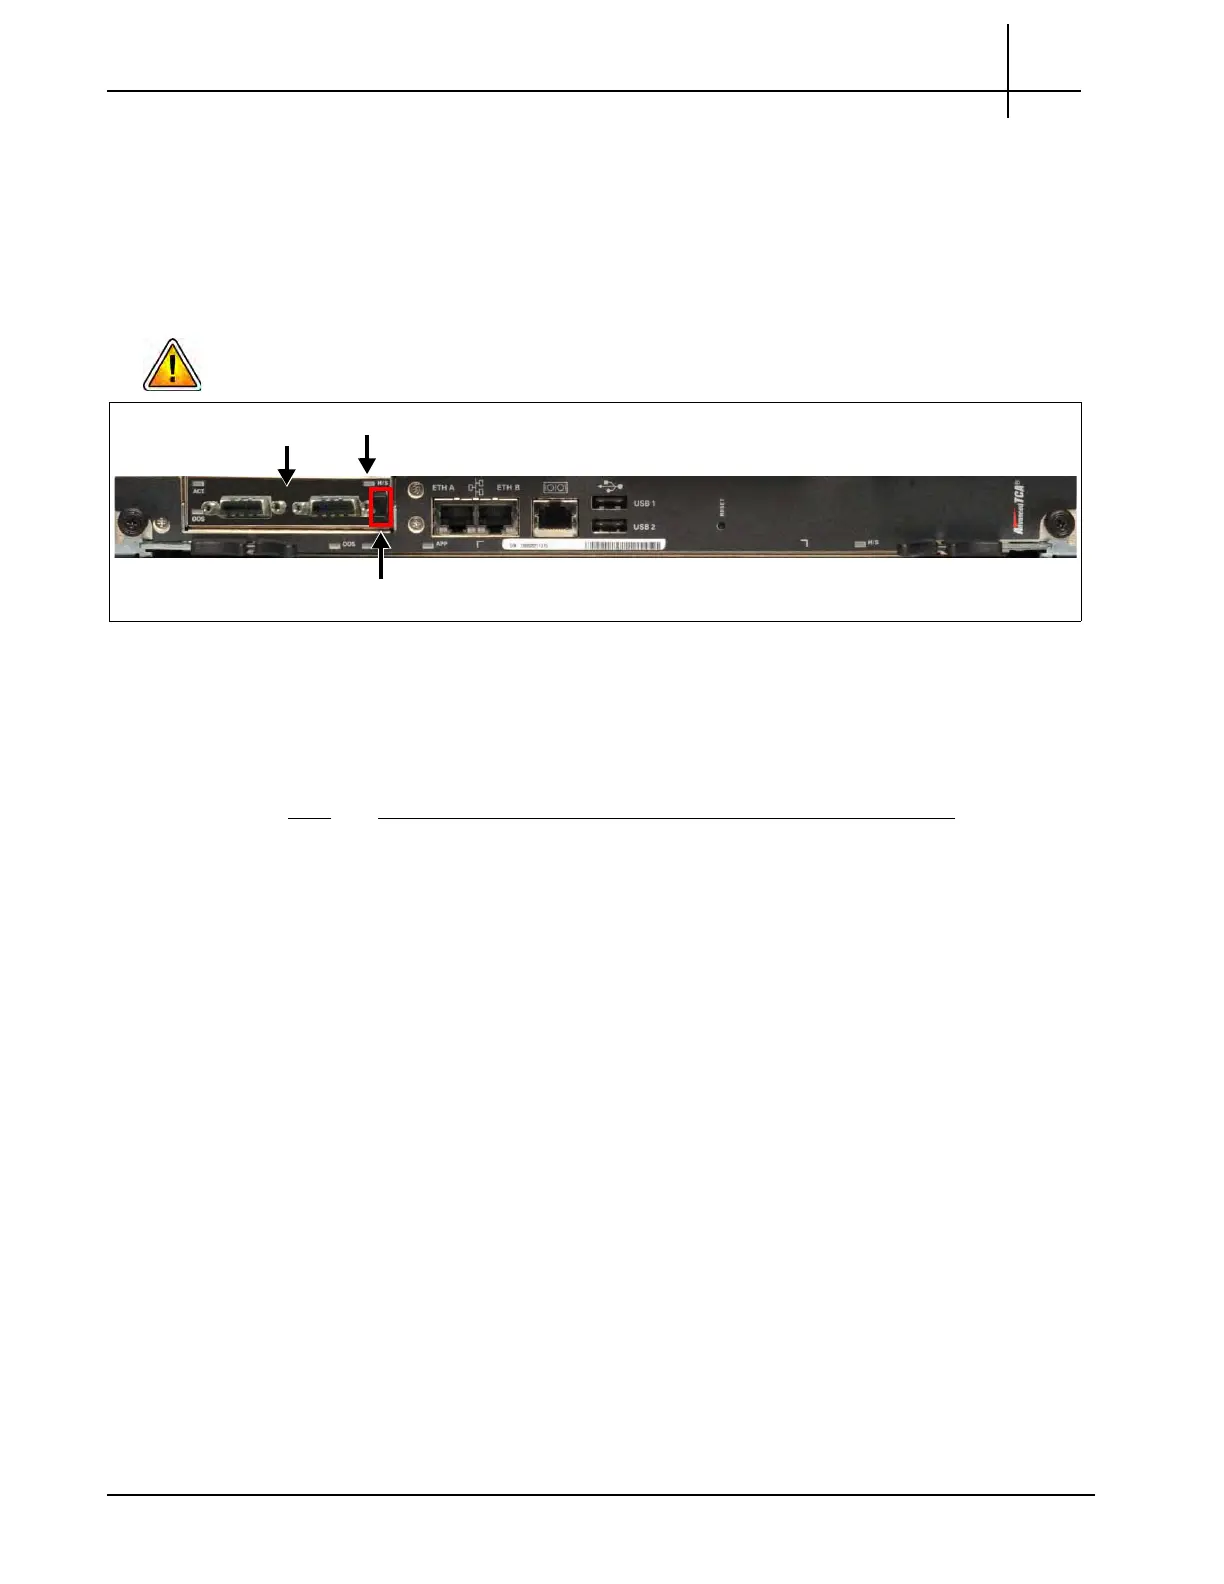
Figure C.18 - G10 IAP100 Blade SAS AMC
Removing/Replacing the SAS AMC
Perform the following steps to remove the SAS AMC.
Step Action
1. Initiate the hot-swap mode for the IAP100 blade and wait until the hot-swap
LED (Figure C.18) is solid blue (indicating that the OS is s
hut down). Refer to
Removing or Resetting the IAP100 for details.
2. Unseat the IAP100 blade 2 inches from the backplane.
3. Pull the SAS AMC handle out (Figure C.18) until the latching mechanism is
released and remove the AMC.
4. Insert the replacement AMC and carefully align the edges with the rail guides in
the IAP1
00
.
5. Apply equal and steady pressure and slide
the
module in until the fingers of the
module snap into the internal AMC connector. DO NOT force the board into
the slot.
6. Push the AMC handle to the IN position.
7. Perform the steps in the procedure Installing the IAP100 to reinsert the IAP100.
SAS AMC
Hot Swap LED
AMC handle
Tektronix Communications | For Licensed Users | Unauthorized Duplication and Distribution Prohibited
 Loading...