G10 Installation Guide 7.13.2 26
2
Install Hardware and Power Cabling
Rev. 005-140228
INSTALL STORAGE ENCLOSURES
If installing several enclosures, refer to Example Rack Installations for more information about
positioning several enclosures in a rack. This procedure
Four-Post Rack, Front Mount
The storage enclosures must be securely mounted to the front of the four-post rack (also
known as flush mount). Brackets shipped with the storage enclosure provide labels for
installing in 30-inch, 36-inch, 42-inch, and 1000 MM four-post racks. Please note that these
values reflect general rack/cabinet sizes and do not represent specific distances.
Step Action
1. Determine the location in the rack in which you will install the storage enclosure
(see Example Rack Installations). Mark the location on the front and back of the
rack posts or note the height measurement of the rack
label. This will enable
you to correctly align the front and rear brackets.
For IAP100/PRM100 RTM configurations, make sure to leave 1U of space below the
G10 to allow for SAS cabling from the SAS AMC on the font of the G10 to the back of
the controller enclosure(s).
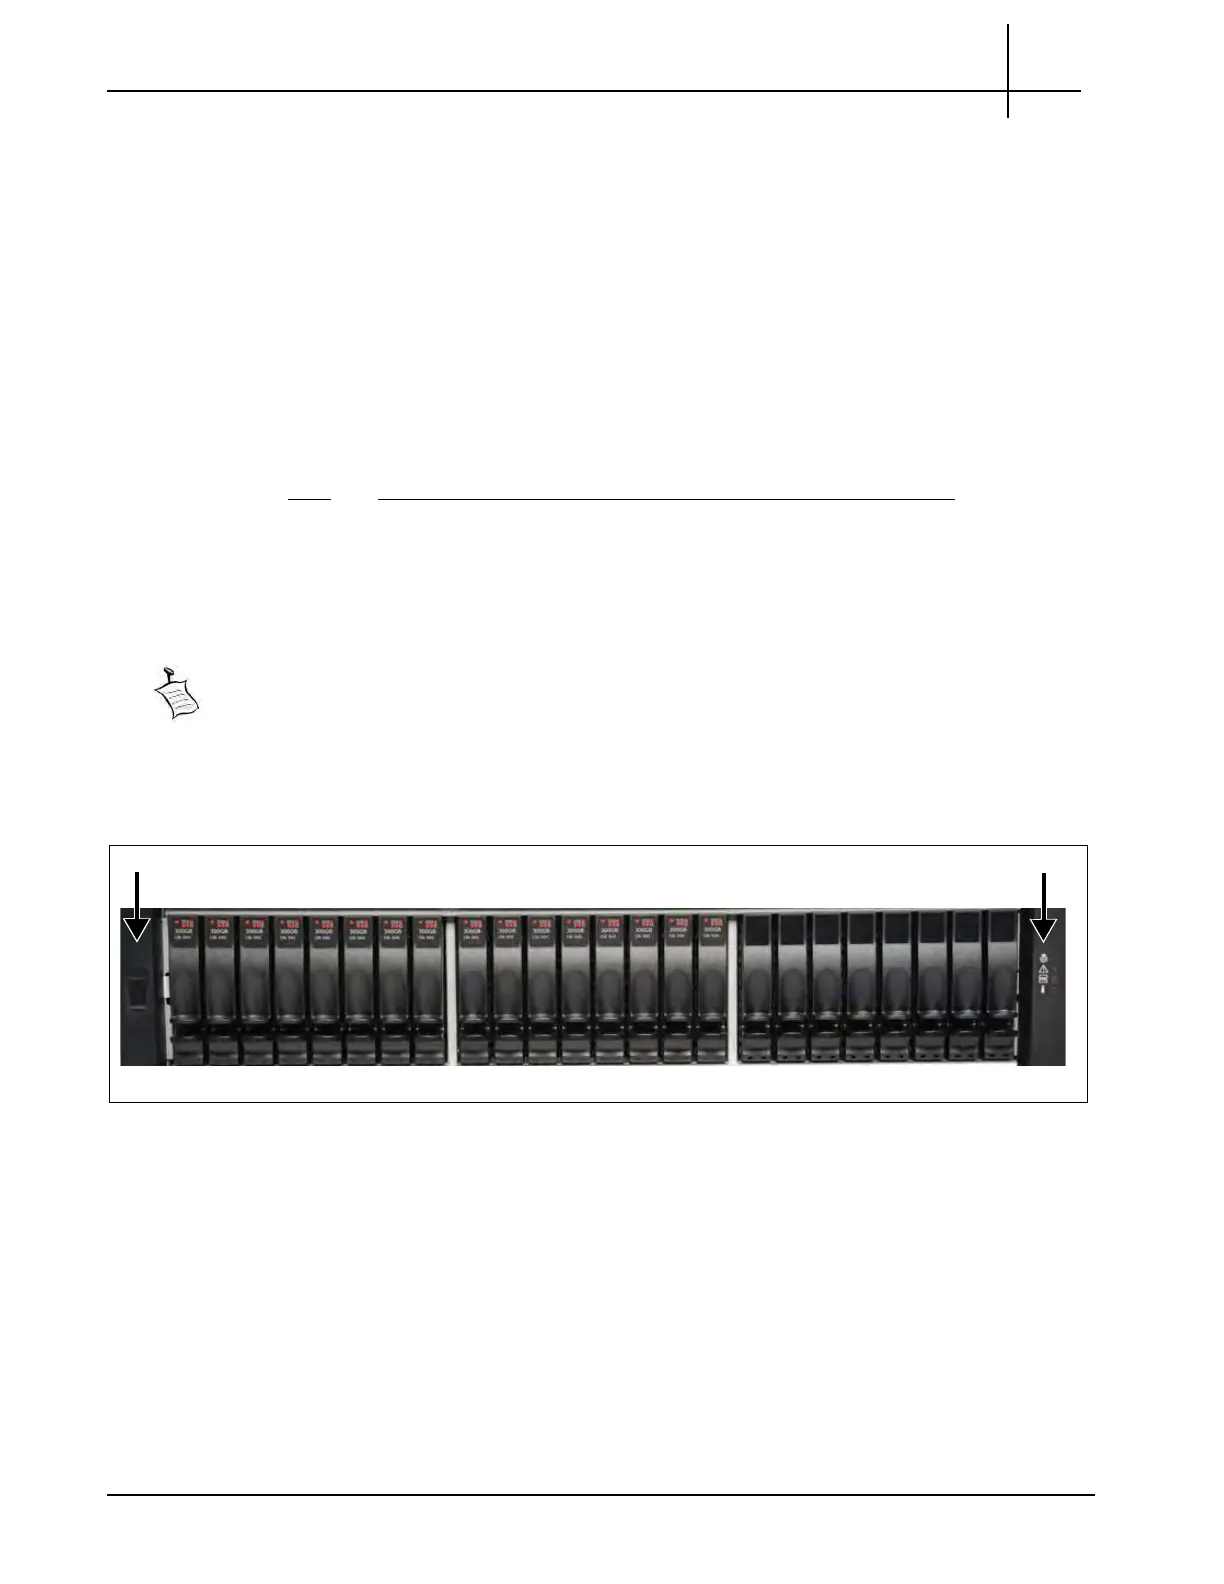
2. SA100R, SA100J, SA200R, and SA200J: Remove the two plastic ear caps
(Figure 2.8) from each side of the front of the stor
age enclosure by grasping the
top and bottom of each ca
p and pulling it straight off the enclosure.
Figure 2.8 - SA100R, SA100J, SA200R, and SA200J Sto
rage Enclosure Ear Caps
Left Ear Cap
Right Ear Cap
Tektronix Communications | For Licensed Users | Unauthorized Duplication and Distribution Prohibited
 Loading...