G10 Installation Guide 7.13.2 18
2
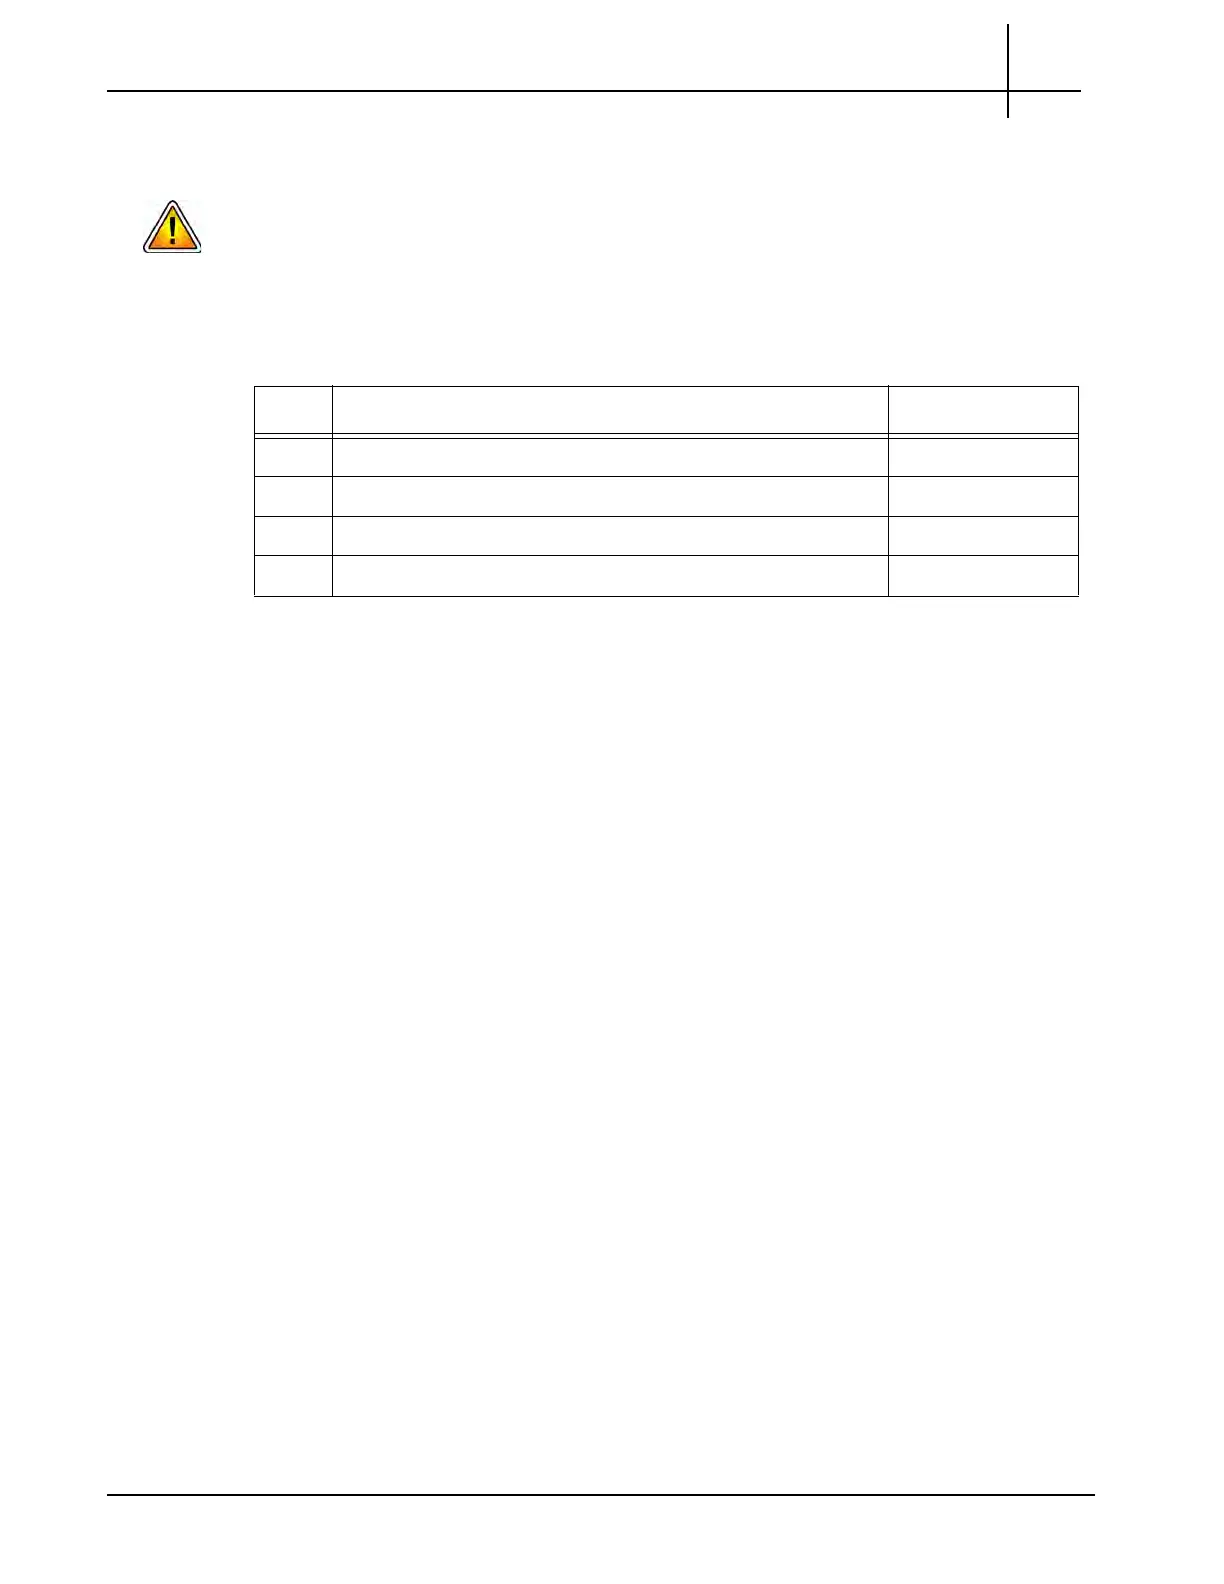
Install Hardware and Power Cabling
Rev. 005-140228
G10 HARDWARE INSTALLATION WORKFLOW
To protect the G10 from electrostatic discharge (ESD) damage, be sure to wear an
anti-static device while working with the hardware. An anti-static wrist strap is
provided with the G10.
Table 2.1 summarizes the G10 installation steps. Refer to the respective pages for each step
for more details. See also Appendix A, G10 Operating Specifications for details.
Refer to Appendix C for procedures for removing and replacing G10 hardware components
such as the blades and RTMs.
Table 2.1 - G10 Hardware Installation Workflow
Step Installation Steps Refer to Page:
1 Install G10 Chassis Page 19
2 Install Storage Enclosures Page 26
3 Install Fuse Panel
a
a. A Fuse Panel is only required for DC power configurations.
Page 35
4 Connect Power Cabling Page 38
Tektronix Communications | For Licensed Users | Unauthorized Duplication and Distribution Prohibited
 Loading...