RiverPro and RioPro ADCP Guide October 2017
EAR-Controlled Technology Subject to Restrictions Contained on the Cover Page.
Page 11
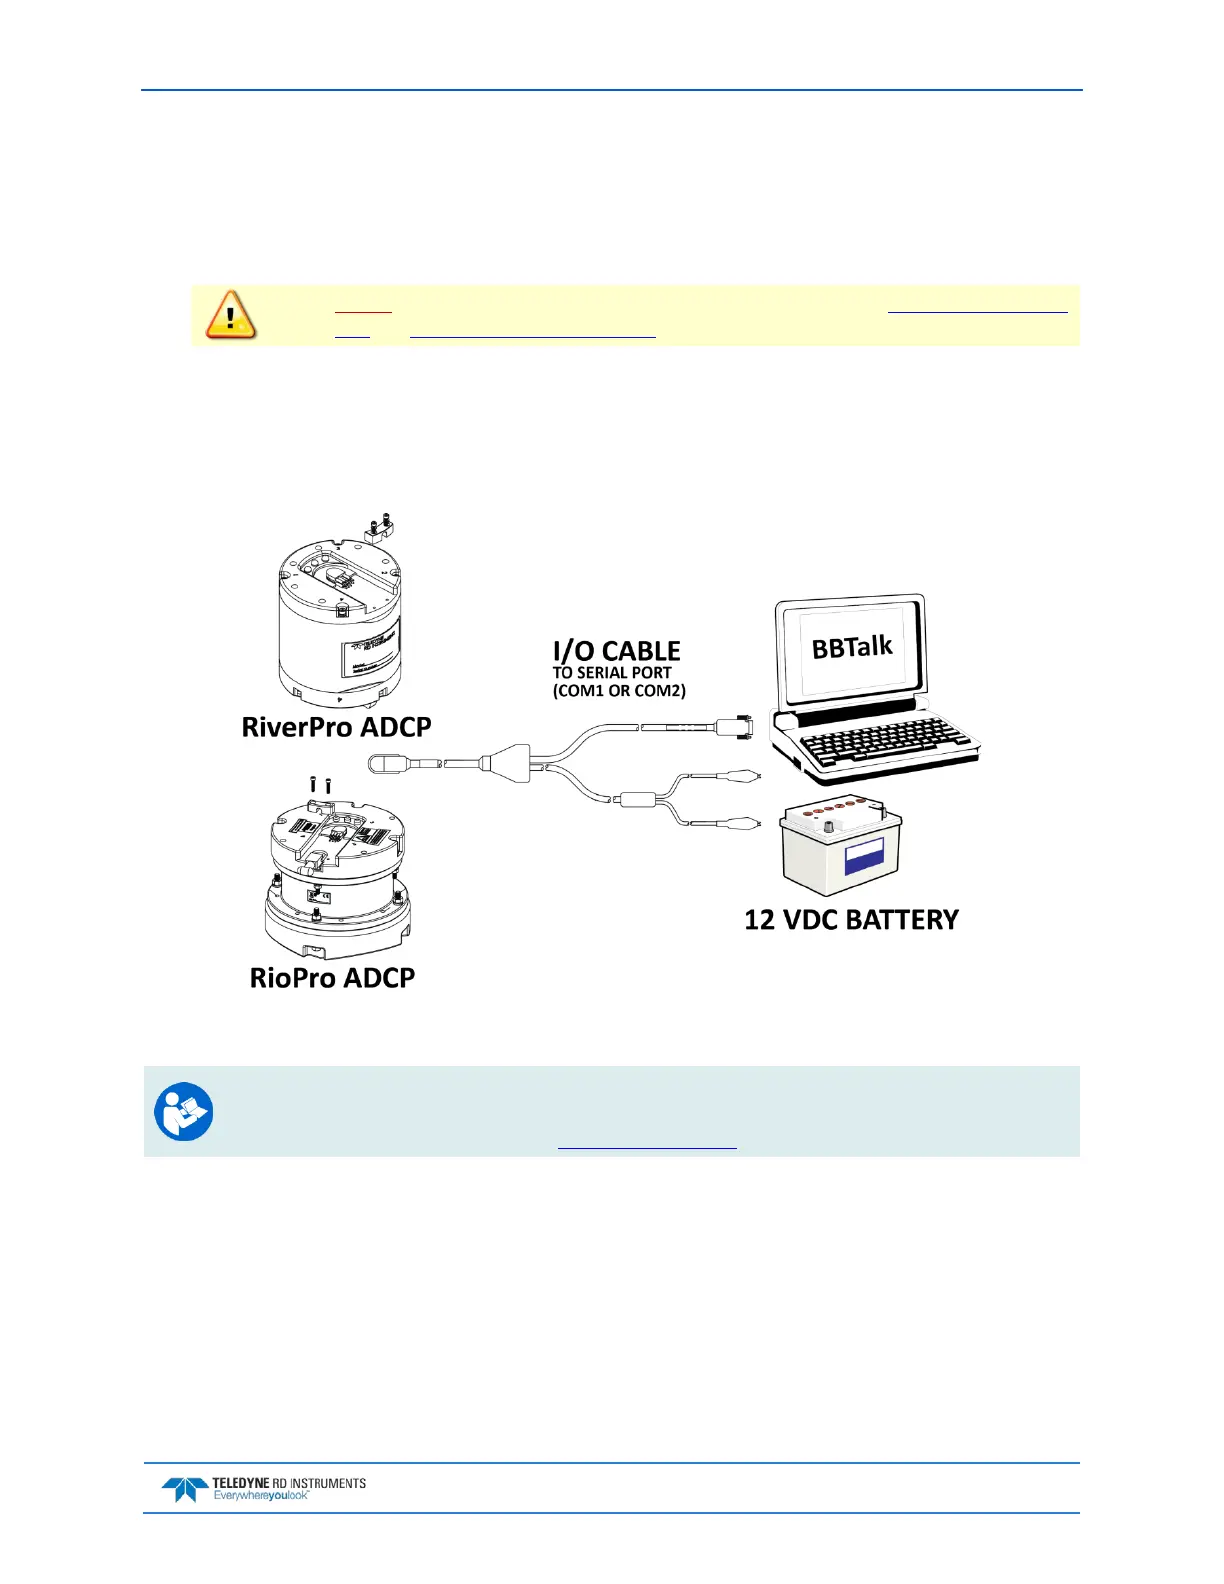
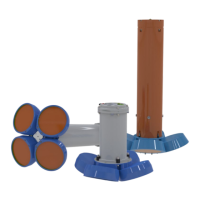
Serial Connection
To set up the RiverPro/RioPro ADCP:
1. The I/O cable connector must be lubricated before connecting. Connect the I/O cable to the
RiverPro/RioPro ADCP.
Always apply silicone lubricant before connecting the I/O cable. See I/O Cable and Dummy
Plug and I/O Cable Connector Lubricant for details.
2. Attach the I/O cable to the computer’s communication port. The standard communications set-
tings are RS-232, 115200-baud, no parity, 8 data bits and 1 stop bit.
3. Connect a battery or DC power supply to the power connectors. Verify that both the red and green
LEDs light. After a few seconds the red LED should go out and the green LED will blink twice and
then stay on. This indicates that the RiverPro/RioPro self-test has passed.
Figure 3. RiverPro/RioPro Serial Connection
For information on how to set up communications with WinRiver II, see the WinRiver II Serial
Communications Setup Card or see Chapter 2 in the WinRiver II Software User's Guide.
For Bluetooth connection, see Bluetooth Connection.