Chapter 7 Servicing
7-13
3. From the Run screen, press the
MENU
pushbutton to display the Main Menu. Use the
↓
pushbutton to move the cursor to Diagnostics, and press
ENTER
to display the
Diagnostics menu. Use the
↓
pushbutton to move the cursor to Test Analog Outputs, and
press
ENTER
. The Test Analog Output screen appears as shown below.
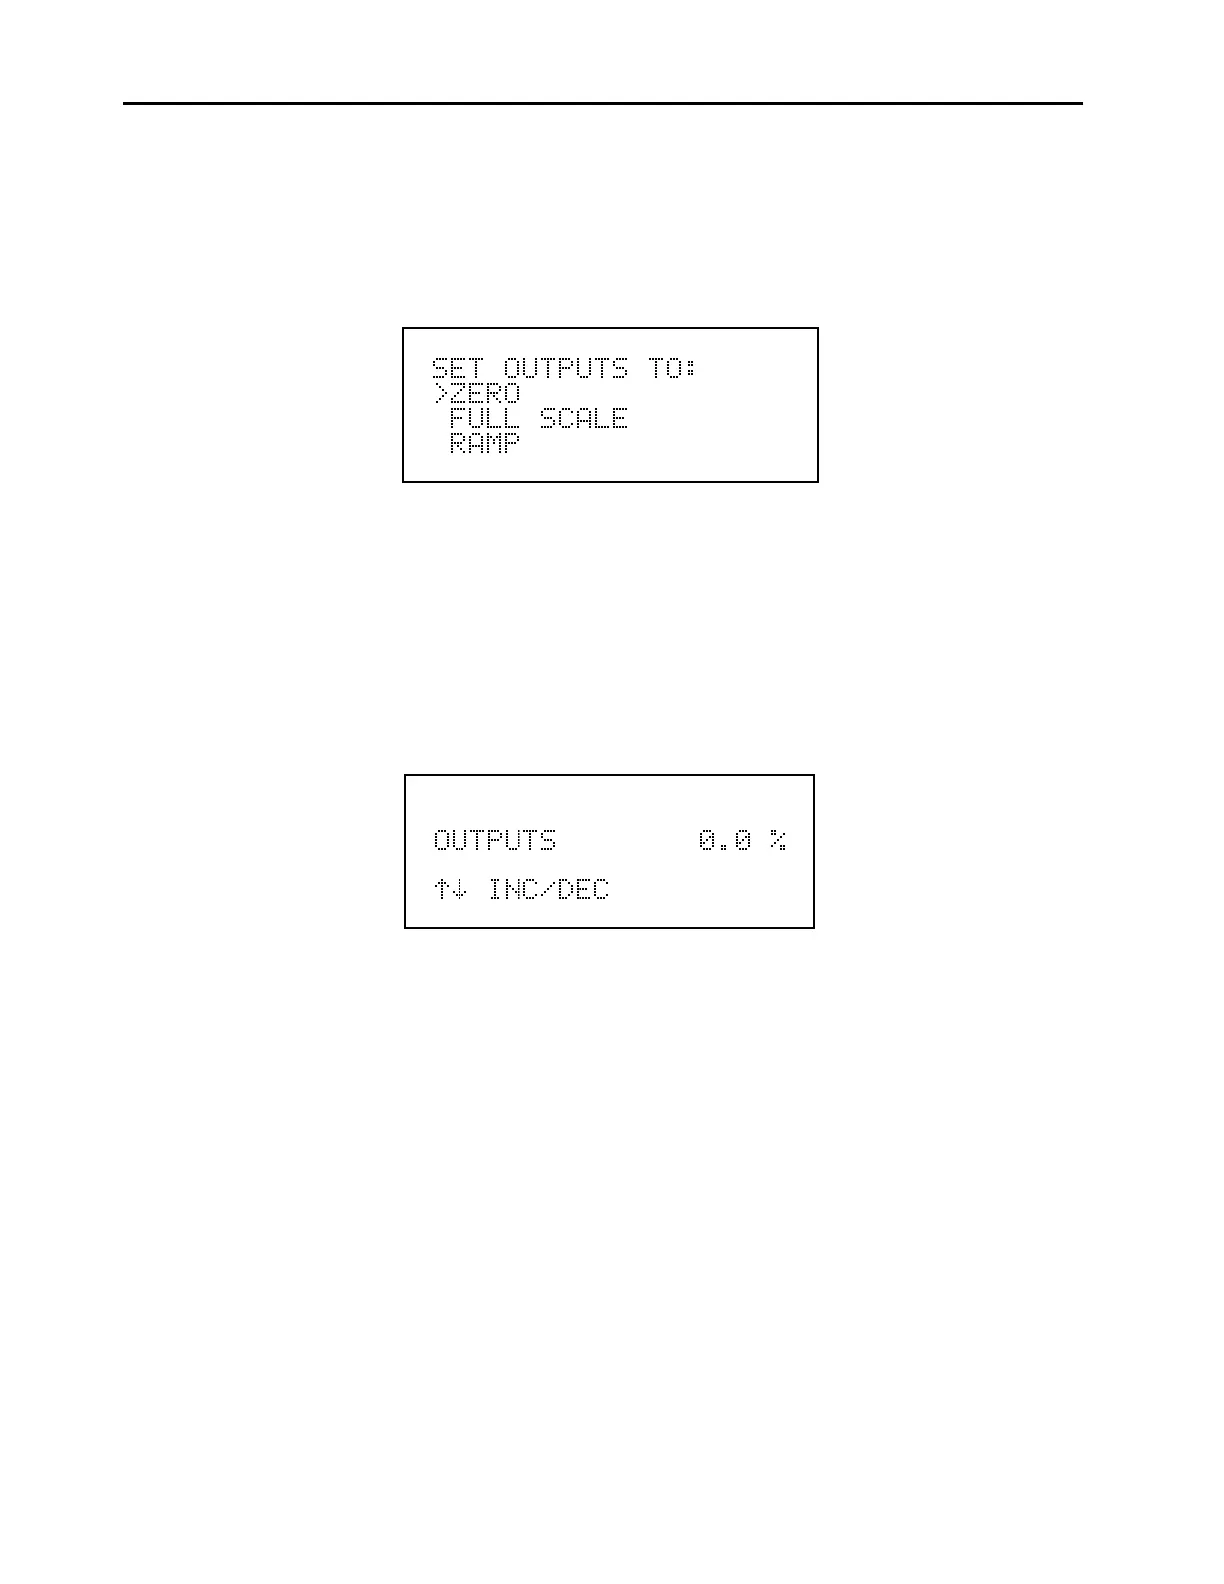
Test Analog Outputs Menu
4. Press
ENTER
to select Zero. The zero screen appears as shown below. Using a small
screwdriver, adjust potentiometer R1 and R3 on the D/A Board until the analog
outputs read 0 volts. Press the
MENU
pushbutton to return to the Test Analog
Outputs menu.
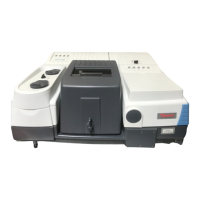
Zero Analog Outputs Screen
5. Press the
↓
pushbutton to move the cursor to Fullscale and press
ENTER
. The
fullscale screen appears as shown below. Using a small screwdriver, adjust
potentiometer R2 and R4 on the D/A Board until the analog outputs read 10 volts
(standard instrument). Press the
MENU
pushbutton to return to the Test Analog
Outputs menu.