13.1. Using straight lines guidelines
90
3.
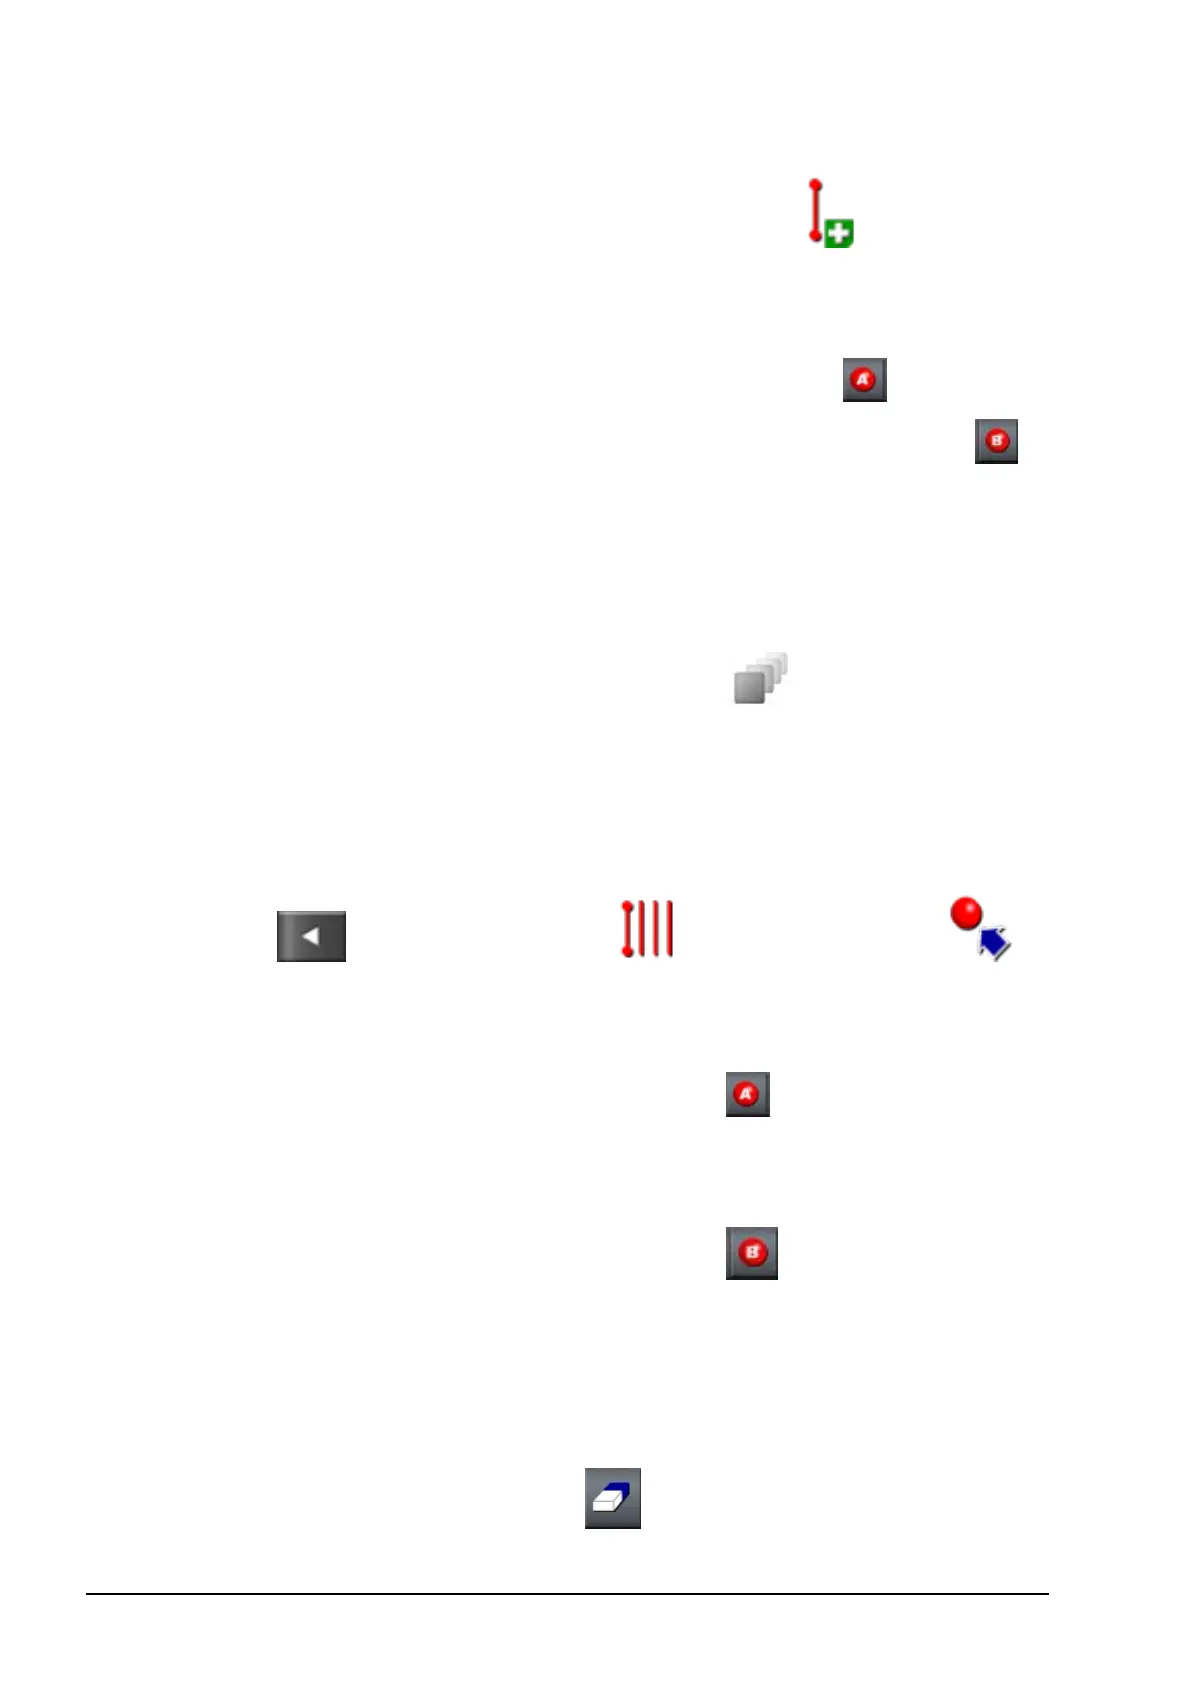
To set the AB line, select Create New AB line .
4. To change the default name, select GUIDELINE NAME.
5. Enter a name and confirm. Confirm the new guideline.
6.
Drive to the start of the swath. Select Set A Point .
7.
To set a ‘B’ point, drive along the required swath and select .
The ‘B’ point appears and parallel guidelines for steering display
on the screen.
In most cases the screen will display the line being travelled and the
two adjacent lines.
To view all guidelines across the field, select from the top of the
screen and choose Line Numbers. (This requires a field boundary,
refer to Setting a new boundary, page 78.)
13.1.1. Setting AB lines manually
It is also possible to set AB lines using coordinates.
1.
Select / Guidelines Menu / Manual AB Line .
The Manual AB Line screen displays.
2. Set the ‘A’ point using one of the following methods:
l
Drive to the desired location and select .
l Enter the coordinates (latitude/longitude) of the ‘A’ point.
3. Set the B point using one of the following methods:
l
Drive to the desired location and select .
l Enter the coordinates (latitude/longitude) of the B point.
l Enter the Heading of the AB Line. The software will
automatically place a ‘B’ point to create an AB line of the
desired heading, relative to the ‘A’ point.
Note: To erase a guideline, select .