4. INSTALLATION PROCEDURE FOR OPTIONAL EQUIPMENT EO18-33031
(Revision Date: Mar. 1, 2017)
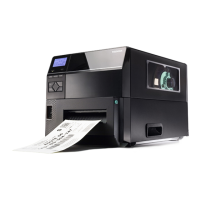
4.8 UHF RFID KIT (B-EX706-RFID-U4-US/EU/AU-R)
4-46
Module
TYPE U2/U4
COUNTRY Need to be set
Change by [ENTER] key
4.8.4 RFID Operation Check
1. Mount the Left Side Cover in a reverse order of removal. Be careful not to pinch the cables.
2. Plug the Power cord into the electrical outlet and turn ON the printer. Enter the RFID Set-up Menu in the
System Mode.
3. In the module configuration, press the [ENTER] key to select the “UHF band (U2 / U4)".
4. Set the country code to [EU].
Press the [ENTER] Key.
Enter PASSWORD(RFID) and 1048, then save by pressing the [ENTER] key.
Confirm the COUNTRY CODE is set to [EU] and press the [ENTER] key.
5. Turn off the printer power and back to on again. Enter the system mode.
6. Under the module setting, select [EPC C1 Gen2] as the Tag Type and press the [ENTER] key.
Left Side Cover
Power OFF
SYSTEM MODE
<5>RAM CLEAR
<6>INTERFACE
<7>RFID
<8>RTC
SYSTEM MODE
<0>RESET
<1> DIAGNOSTIC
<2> SET PARAMETERS
<3>TEST PRINT
Press [DOWN]
until “<7>RFID” is
highlighted.
[Turn on the printer while holding
down [FEED] & [PAUSE] or [MODE].
Press [ENTER].
 Loading...