38 Vectorworks 2010 Products
Vectorworks Spotlight 2010 Getting Started Guide
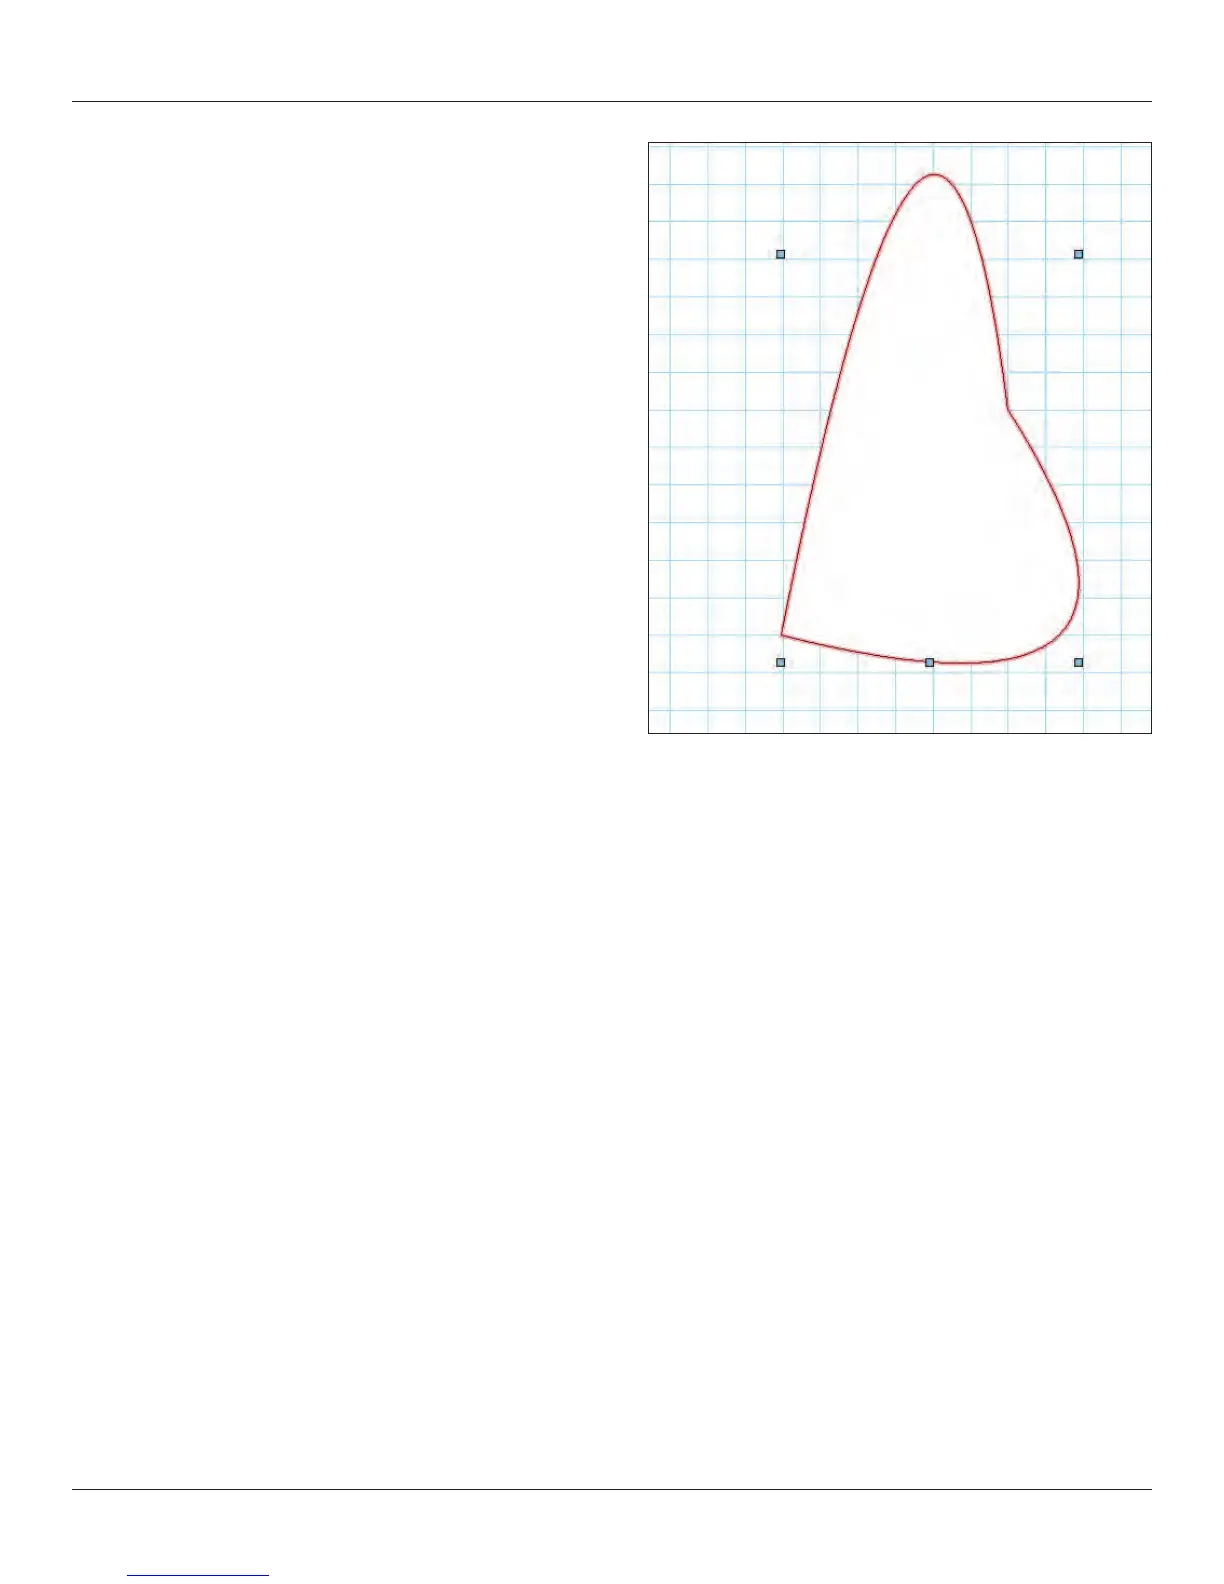
Convert to Polygon and Re-Shaping
Lets assume that you have not been able to make the shape that
you like yet. Or perhaps, like me, you like this method of working
with 2D shapes. Draw a rectangle. A rectangle is not a polygon.
You can make a rectangle into a polygon by Adding or Clipping. In
this case we will select the Rectangle and go to Modify>Convert>
Convert To Polygon.
Ok, now what, it looks the same?
Select the 2D Reshape Tool from the Basic Tool Set and let’s go to
town. You can also double click the polygon and the 2D Reshape
Tool will self select. Let’s look at the options:
Move points
•
Convert Points•
Add a point•
Subtract a point•
Hide or Show Edges•
Note: That when you select Add or Convert, other options become
available. Note also the options for selecting points.
This is a very robust tool and very useful if you like sweeping curves.
Your rectangle now shows eight points, or more precisely four points on the corners and four midpoints. Let’s experiment with the tool,
try these things and then undo so you always return to the basic rectangle. First select the rst option on the left; Move polygon handles
Mode. Grab a corner and move it around. Undo. Select the Delete Vertex Mode and delete one of the corners so that you have a
rectangle. Undo. Select Add vertex and be sure that you have the Corner Vertex option selected. Note that you can add and manipulate
points only at a mid-point. Select the Change Vertex Mode and select Bezier Curve. Click on a corner and observe the curve.
Manipulate this curve with the Move Mode. On another corner, convert the corner point to a Cubic Spine Point. Manipulate the curve
and compare how they differ.
Exercise
Up to this point the exercises given have been pretty vague and about experimentation. These things have been suggested to
acclimate you to the Vectorworks environment. Now you’re actually ready to do something.
Create a document with 11 design layers. On one layer create a rudimentary title block (like so much else we’ll get to using proper title
blocks later), with your name and date. This should be a letter size document with 1:1 scale. Use each of the layers to work with the
primitive drawings tools to make a few things. Play. Use classes.
Use Layer visibility to control what is visible for printing to hard copy or PDF.
One of my former students, Matthew William Anastasio (Montclair State University ‘08), has provided a sample project on the DVD.
Don’t try to copy his work, make this your own, but see the possibilities.