82 Vectorworks 2010 Products
Vectorworks Spotlight 2010 Getting Started Guide
Camera Tool
The Camera Tool in the Visualization Toolset is your friend. It can help with the simplest of chores like checking your masking from the
end seats to clearly illustrating or animating your designs for presentations.
Let’s go back to our theatre and light plot.
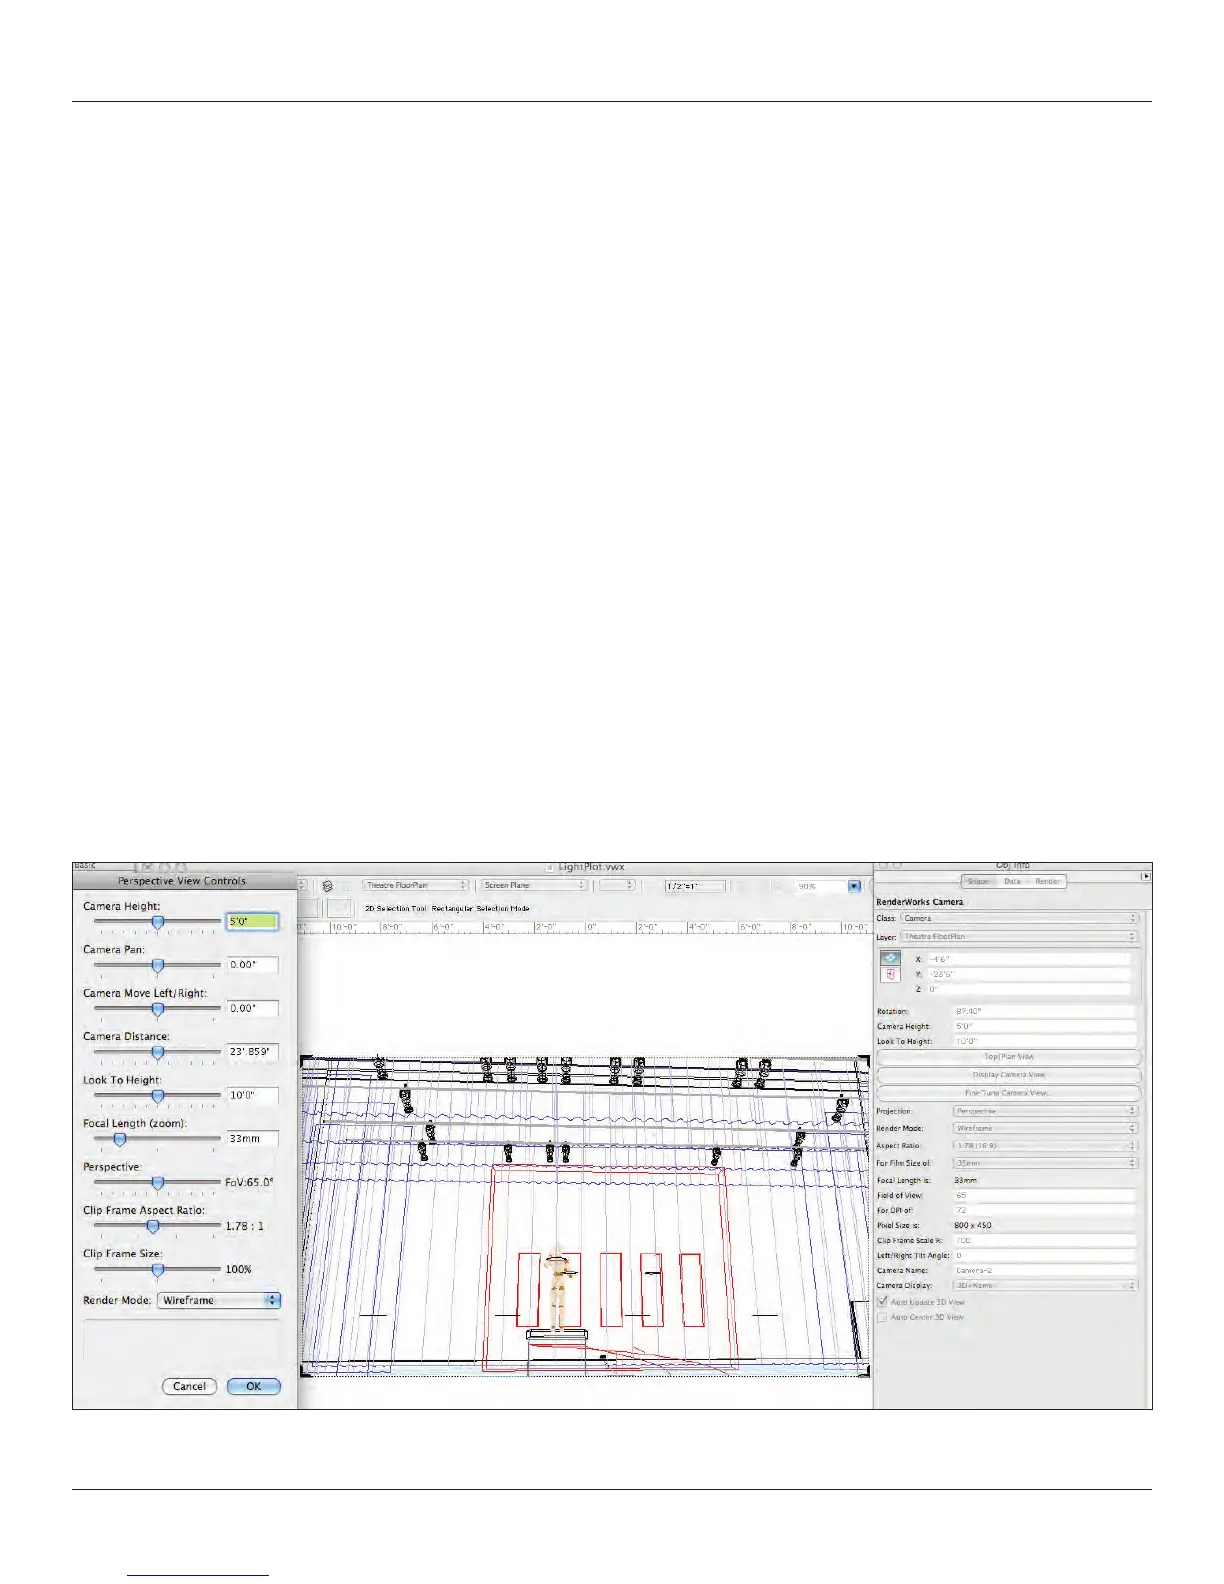
Place a camera on the Set Layer near house center by selecting the camera tool and clicking on the location where you want the
camera and dragging in the direction you want to see. Double click on the object to see the camera view in wireframe.
Whoa, that probably doesn’t look right. Go to View>Unied View. To se all of the visible layers from the same perspective as the
camera. Now click Fit to Objects in the View bar, you have a nice full screen image.
Use the settings in the OIP to adjust the view.
Note: Cameras are added to the Visualization Palette and can be named there.
Click “Auto Update 3D View.”
Note: The Z height of 0 is the stage oor, set the height of the camera to the eye height of an audience member in a chair. Set the
aspect ratio to 3:2 and select Top/Plan View. Adjust the width of the view here by grabbing the outer edge of the cone and moving the
handles. Adjust to a full stage view.
Preview your view, zoom in and save the view using Saved Views in the Tool Bar. If you are viewing multiple layers, be sure to add the
layers in the Saved Views Dialogue.