Vectorworks 2010 Products 99
Vectorworks Spotlight 2010 Getting Started Guide
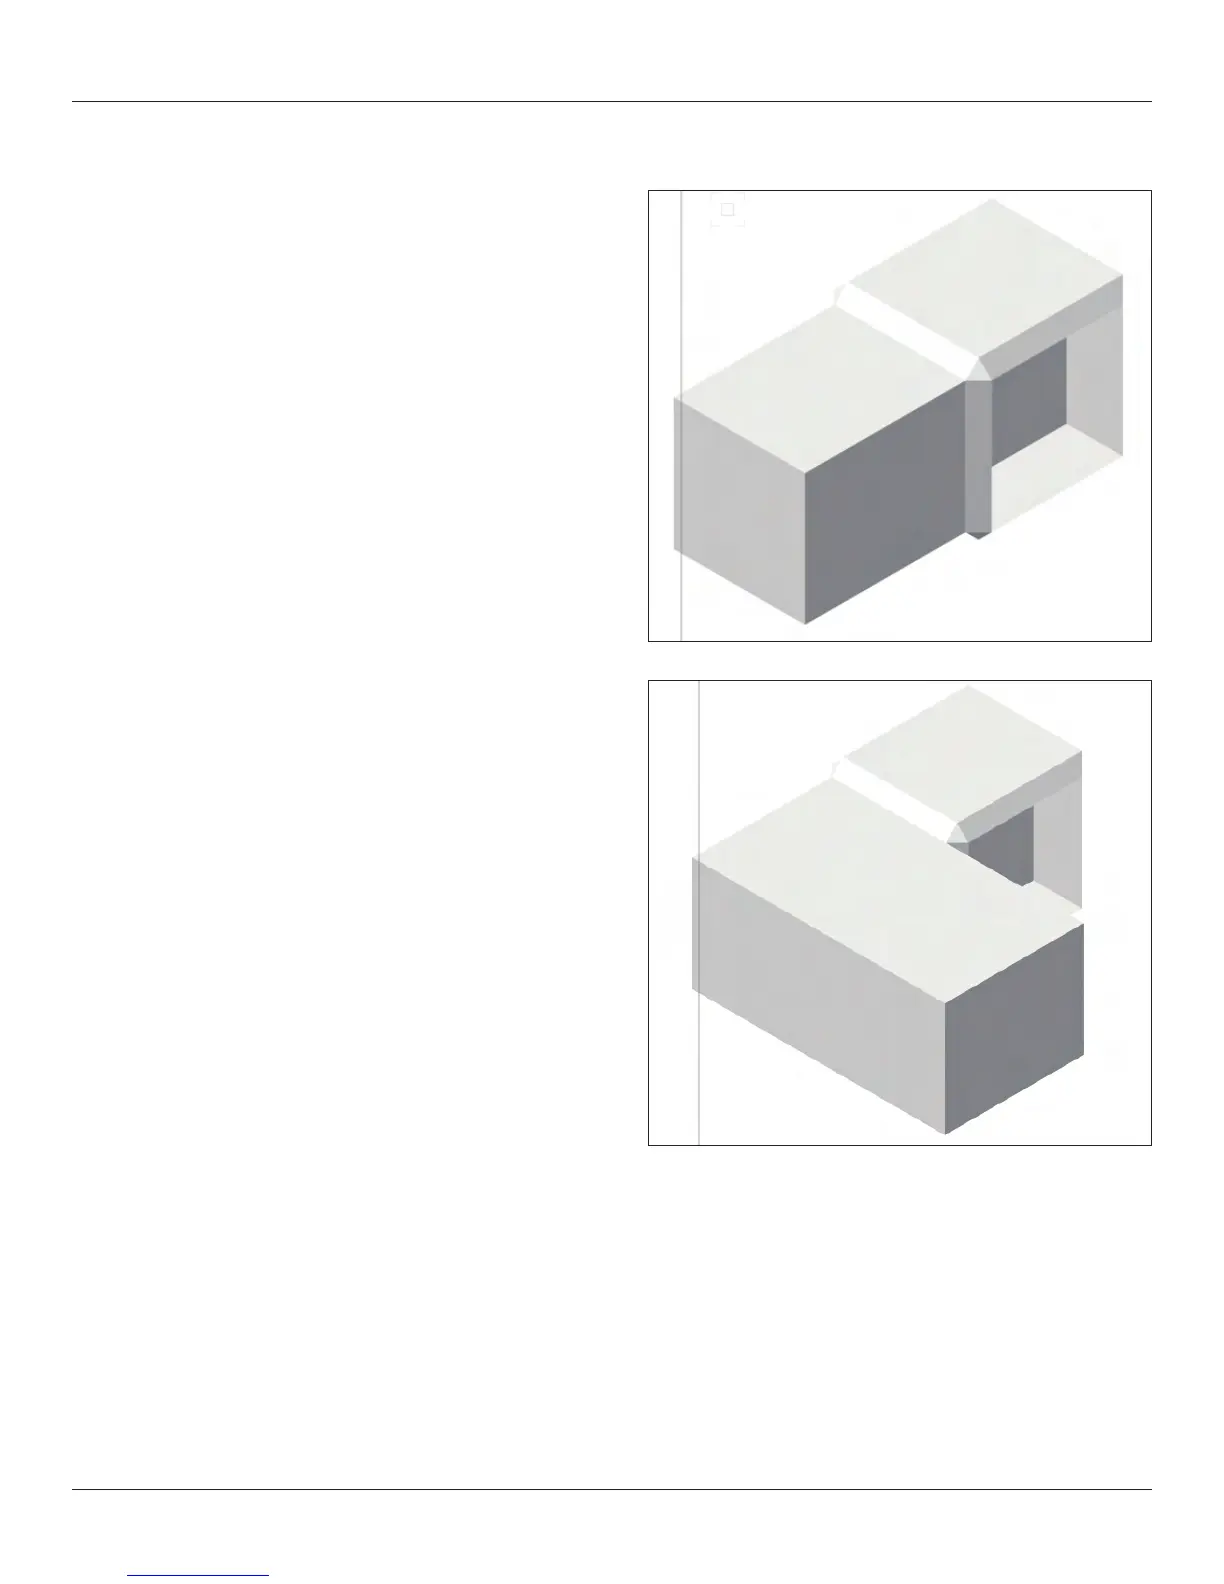
Protrusion Cutout
Since I assume that you’ve played along and now have
a cube with round edges (hopefully other shapes as you
have taken the time to experiment with different options),
let’s select the Protrusion Cutout tool from the 3D
Modeling Toolset.
Check out the Tool Bar and look over the various options.
One constant you should now notice is the Green Check
Icon. Nurbs allows you to look at your choices and review
before accepting. Clicking the Green Check accepts your
choices and modies your object.
There are three options;
Extrude Face Mode
•
Move Face Mode•
Extrude Curve Mode•
Each of these can be modied by the ‘+’ and ‘-’ buttons. The
Plus extends the object with a protrusion, the minus creates a
cutout by cutting into the form.
Let’s Extrude a face with the Plus Button selected. Note that
there are instructions in the Tool Bar. Extrude one face of the
base cube, accept the modication and now grab one of the
new faces you have created and drag that face and accept.
Since we’re working with the Cube that has the let, this will
work very much like a pure Move Face. Alternately, you can
place a NURBS Shape (or a shape you have converted to
NURBS) on the face of a form and push and pull that shape.
Note: You may be asked which face you intend to select.
Change to the minus Button and cutout one side of
the cube.