12 Vectorworks 2010 Products
Vectorworks Spotlight 2010 Getting Started Guide
There is a drop down menu for your view of the drawing. Typically, set to Top/Plan (Command-5) which is the 2D view from overhead.
Top is a 3D overhead view, and the others should all make logical sense. You can also access each of these views from your numeric
keypad with 5 being Plan, 2 being Front, etc.
The OIP (Object Information Palette) is a critical design control point; every object selected in Vectorworks can be manipulated via the
OIP. When you can’t gure out how to modify something, look here rst. The OIP has three tabs: Shape, Data and Render. Shape
affects size, location, and specic parameters associated with different types of objects. Data references information associated with
the object for use in worksheets, and Render affects the look of 3D objects in presentations.
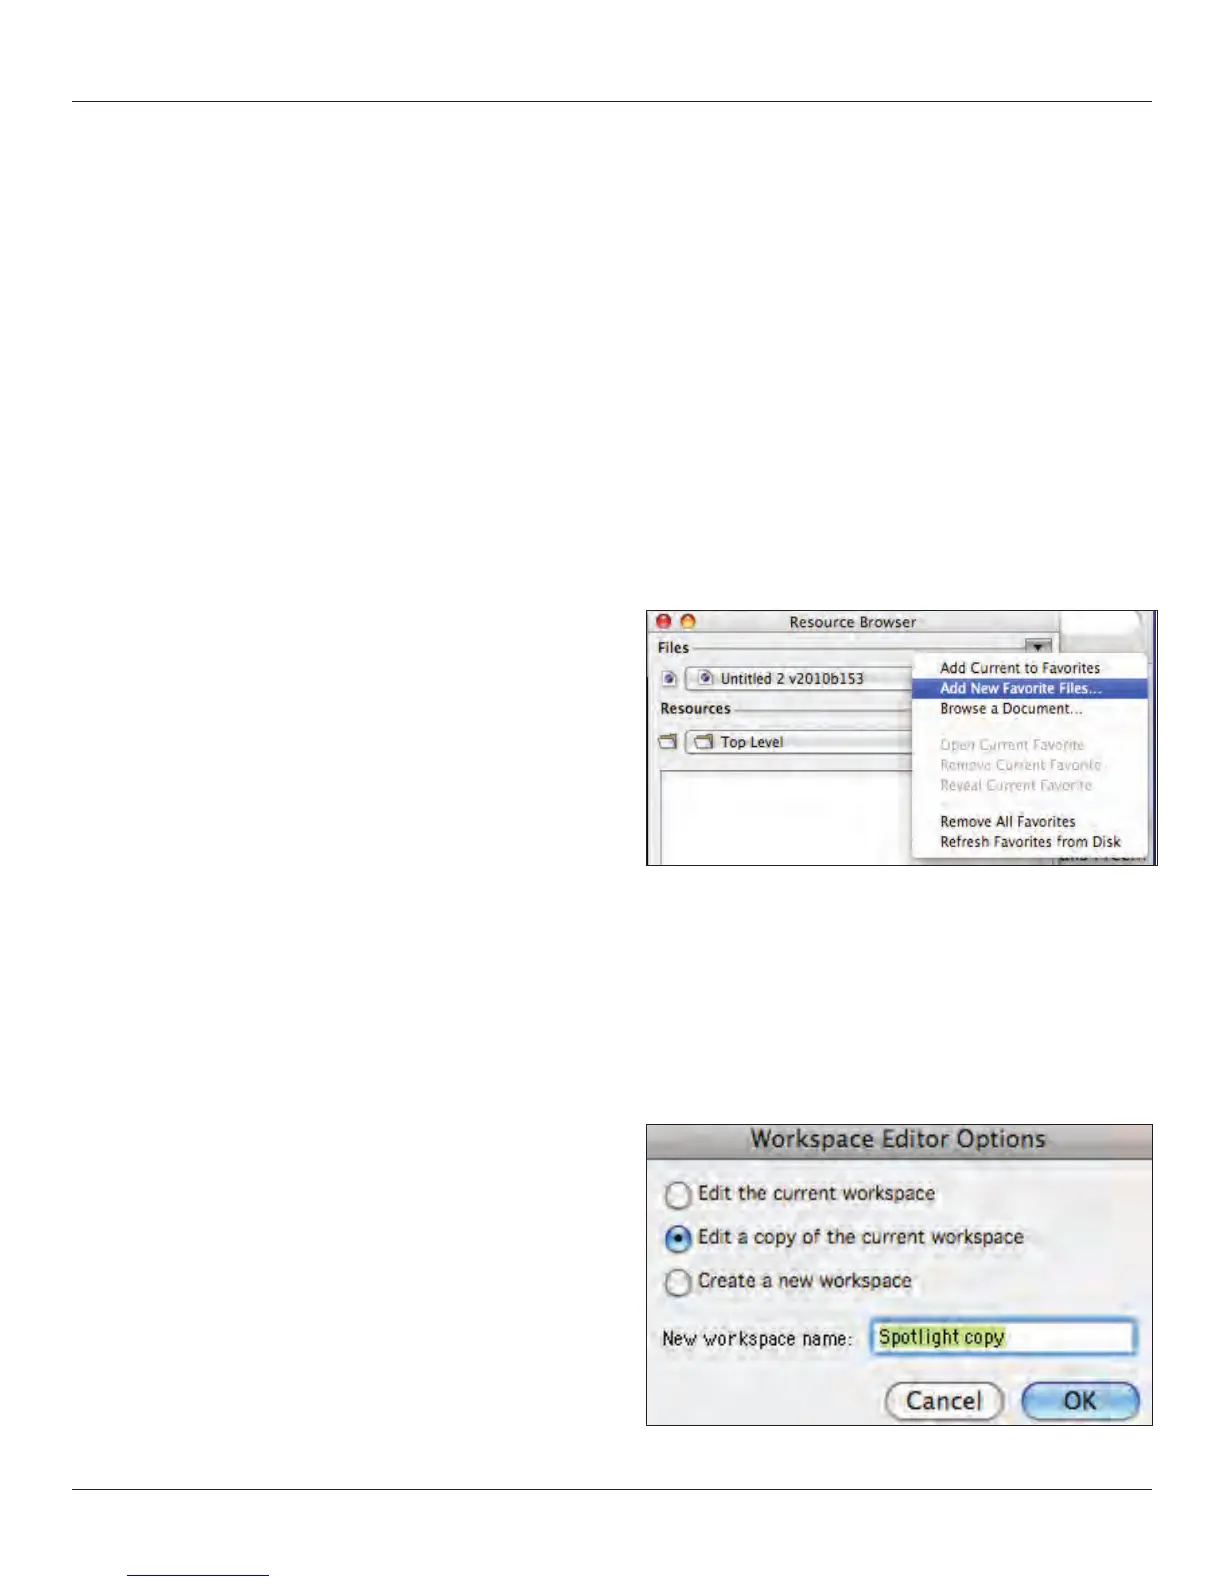
The Resource Browser allows access to symbols, textures, and other data within your le and other les that may or may not be open.
Select the disclosure arrow at the top right of the Resource Browser and select Add New Favorite Files. Navigate to the Vectorworks
directory and add the following les toyour favorites:
Libraries>Defaults>Renderwoks - Textures>Textures_Default.vwx
•
Libraries>Objects-Entertainment>Lighting-ETC.vwx•
Libraries>Textures-Gobo>Rosco-Gobos>Rosco Abstract.vwx•
Libraries>Objects-Entertainment>Lighting Positions Imp.vwx•
The Navigation and Visualization palettes will be covered later as we
begin to use their specic functionality. The Navigation Palette will be
covered in Organizing the Drawing on page 17, and the Visualization
Palette in Drawing a Light Plot on page 57.
Creating and Editing Workspaces
As I’ve mentioned, Vectorworks is completely customizeable. This may be premature to mention, but you can always come back to this
information after you have worked in the program for awhile. It makes linear sense to address these options here.
Go to Tools>Workspaces> Workspace Editor and you will have several choices:
Edit the current workspace
•
Edit a copy of the current workspace•
Create a new workspace.•
I am going to suggest that you avoid creating a new workspace and
I am going to advise against editing one of the workspaces that are
provided in the installation process. Creating a new workspace
essentially gives you a blank slate. You may nd this a daunting task.